Elements#
Tip
You can get the splash screen back by Left Mouse Click the Blender icon on the top left and choose
Splash Screen.If this is your first time launching Blender, you will see the Quick Setup instead. You can simply accept the default or tweak it to your liking.
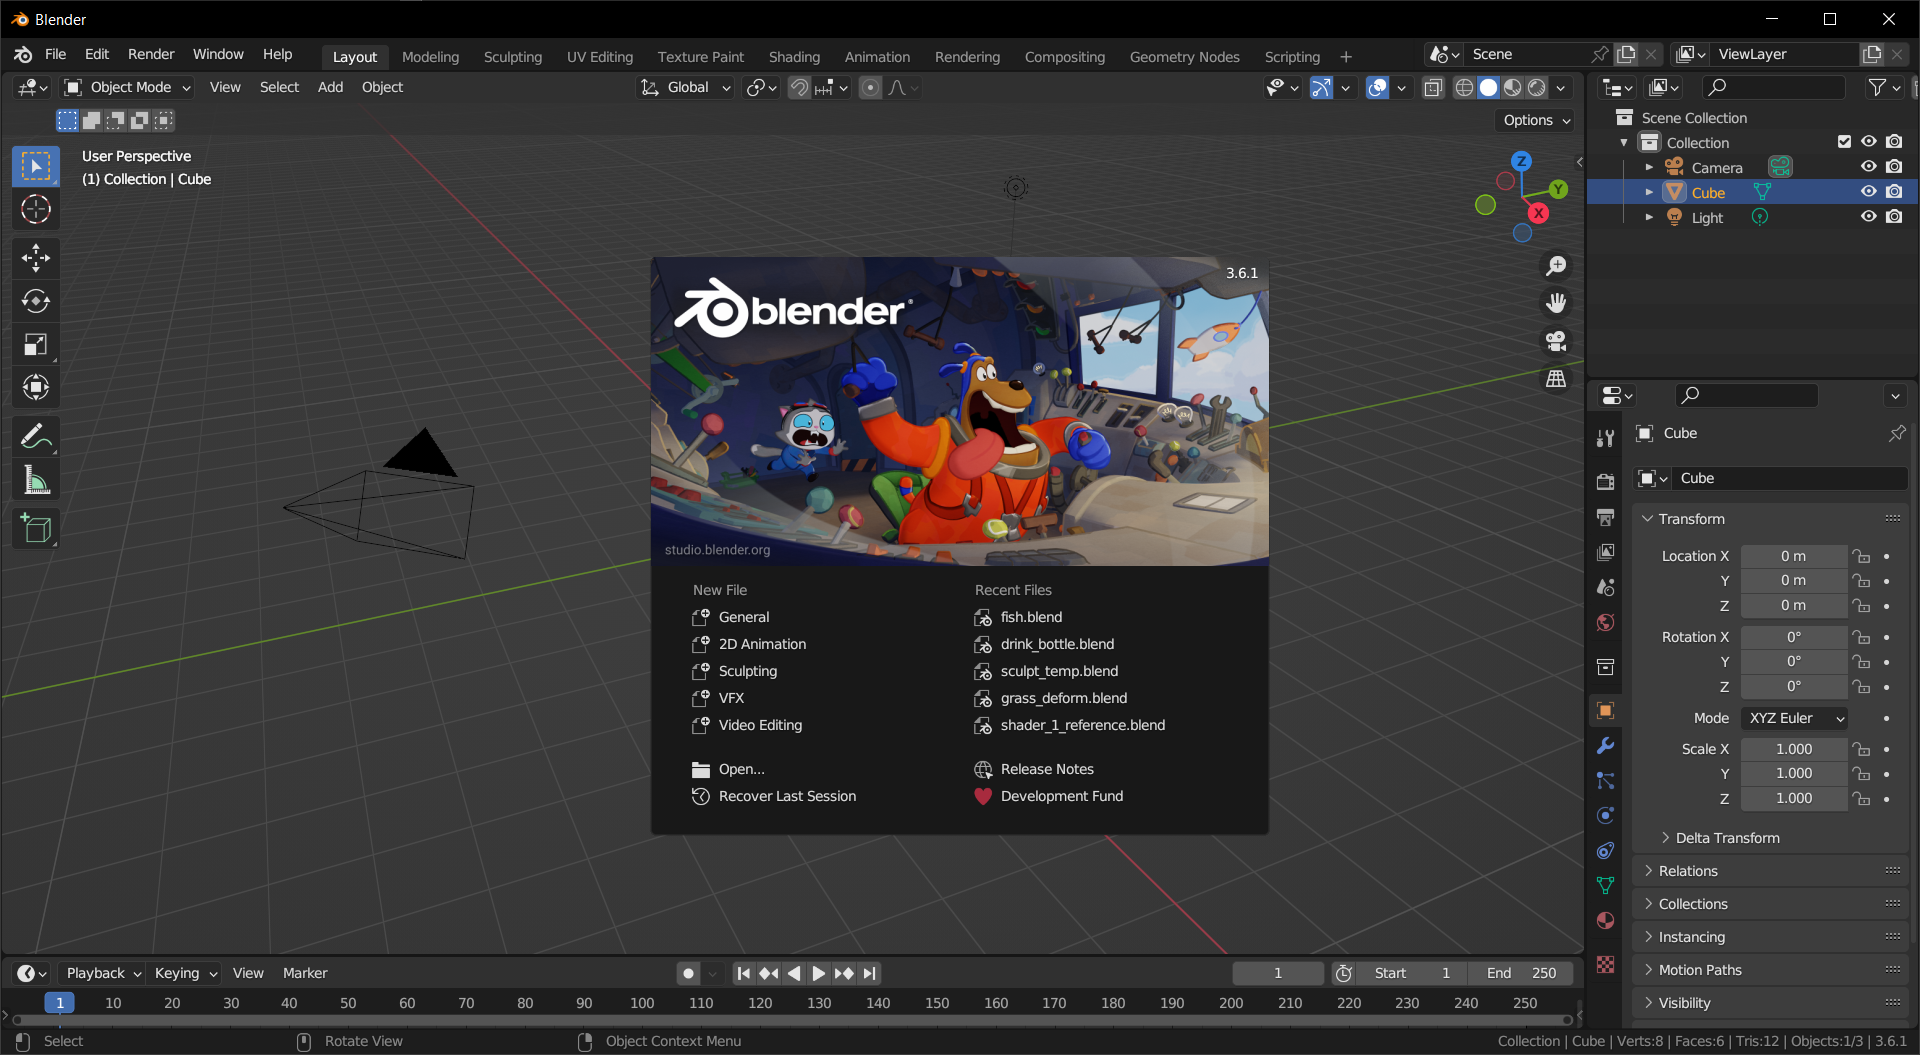
As soon as Blender is loaded, a small window at the center with a fancy picture will pop up, and it is called Splash Screen. It provides some useful shortcuts, but we don’t need it for now. Left Mouse Click somewhere else or press Esc to close it.
Surely you have used other software before, here we will focus on the more unique aspects of Blender’s User Interface(UI).
Top and Bottom#
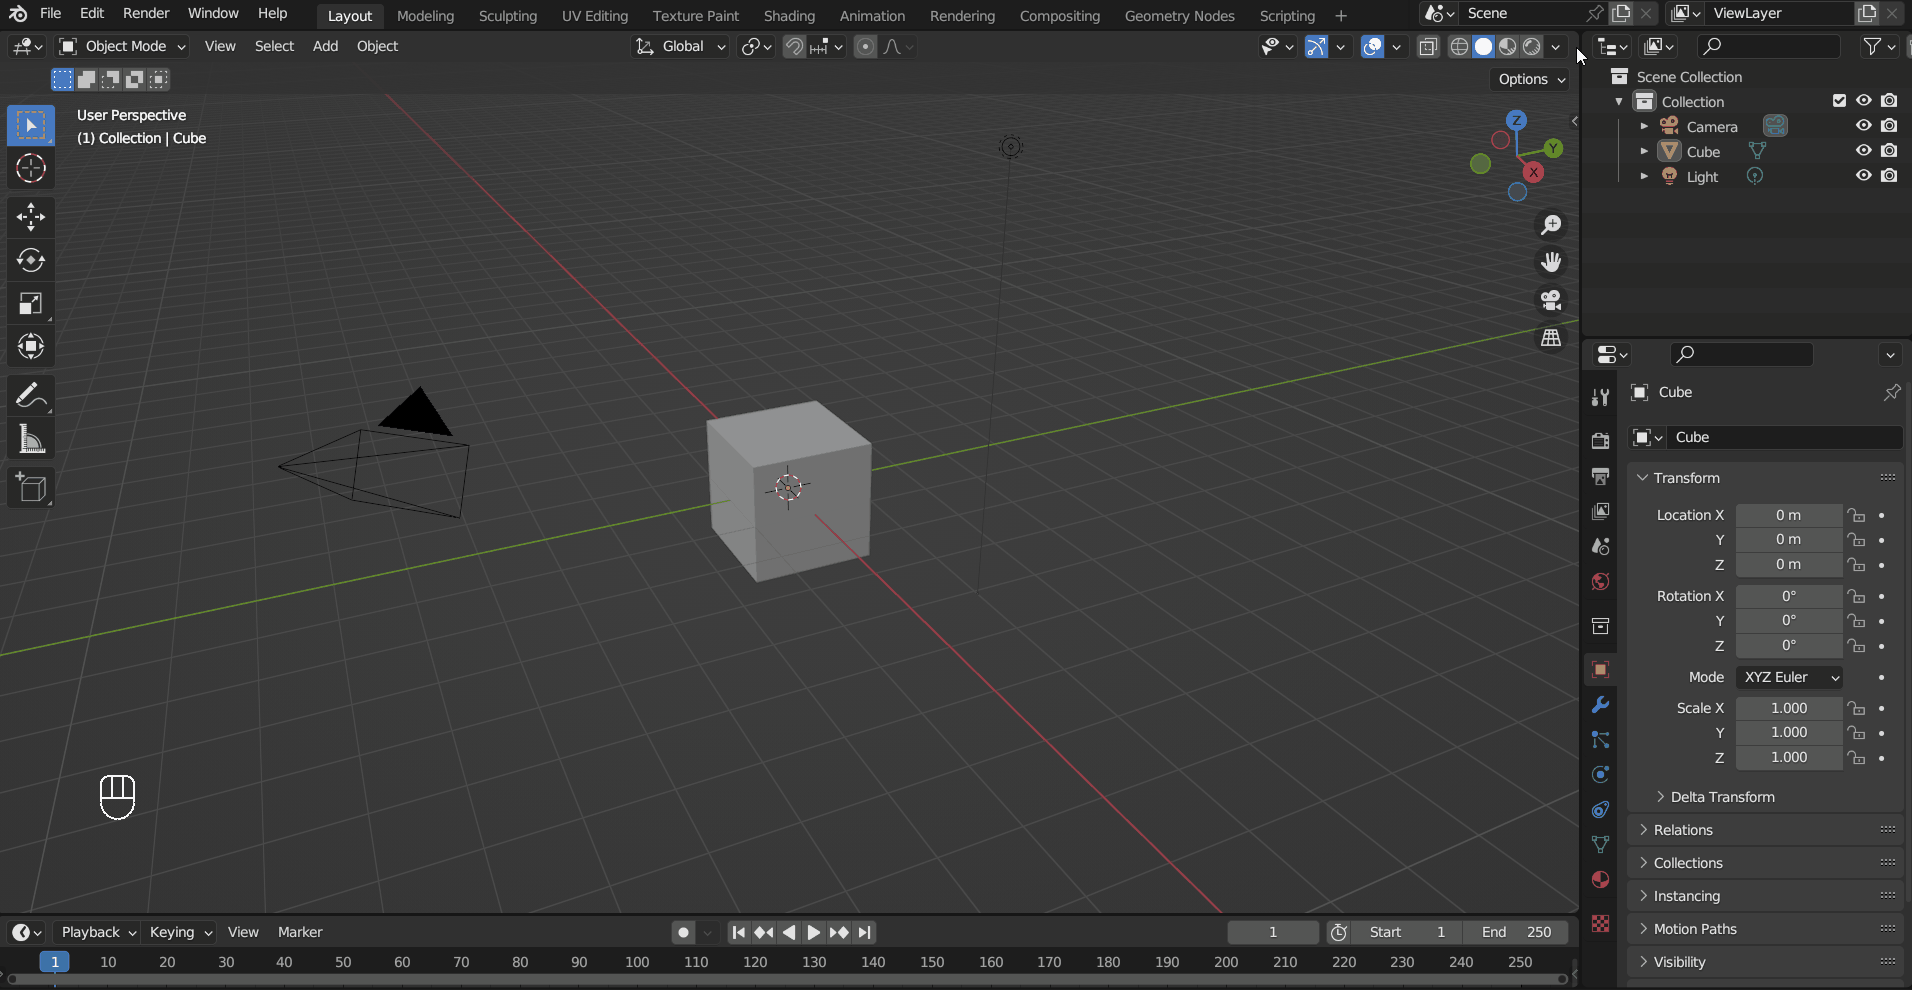
Like all other software you have used so far, you can find the menus on the top left.

In the middle are the Workspaces, which are pre-made layouts for different tasks. You can add new ones by Left Mouse Click + and choose one in the Add Workspace menu.

On the right, you can make/switch Scene and View Layer. Scene is a tool for you to organize the contents in the Blender file, and View Layer controls the visibility of objects (like layers in Photoshop).

The bottom of the window offers some useful tips on the functionalities of the mouse buttons and keys which changes depending on the context, keep that in mind can save you some Googling time.

Area#
Now, let’s address the elephant in the room: the Areas.
The top part of an area is called a Header. Its contents depend on the type of area, but you can always find the drop-down menu for changing the area type on the left side.
When an area is too small to display the whole header, hold down your Middle Mouse Button and you will be able to scroll through it.
In some areas, you may find a sneaky little < near the corner. Drag it toward the center of the area and it will reveal the Sidebar which contains extra UI elements.
To add a new area, move the cursor to the corner of an area until it turns into a cross, then drag it inwards. When you want to remove an area, drag the cross from a neighboring area towards it.
Save and load#
No matter what you do on a computer, you should always save and save often. Press Ctrl + S or use File > Save to save the .blend file you are working on. Blender also offers an auto-save feature, you can access those saved files in File > Recover > Auto Save....