Rigging#
For more complex meshes, say a model of a humanoid character, making animations by keyframing it directly would be quite a chore. Rigging is a way to make the process simpler by adding controls to objects.
Armature#
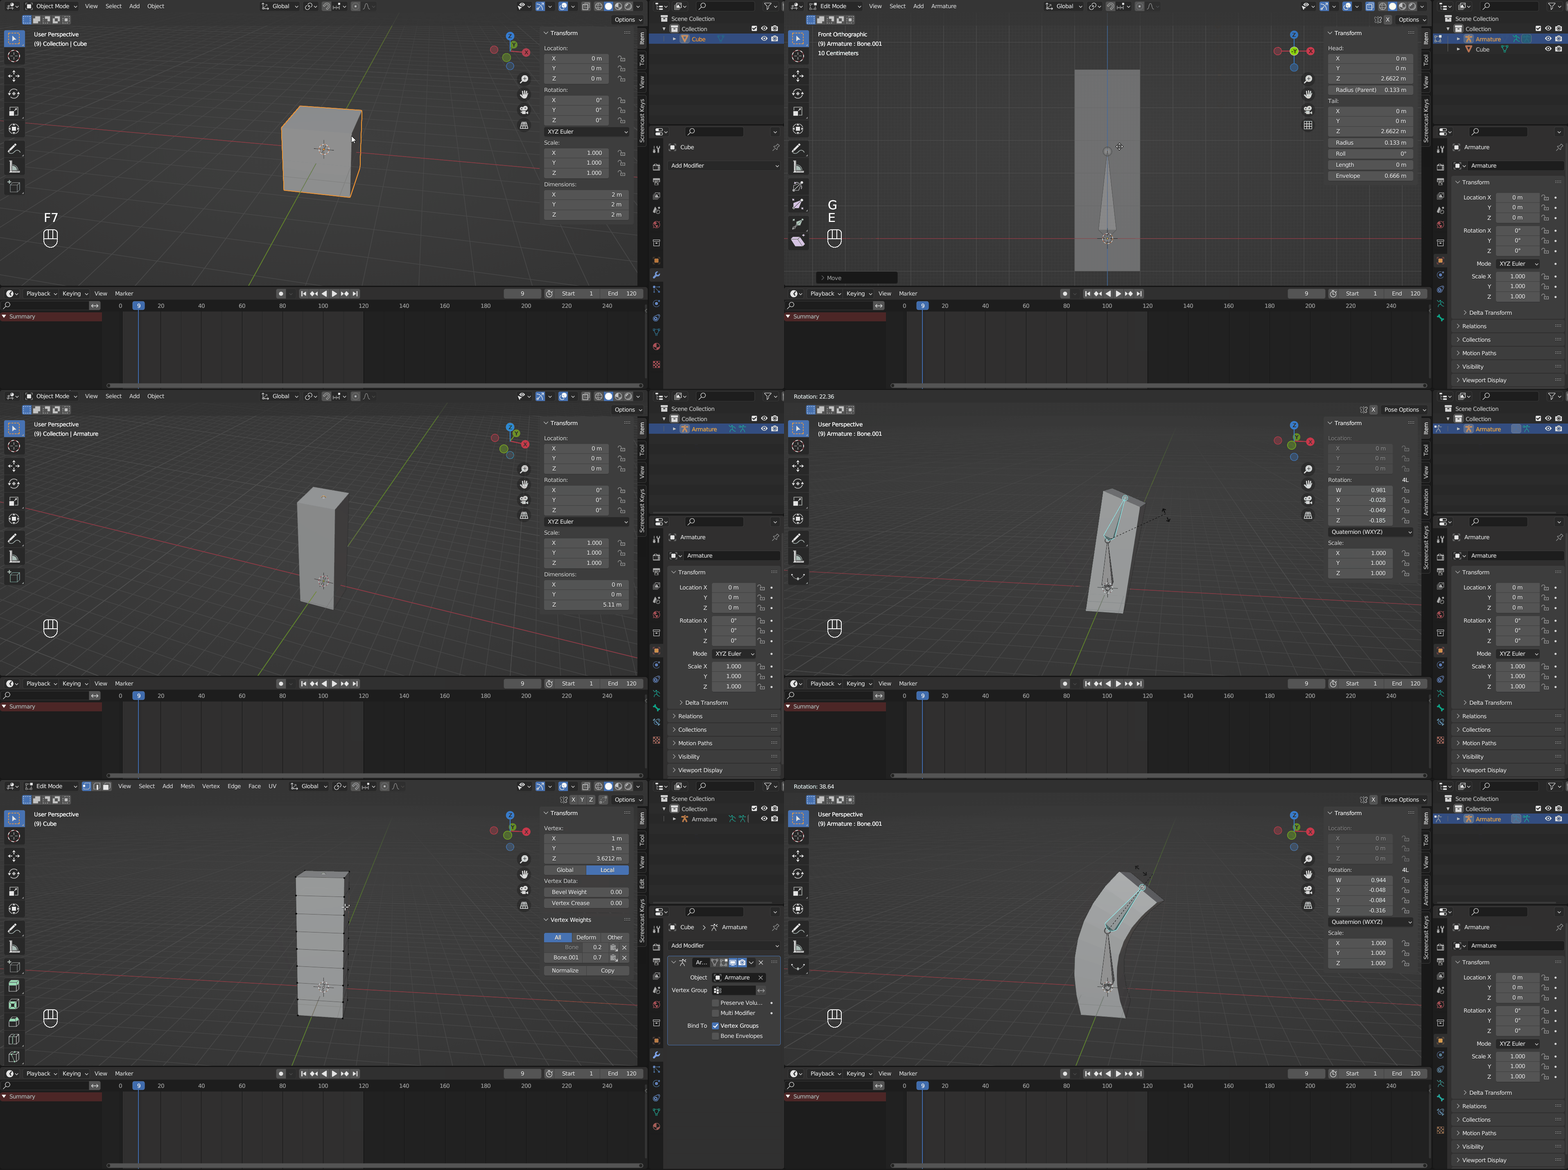
The type of object used as control is called Armature, which usually resembles an animal skeleton. To add an armature, press Shift + A or Left Mouse Click Add on the header to open the Add menu, and choose Armature. The armature you just created contains a single Bone, and it has a head (the ball at the bottom), a body (the middle part), and a tail (the ball at the top). You can edit the bone in edit mode, the head and tail can be moved independently, and you can press E to extrude a new bone out of it. The new bone made this way will be parented to the original bone.
Tip
Keyframe the armature to make animations.
To change the shape of a mesh with the armature, select the mesh object and the armature, make sure the armature is the active object, then press Crtl + P and choose Armature Deform: With Automatic Weights. This not only set the armature as the parent of the mesh object, but it also adds an armature modifier to the object and automatically makes vertex groups for the influence of the bones. Now you can select the armature and switch the viewport to Pose Mode and see how the armature deforms the mesh.
Weight Painting#
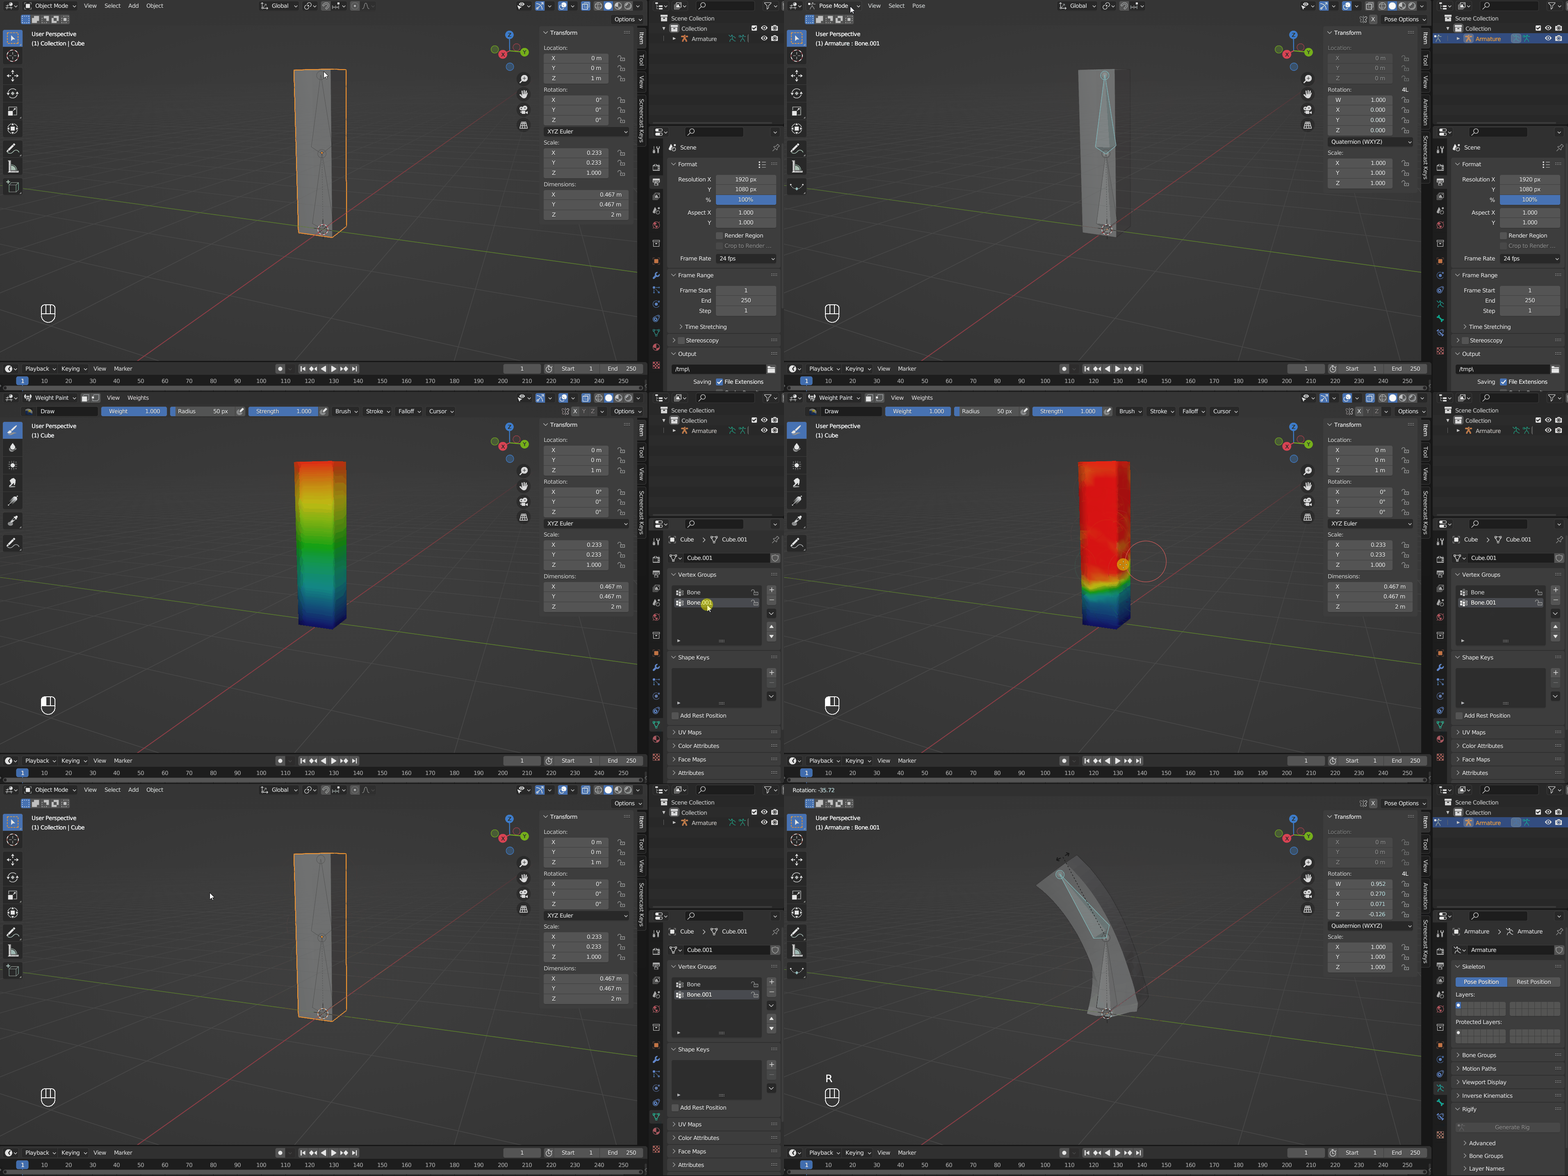
How the armature affects the mesh is determined by Vertex Weights, and you can edit the weights in Weight Paint object interaction mode. Go to the Data panel in the properties area, and under Vertex Group select one associated with an armature bone. The weight values are displayed in colors, by default 1 is red and 0 is blue, and you can use your mouse or stylus to change them by painting directly on the mesh.
Tip
The
Vertex Groupshere are created when the mesh object is parented to the armature using theWith Automatic Weightsoption.In edit mode, select a vertex and you can check and edit its weight values in
Item > Vertex Weightson the sidebar.
Forward and Inverse Kinematics#
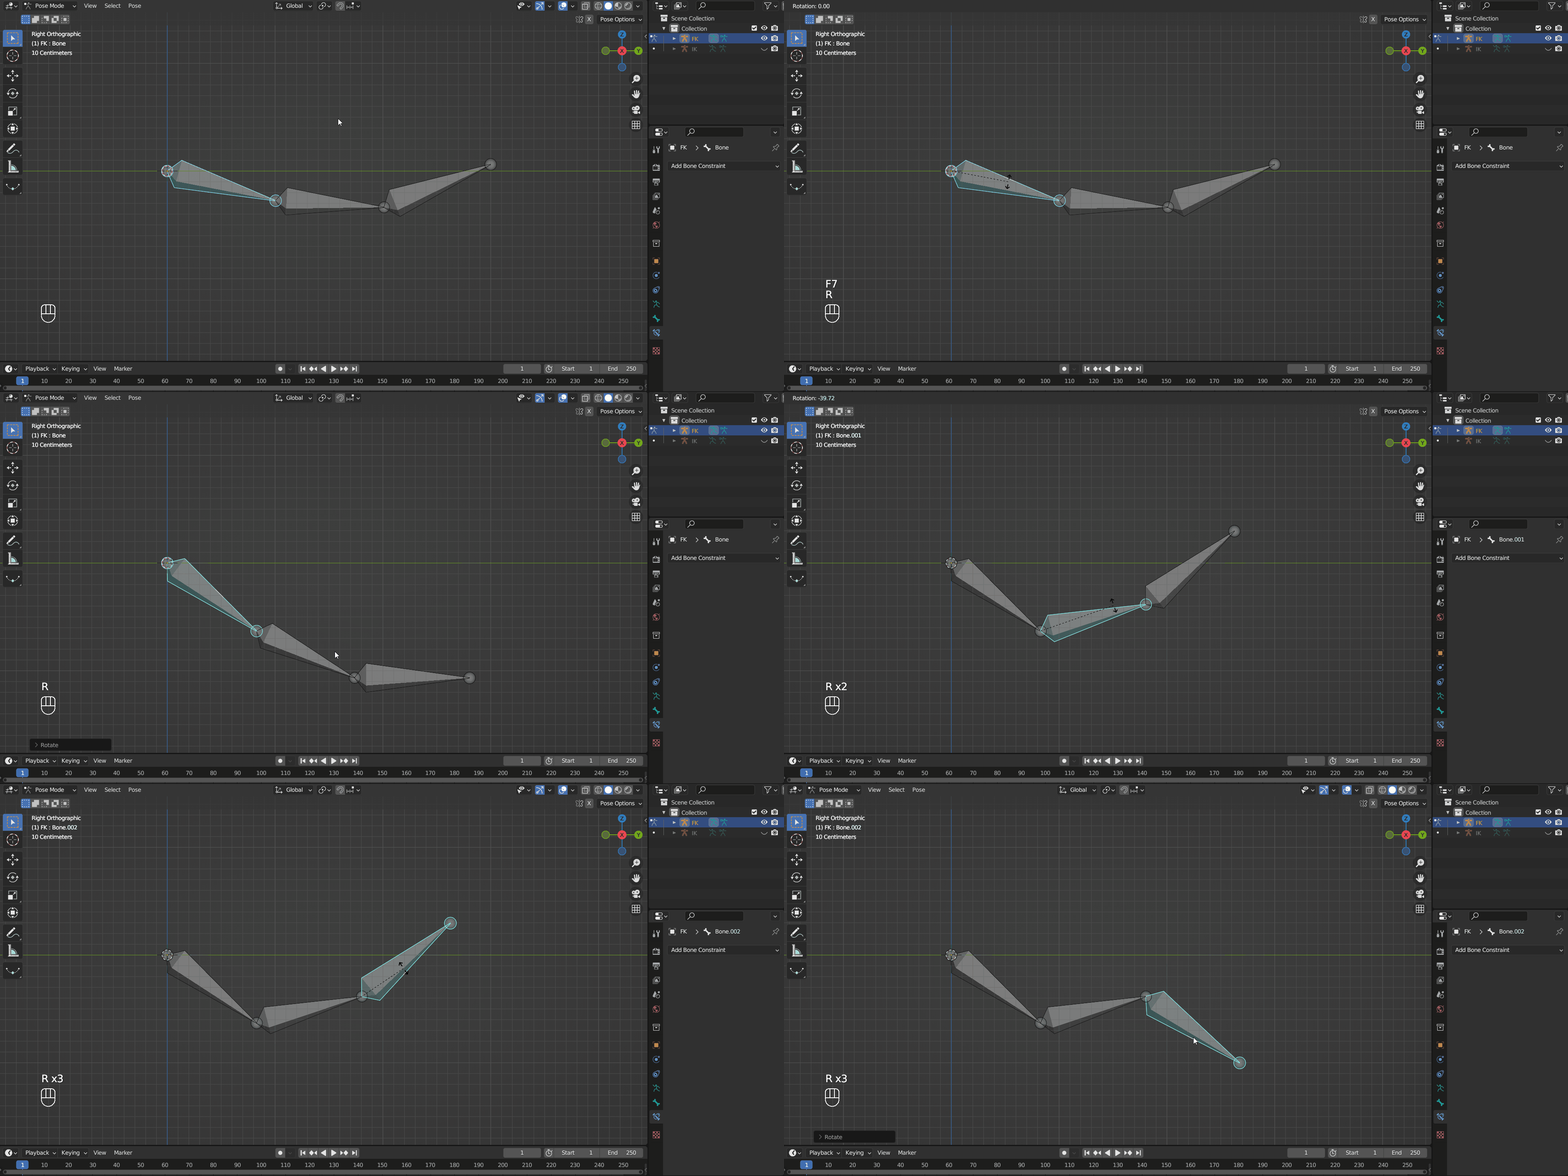
There are two ways to manipulate the armature, Forward Kinematics(FK) and Inverse Kinematics(IK). Forward kinematics is relatively simple, you move one bone at a time, usually from the parents to the children.
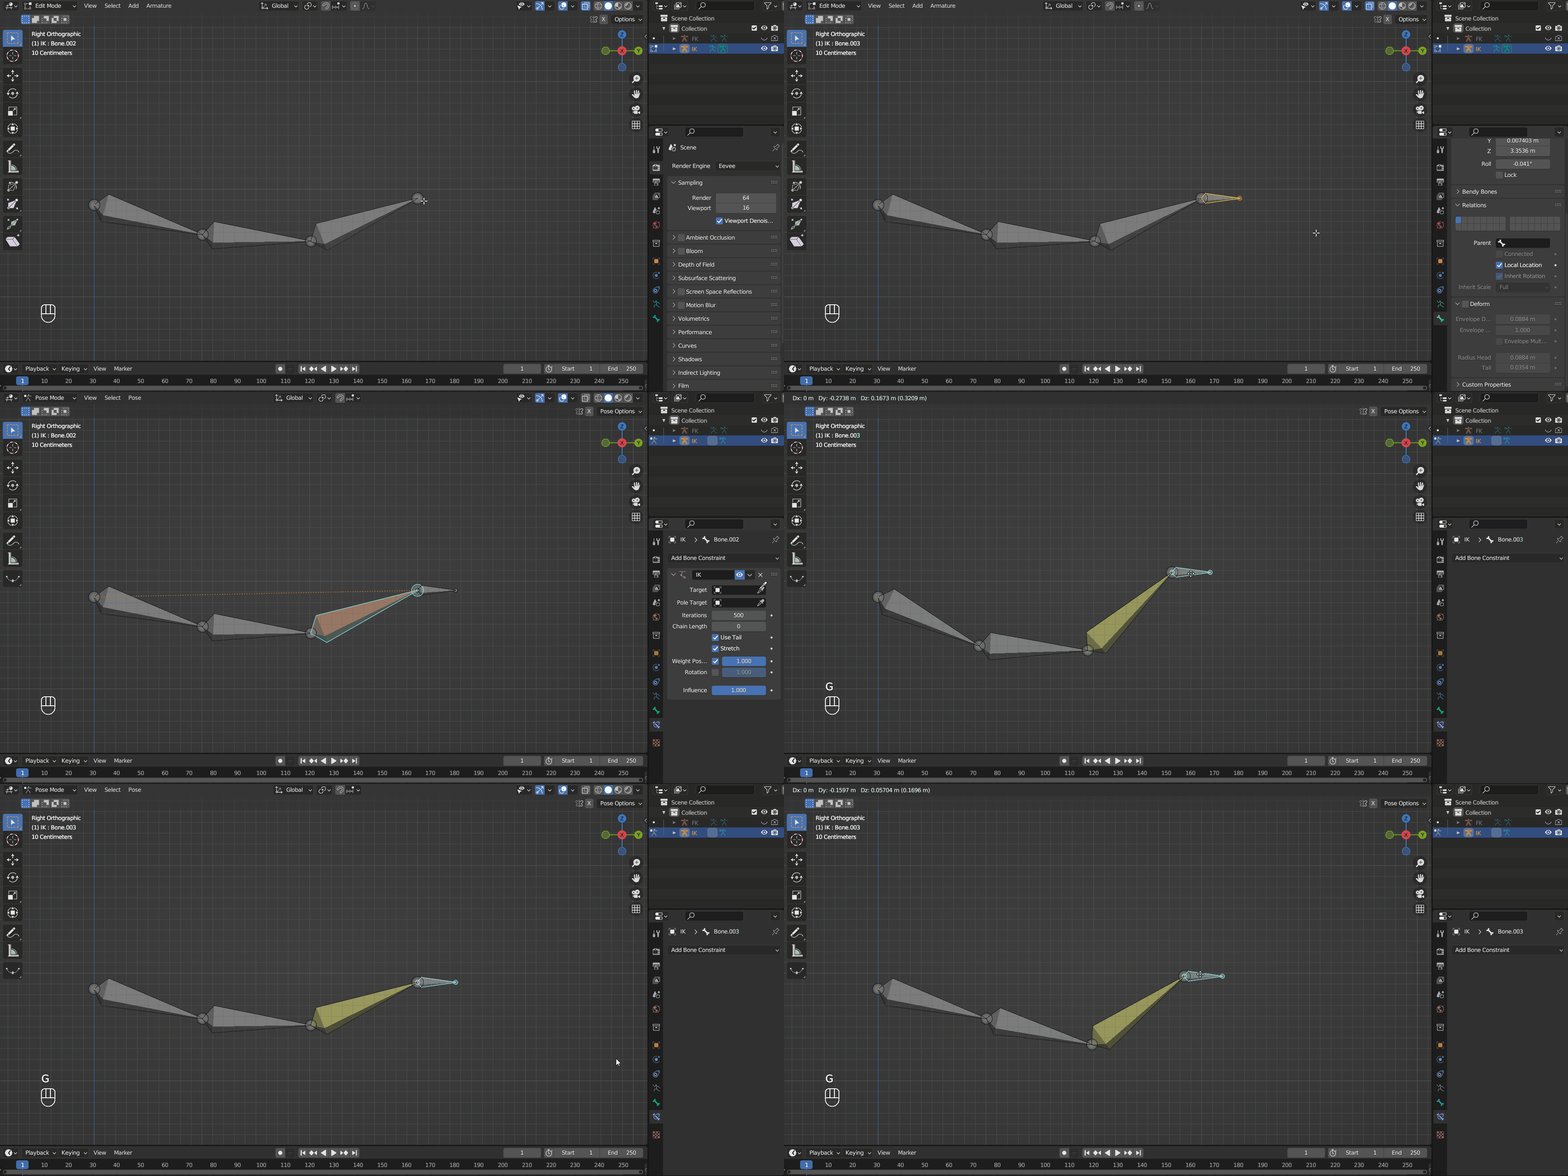
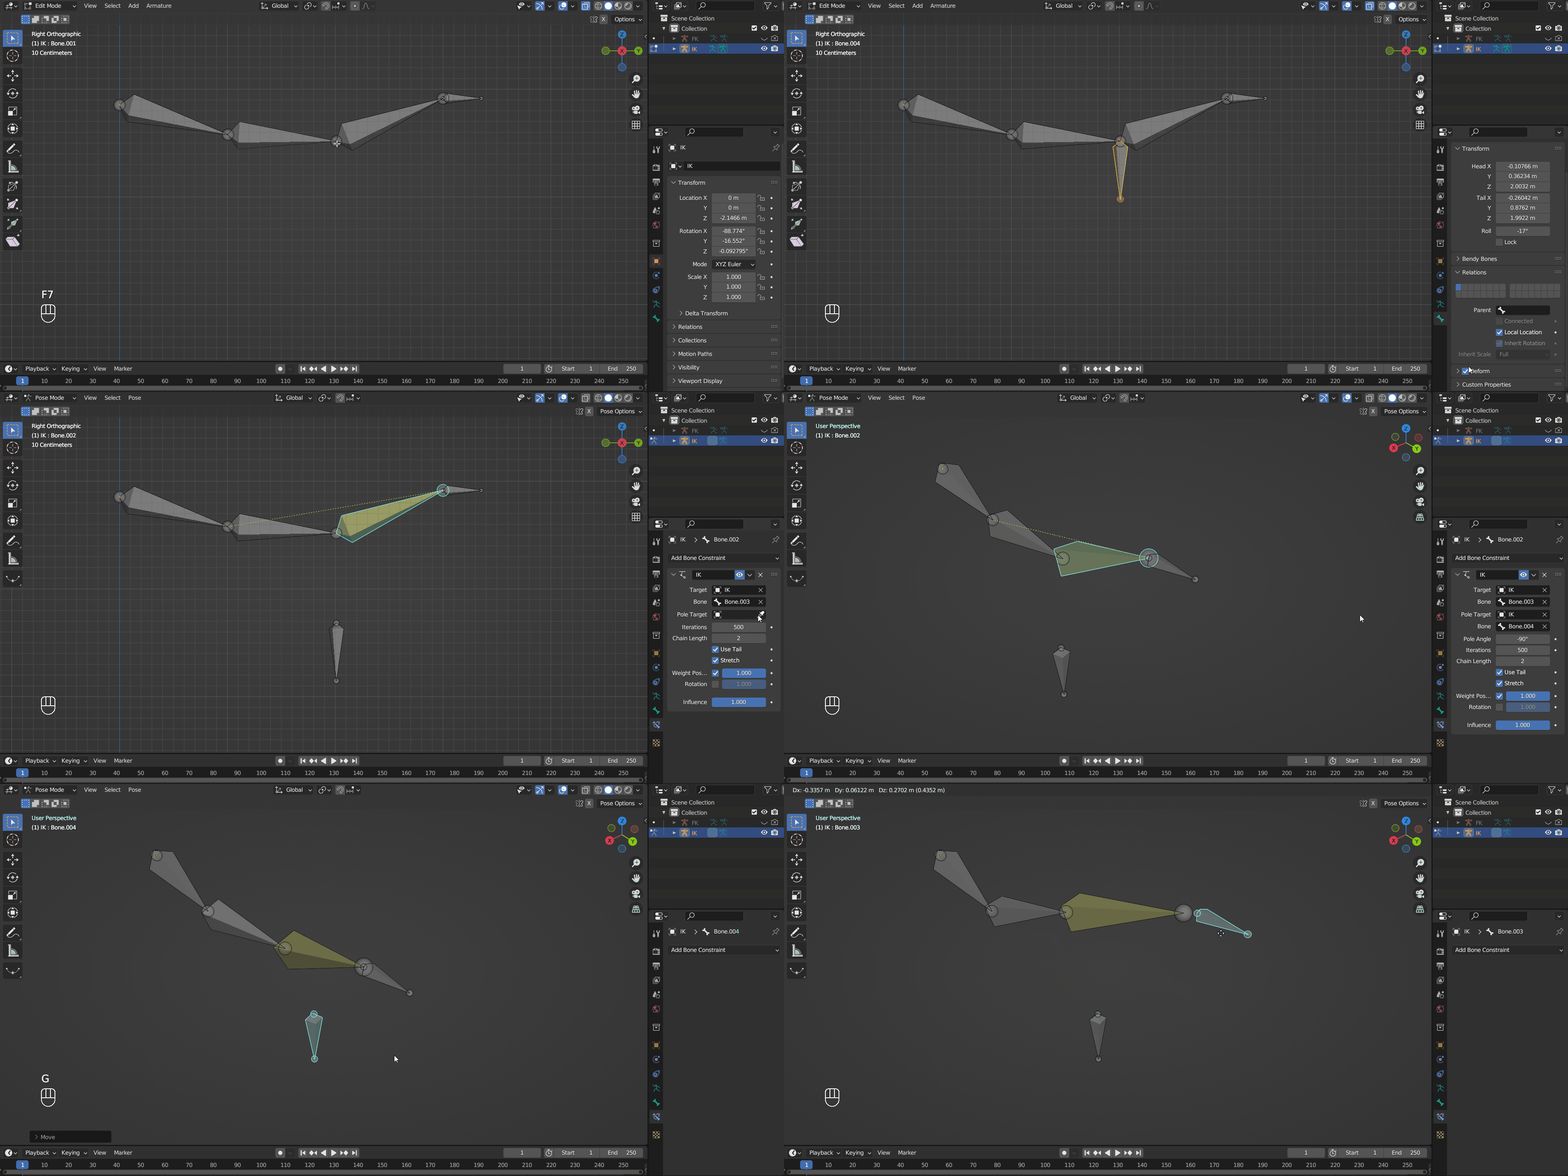
Inverse kinematics makes the armature bend to fit the position of the target. To make it happen, extrude the last bone in the armature in edit mode and uncheck Deform and clear its parent on the Bone tab in the properties area to make a control bone. Then select the last bone and add an Inverse Kinematics constraint in the Bone Constraints tab. Set the control bone as the target and the setup should work. You can change Chain Length to tweak the number of affected bones (0 means all bones).
Tip
The target object does not have to be a bone.
Bone constraints applies to a single bone, and they are overall very similar to object constraints.
To control the direction the armature bends, you can add a Pole to the Inverse kinematics setup. Make another control bone, which serves as the target for the pole, then in the Inverse Kinematics bone constraint, set it as the target of the pole, then adjust Pole Angle to make the armature bend to the correct direction.
