Projects#
Hope you still have the files from the last projects, because we are going to add materials to them using the features introduced in this chapter. Again, feel free to try out your own ideas, and don’t forget to save.
Load the drink bottle you made in the last chapter. Mark the seams and make a UV map for the cork.
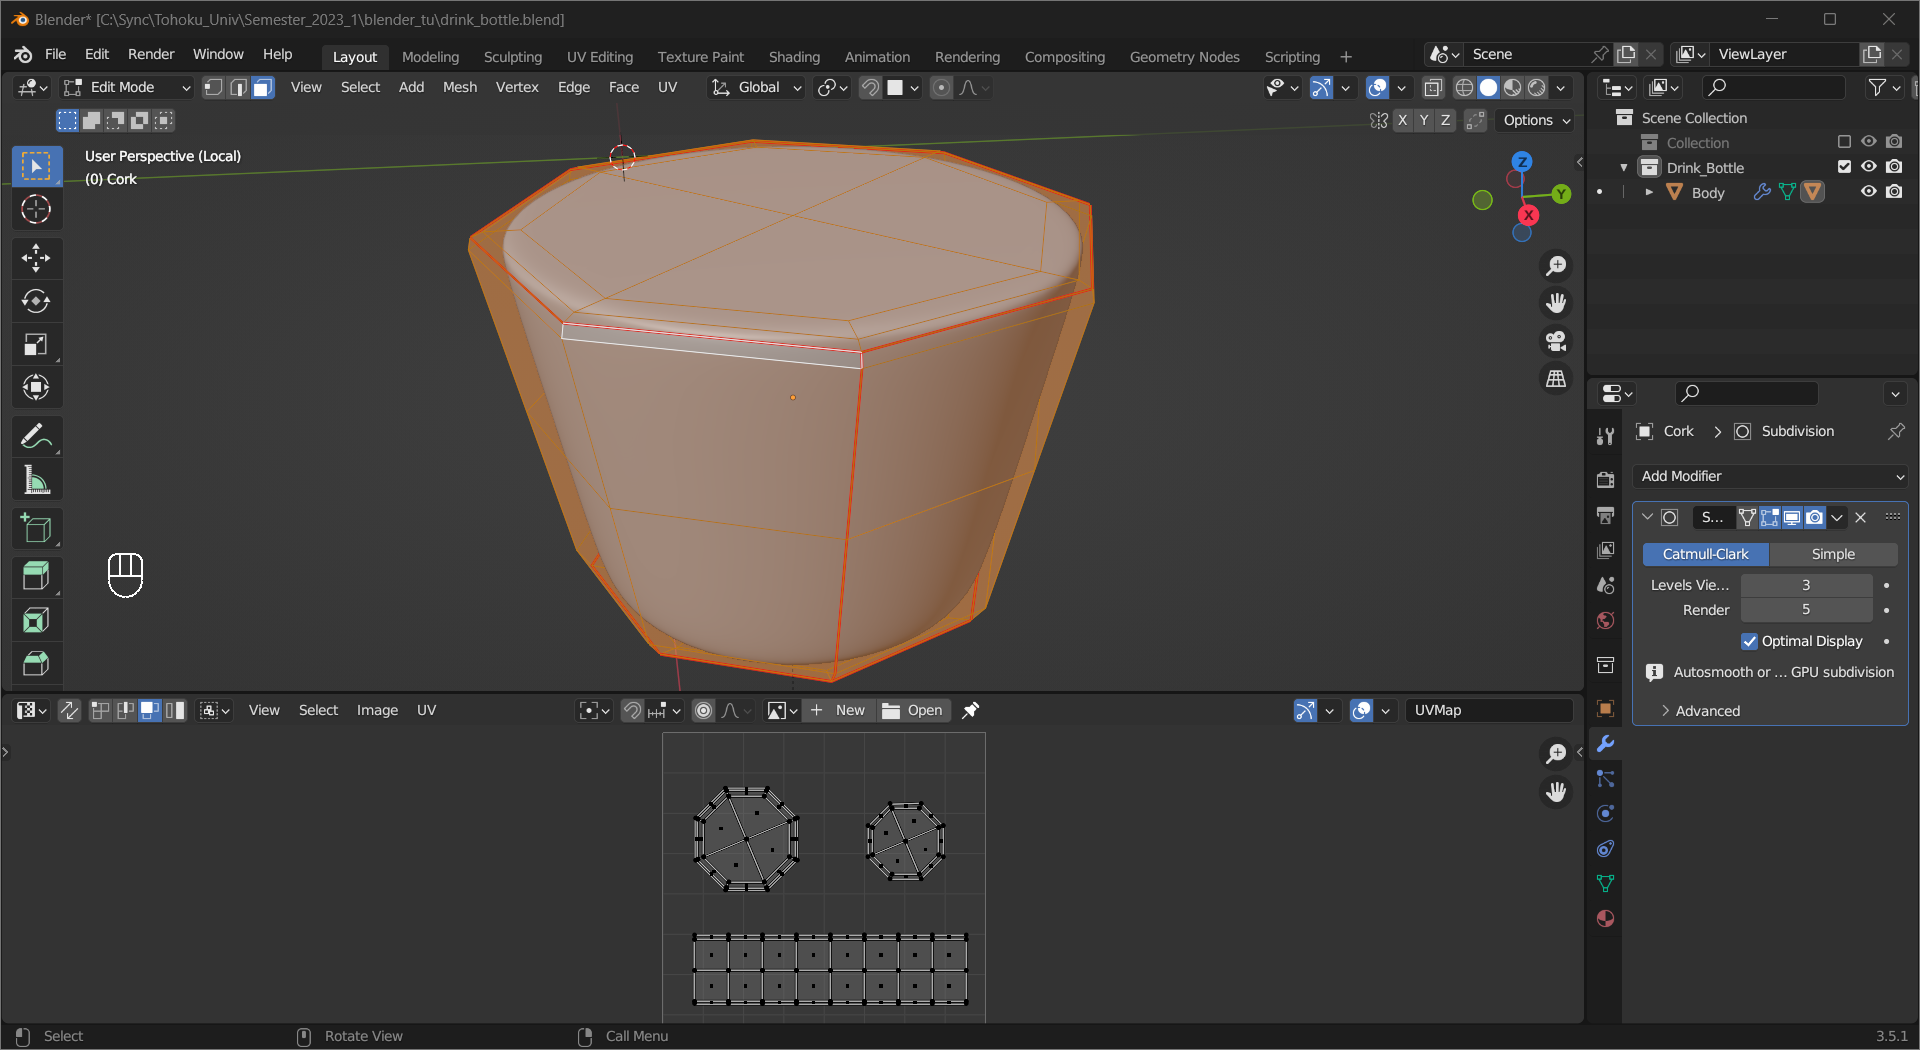
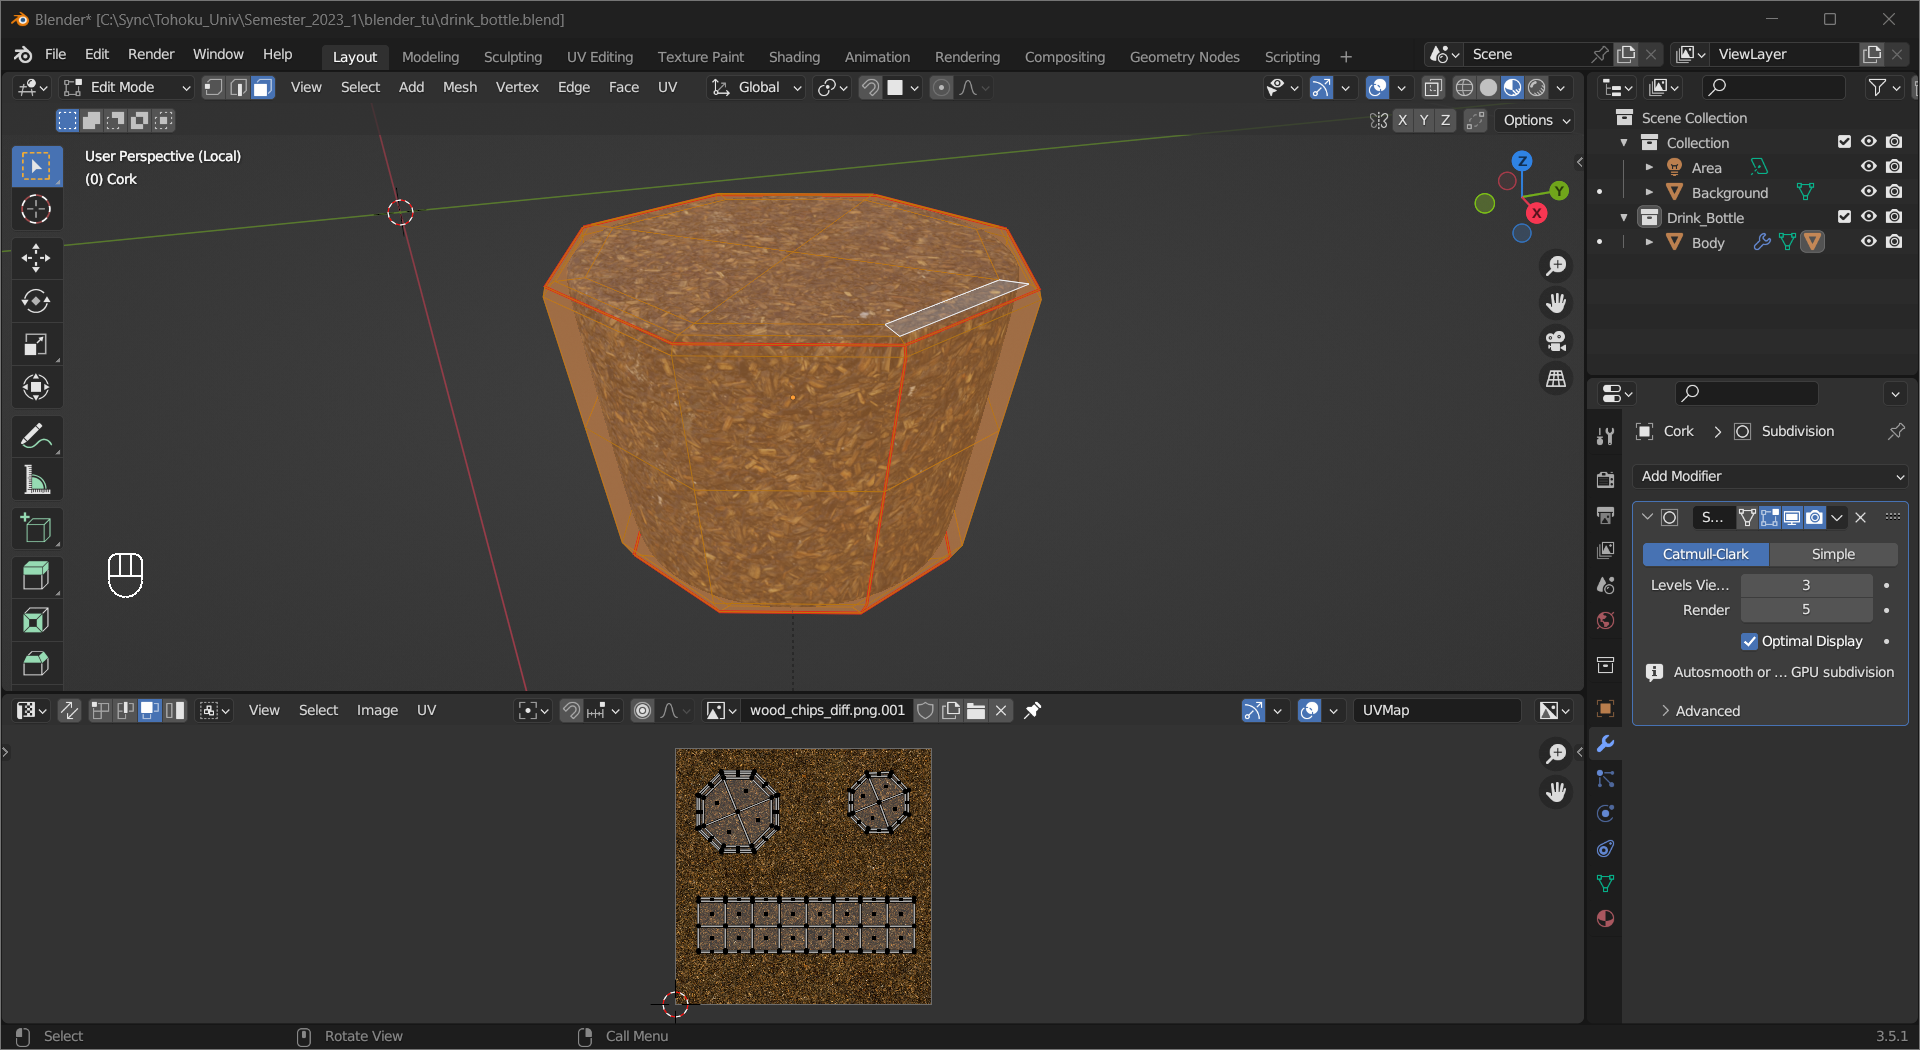
Then, add material to it and adjust the UV Map to make it look natural.
Tip
The material used in this example is wood_chips from Poly Haven.
Now, you can create a material for the bottle, here are some examples:
Tip
The background is a plane with a Velvet BSDF material.
The first one is a painted metallic material with scratches. A combination of Noise Texture and Voronoi Texture is used to create the scratch pattern
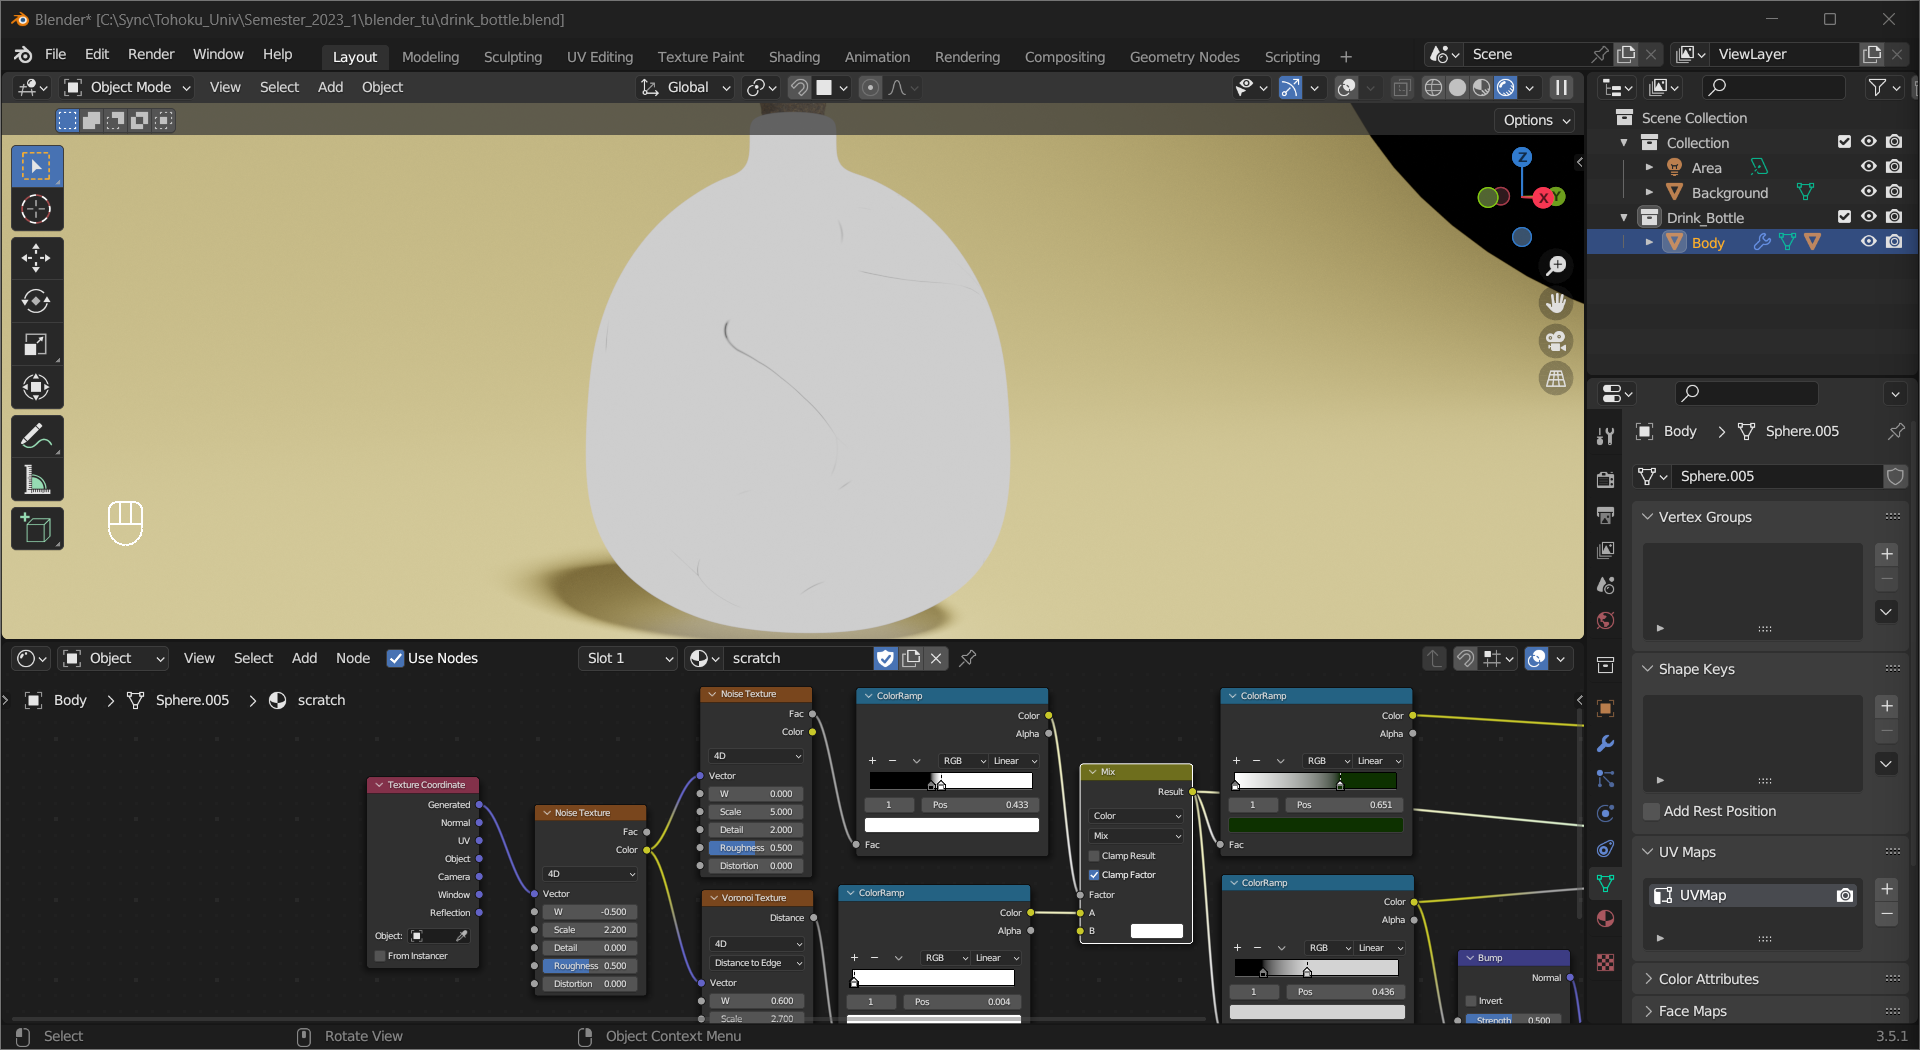
After some adjustments using ColorRamp nodes, the pattern is used as the texture, roughness map and normal map.

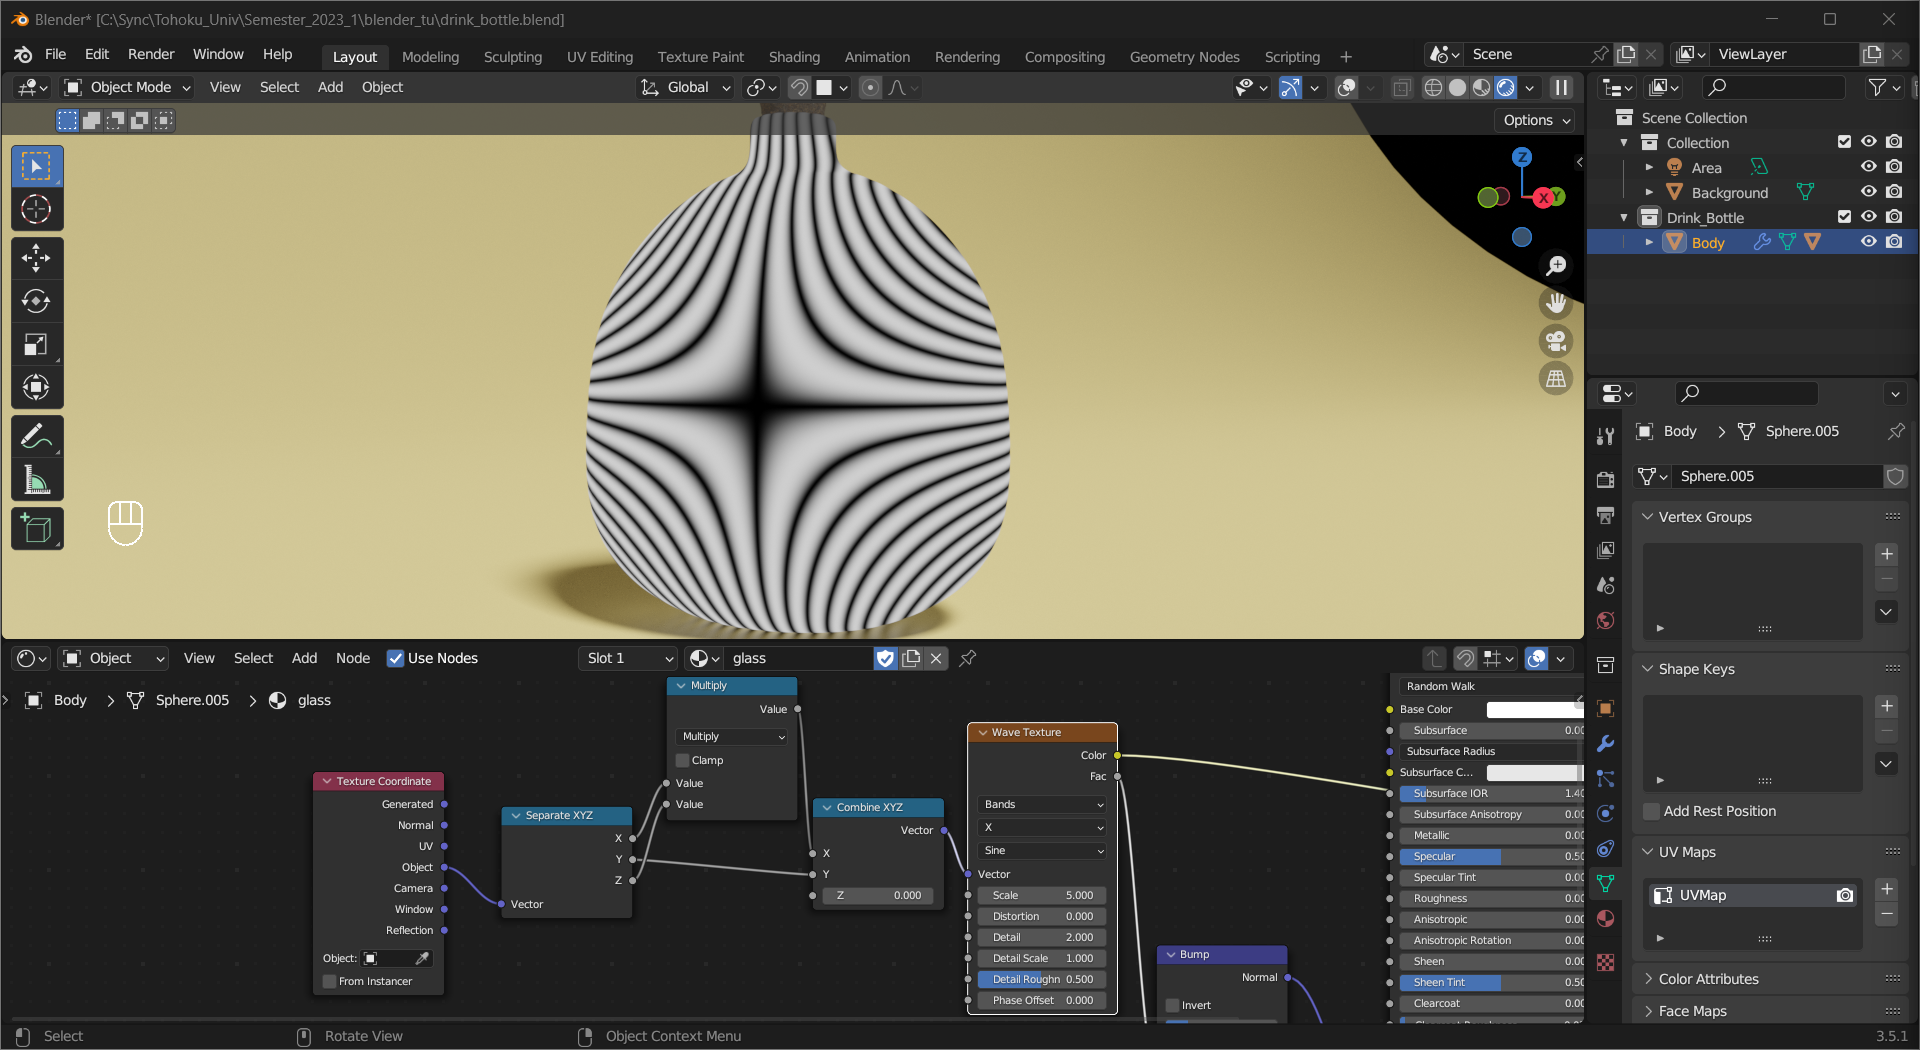
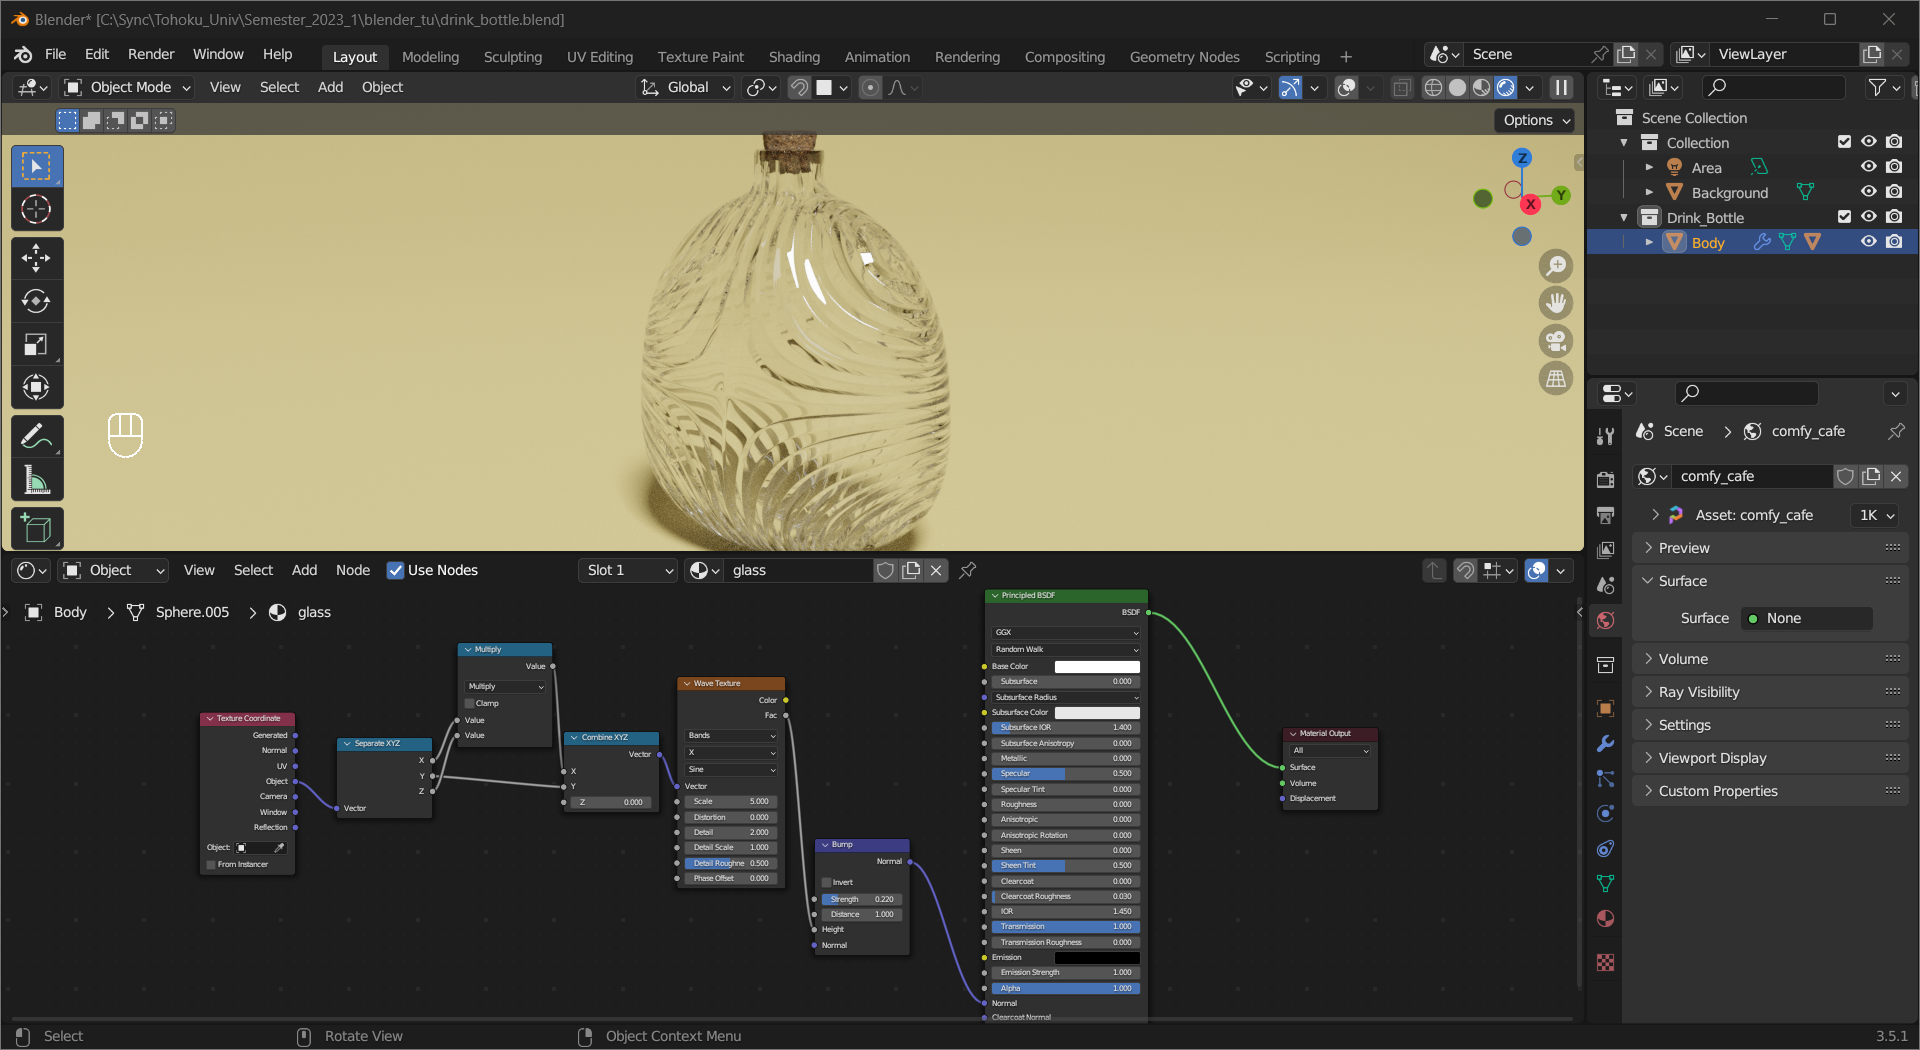
The second is a glass material with a normal map created using Wave Texture and some simple math.
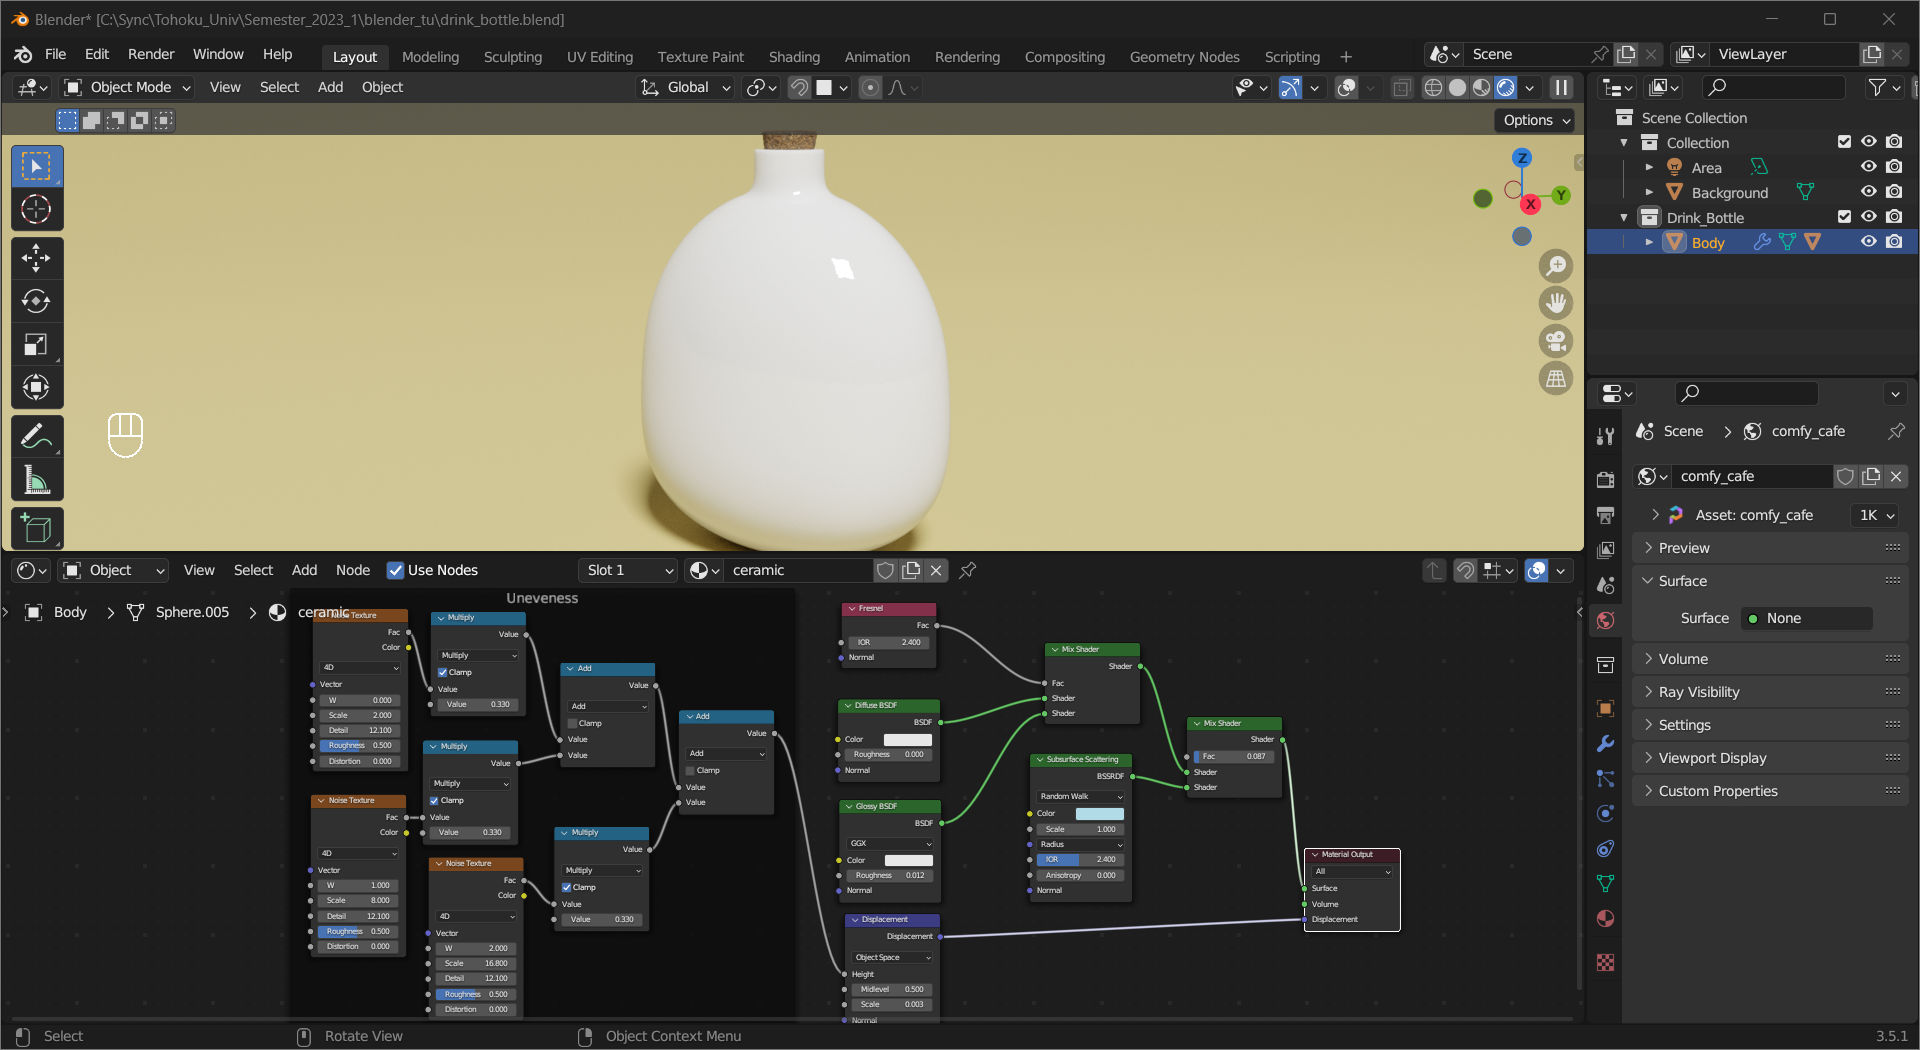
The last one is a ceramic material made of 3 different shaders, with unevenness generated by combining Noise Texture nodes with different scales.

Here are two pawn pieces with material added.
Tip
The background is a plane with a wood material obtained from Poly Haven.
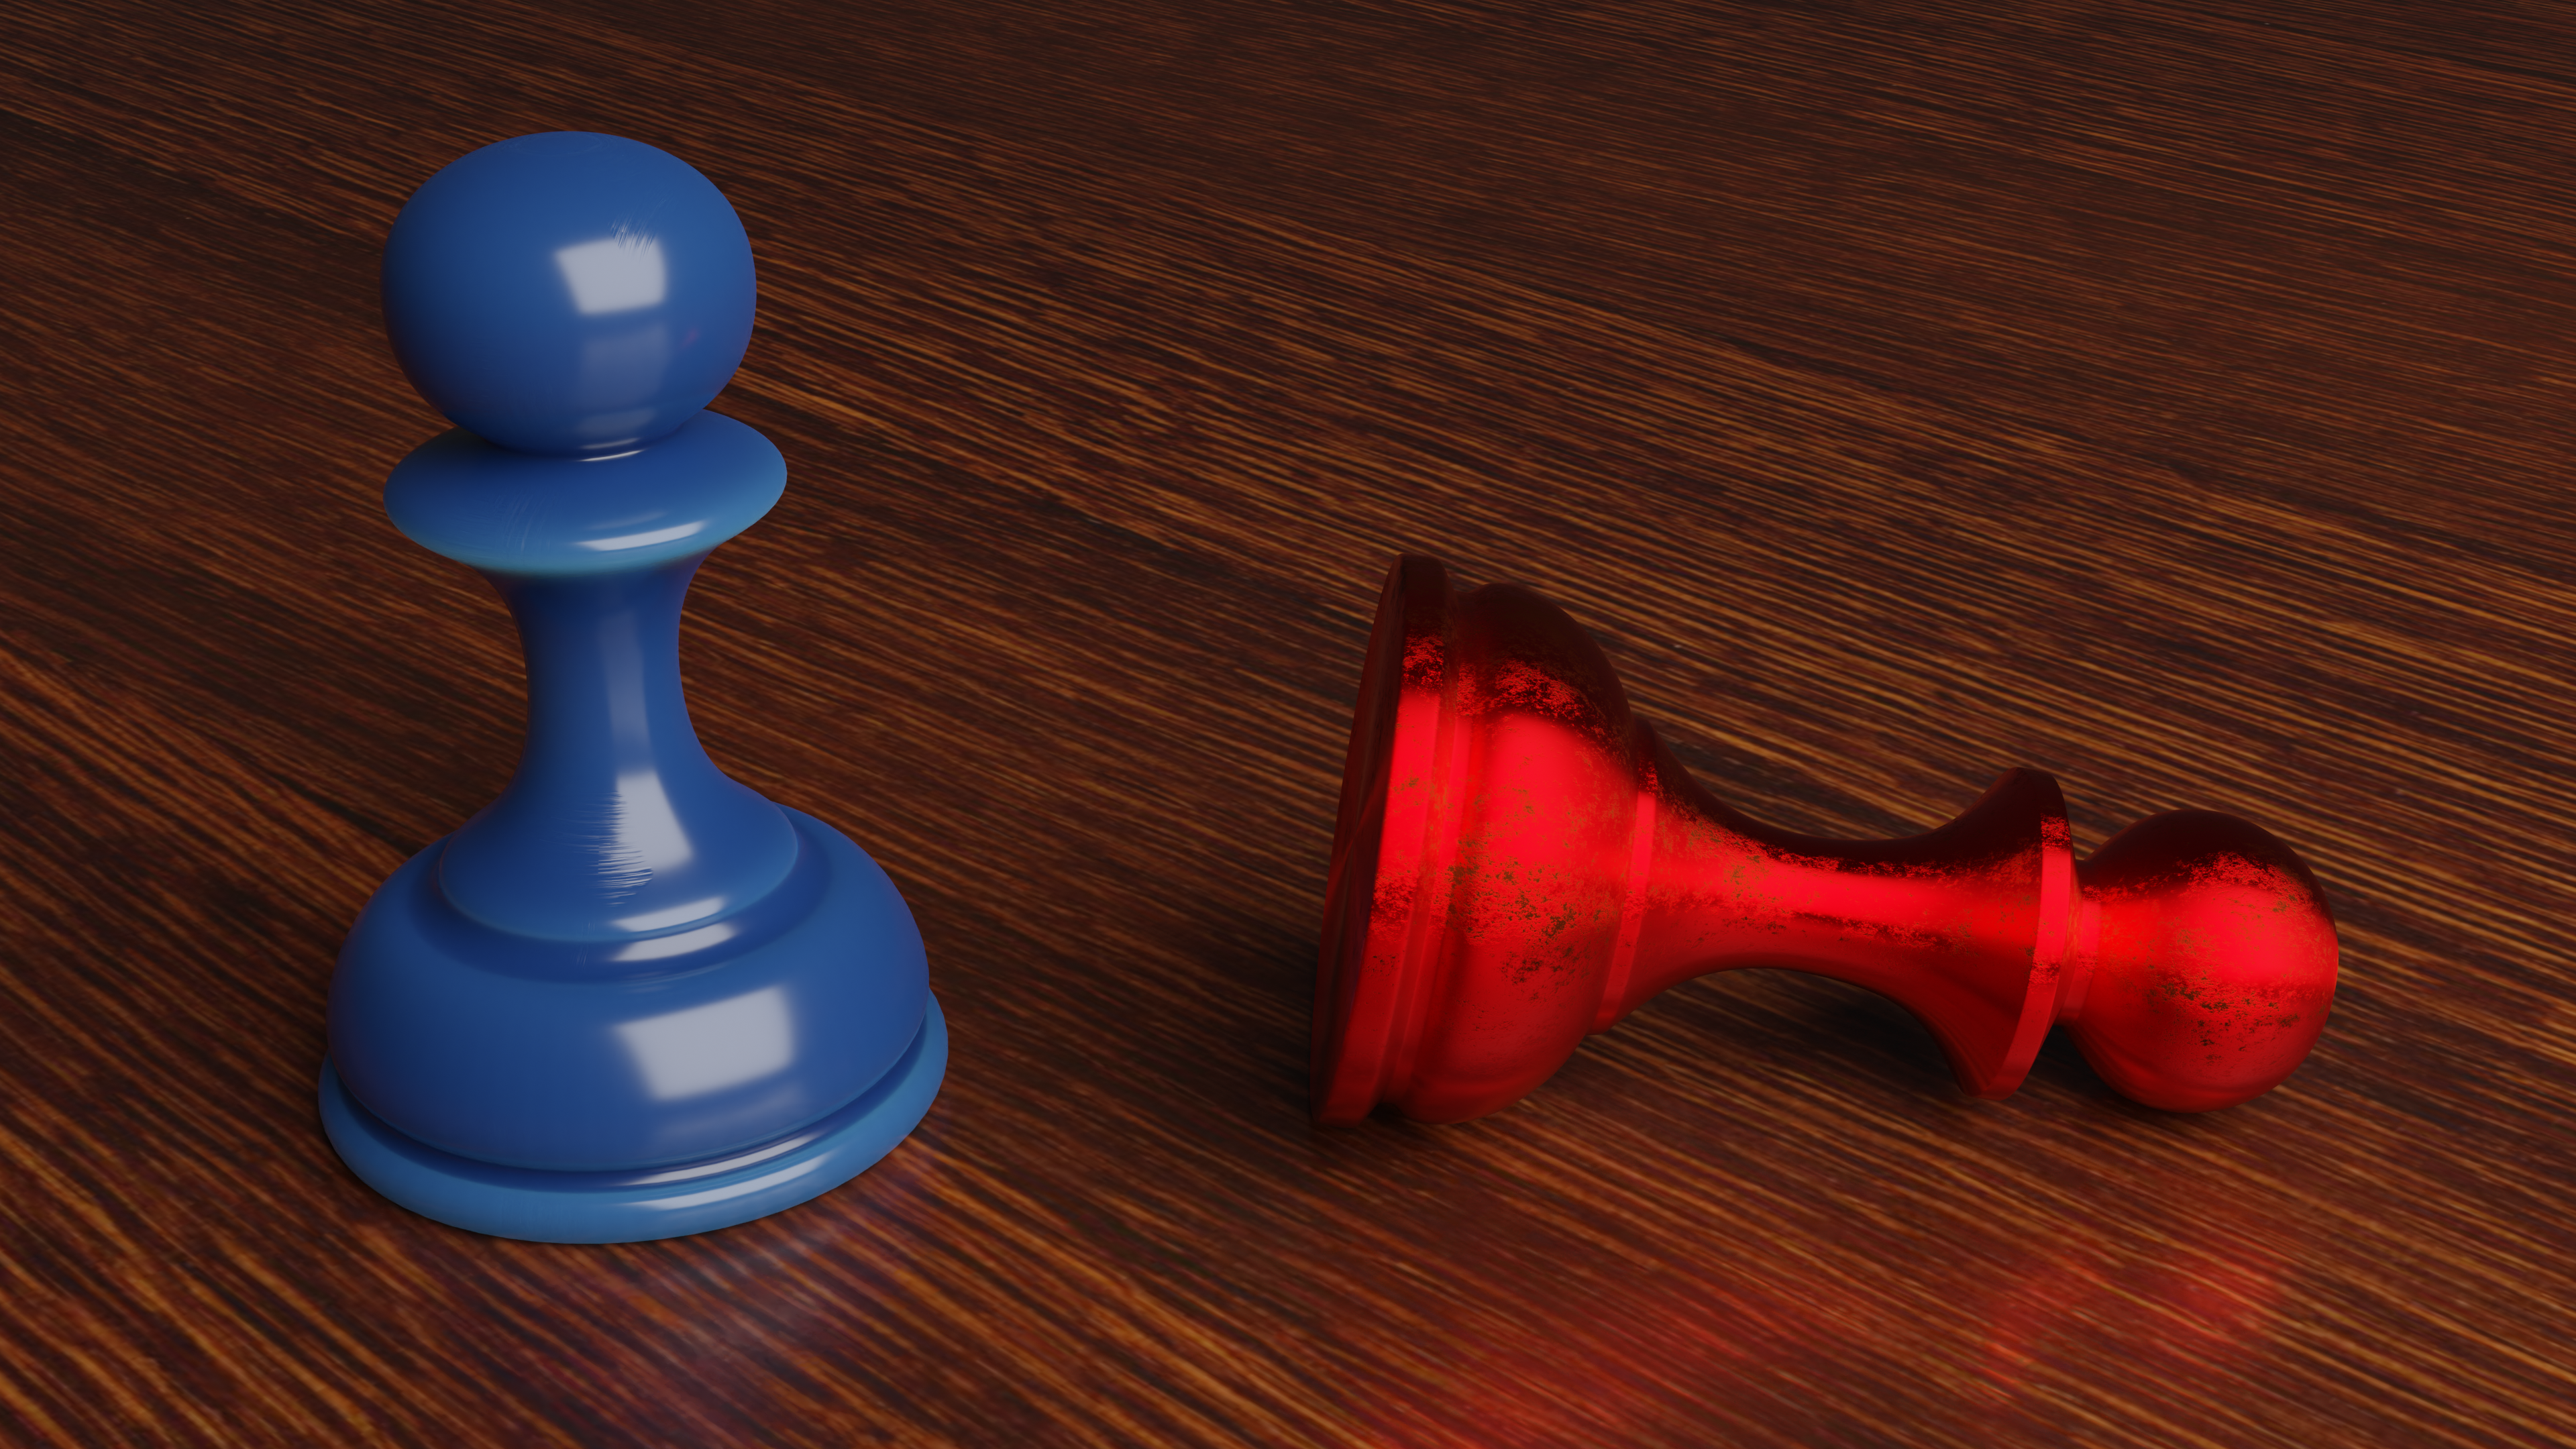
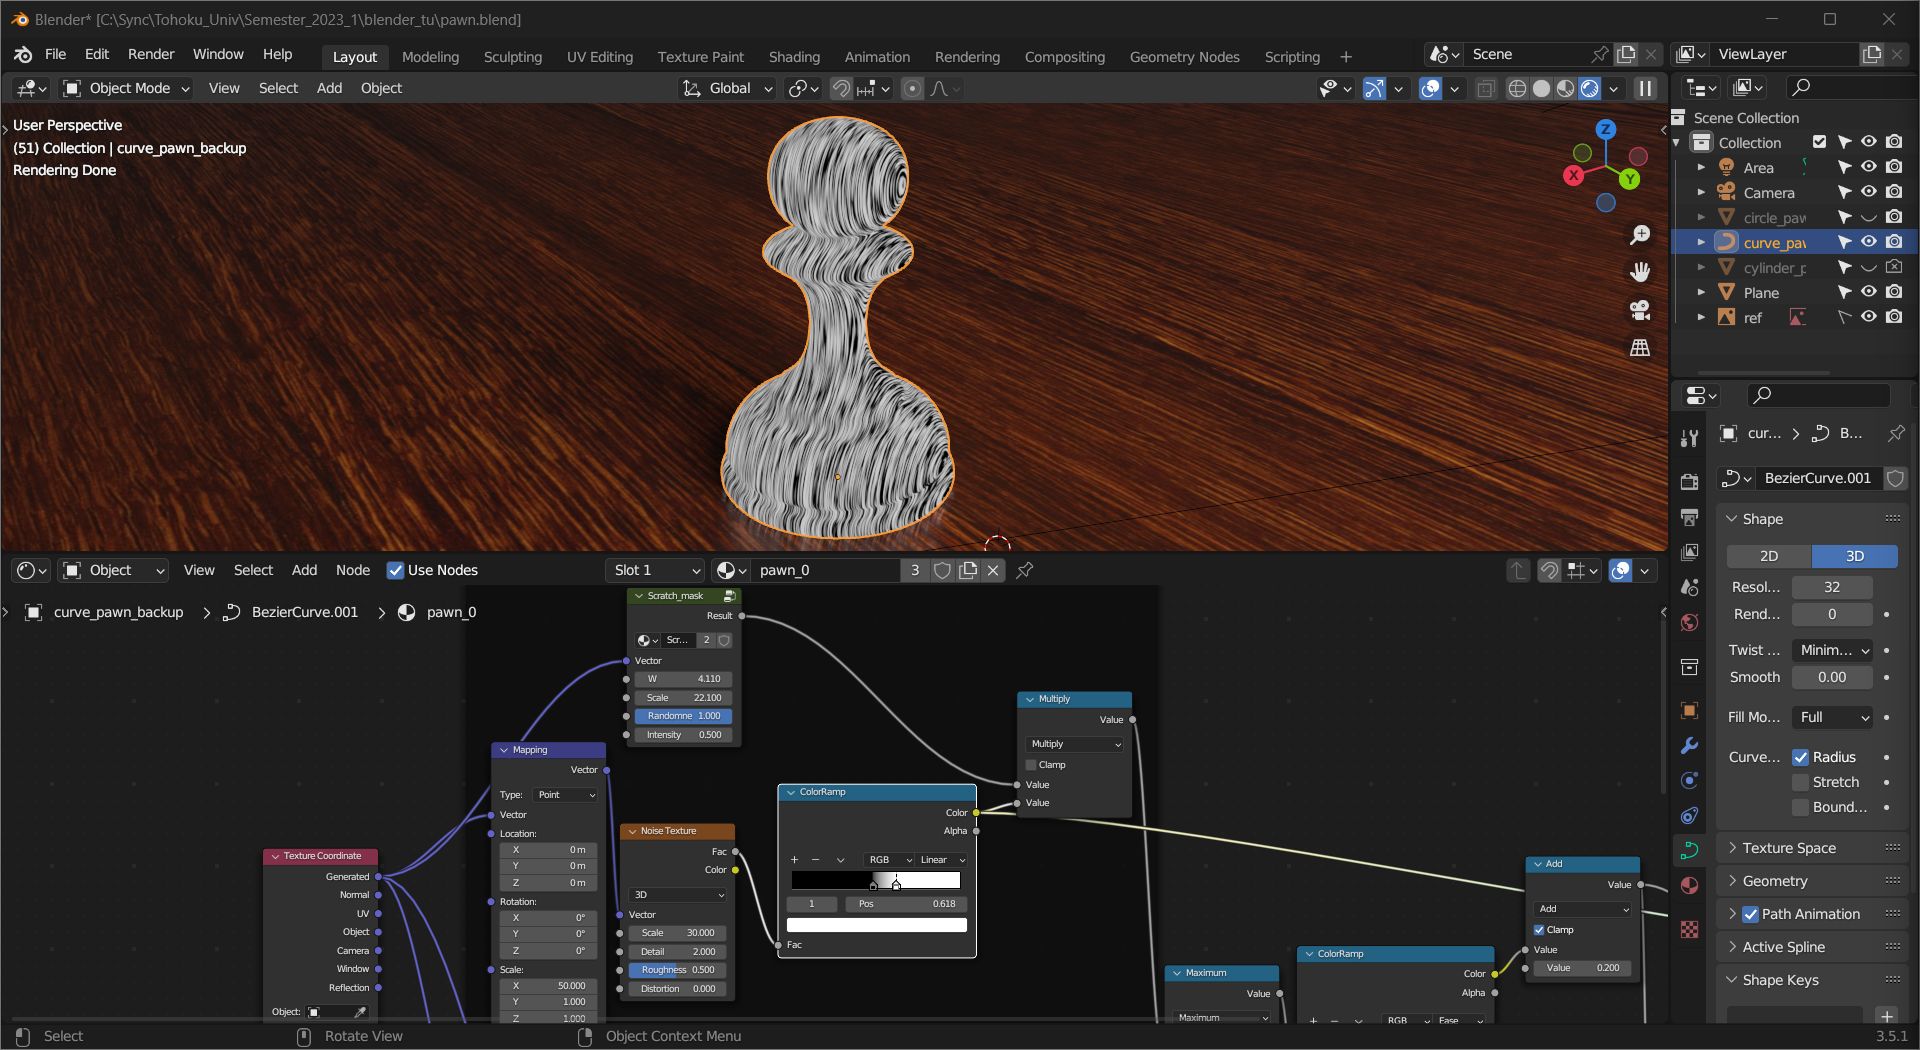
The blue pawn has a plastic material with scratches. To create the vertical/horizontal scratch, a Noise Texture is stretched on the X/Y axis using a Mapping node, then the texture is passed through a ColorRamp to enhance its contrast.
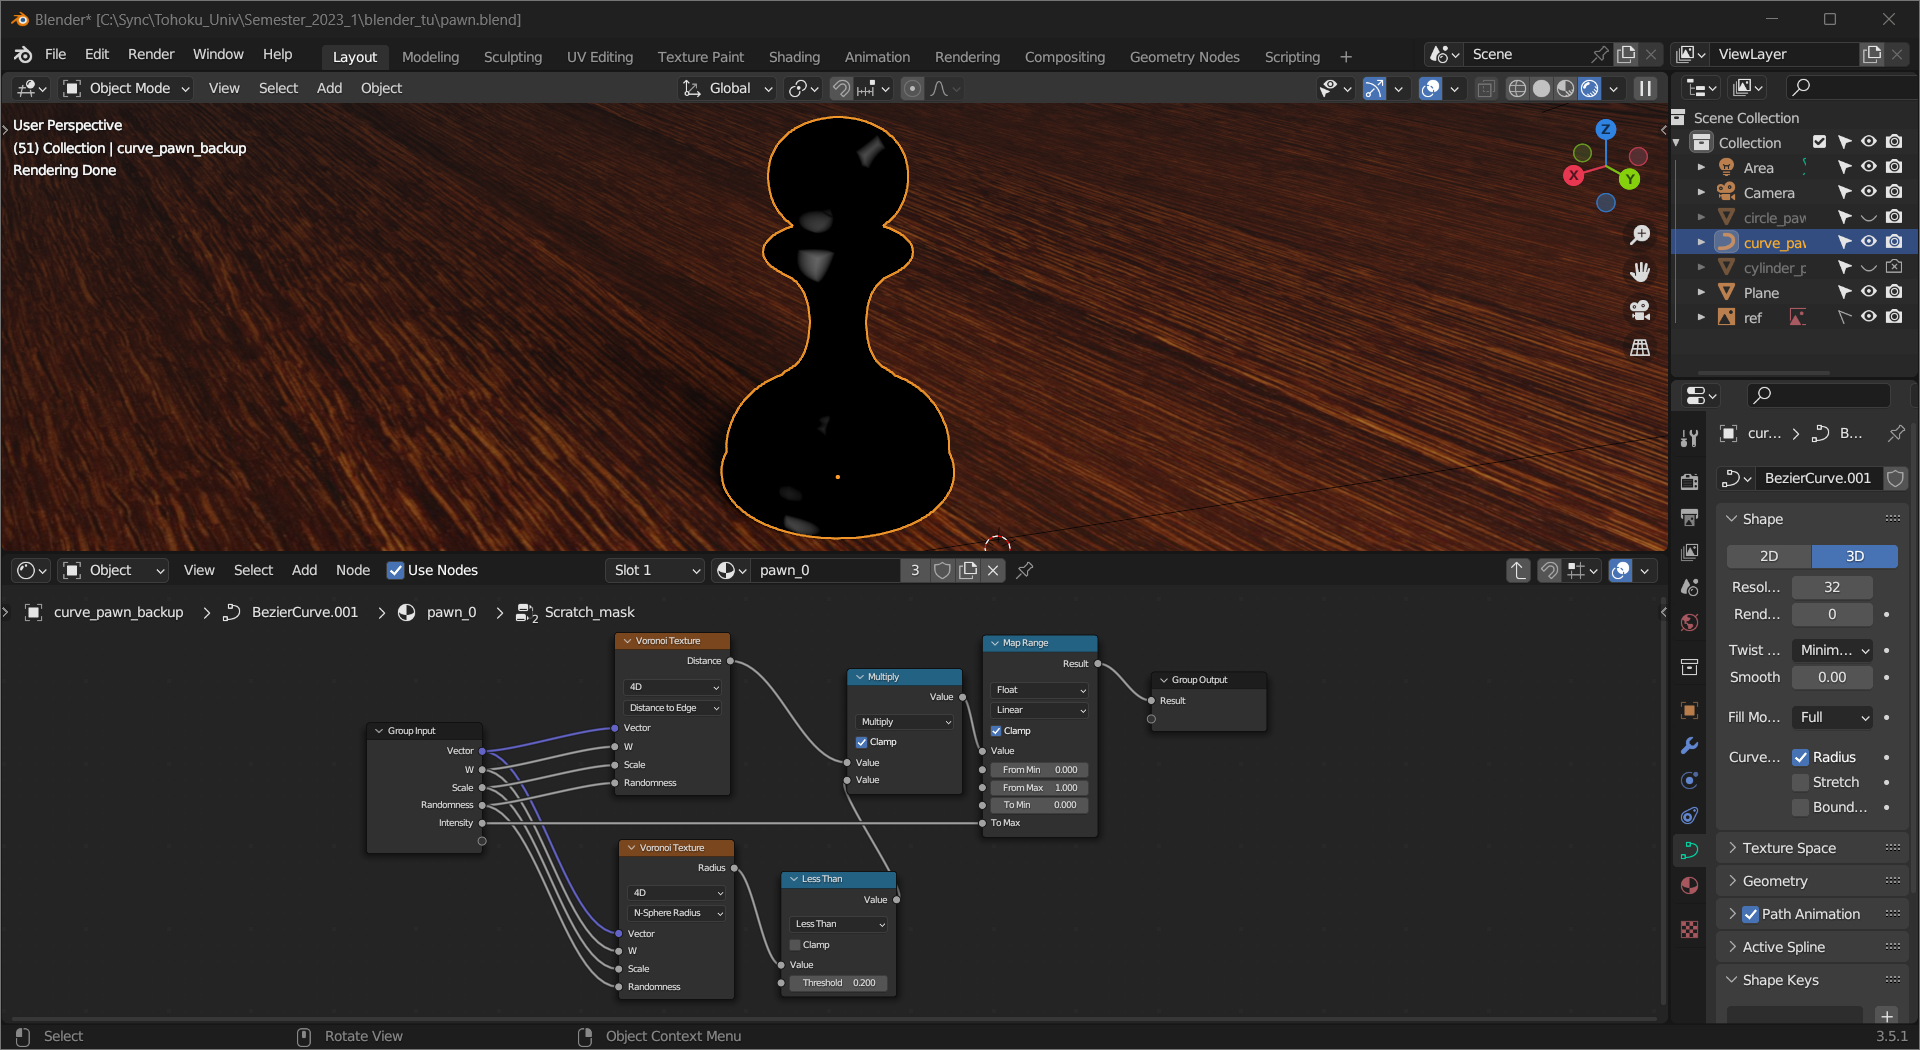
The Scratch_mask node group controls where the scratches show up. It contains 2 Voronoi Texture nodes with the same W and Scale, one of them decides the area, and the other gives a gradient effect. Combining the two textures using a Math node and adjusting the contrast with a Map Range node gives the output.
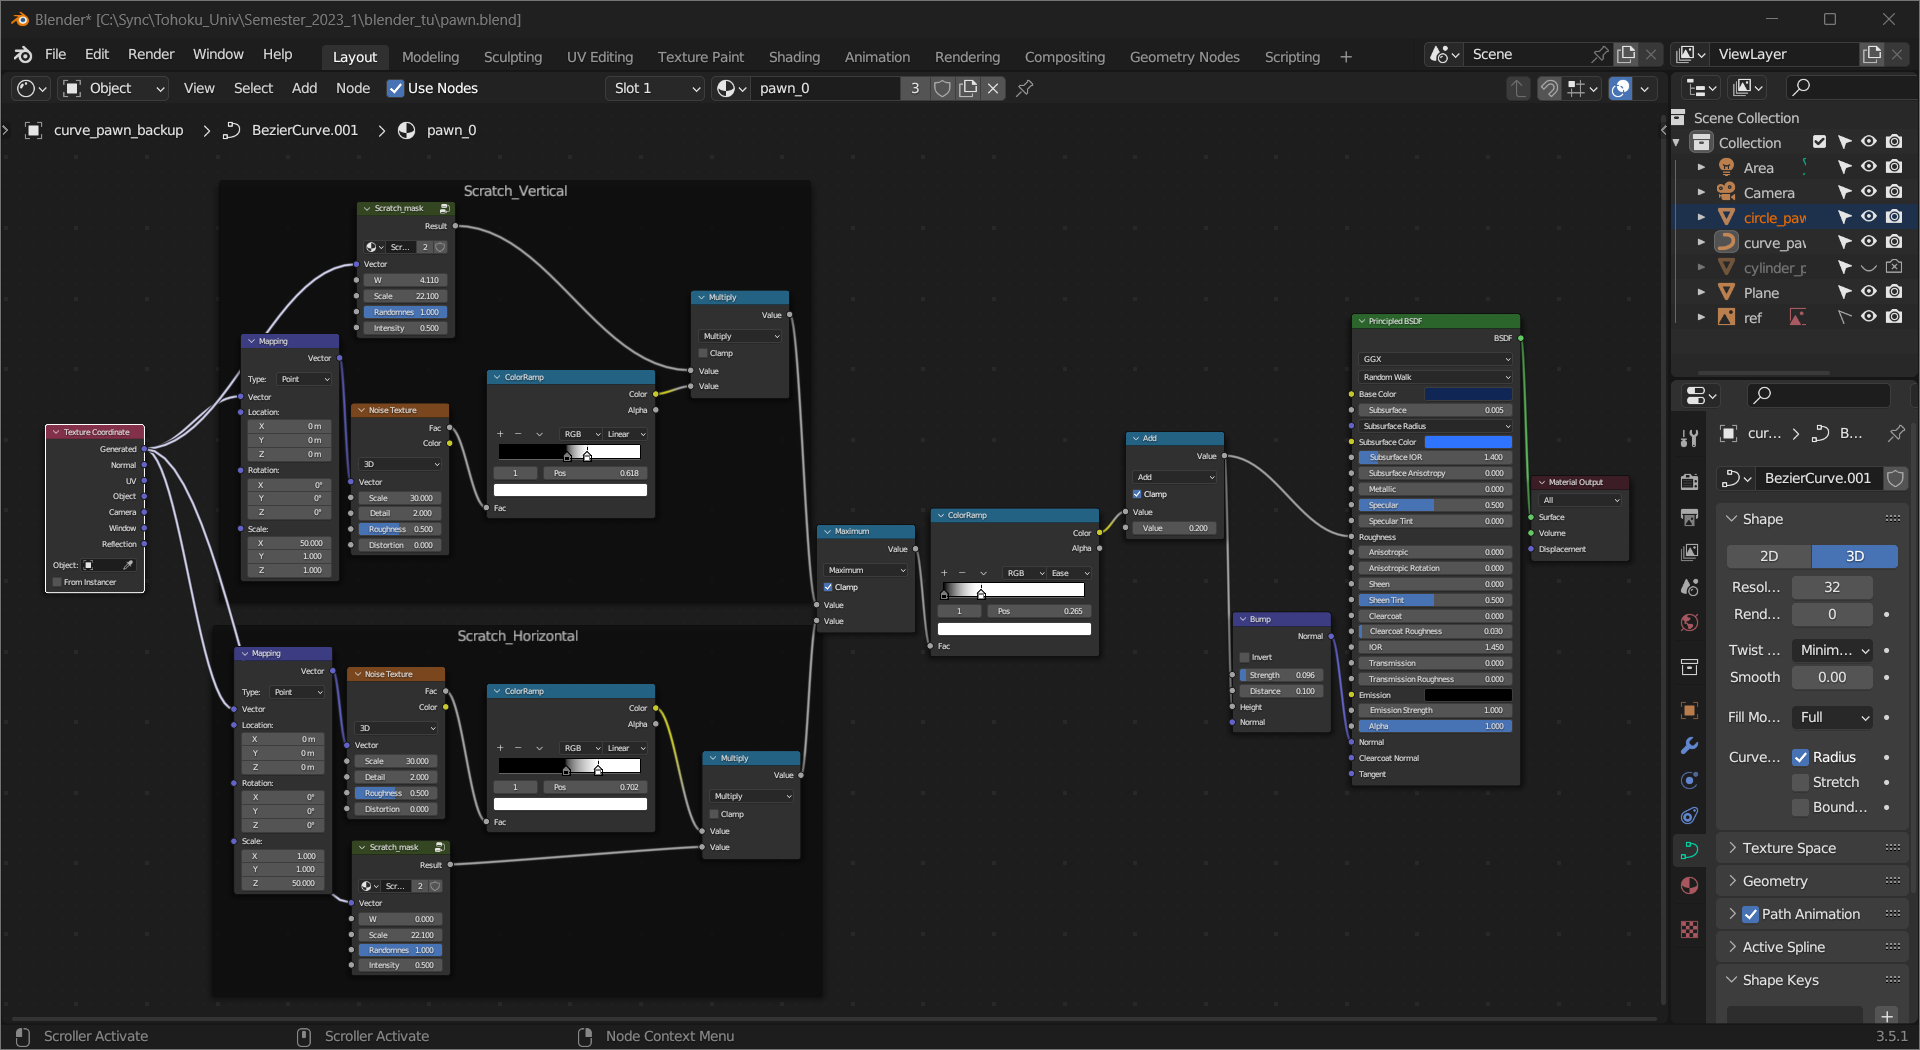
The material has a deep blue Base Color, and a lighter blue Subsurface Color helps to convey the translucency of plastic. The roughness map and normal map are created by combining the two scratch textures.
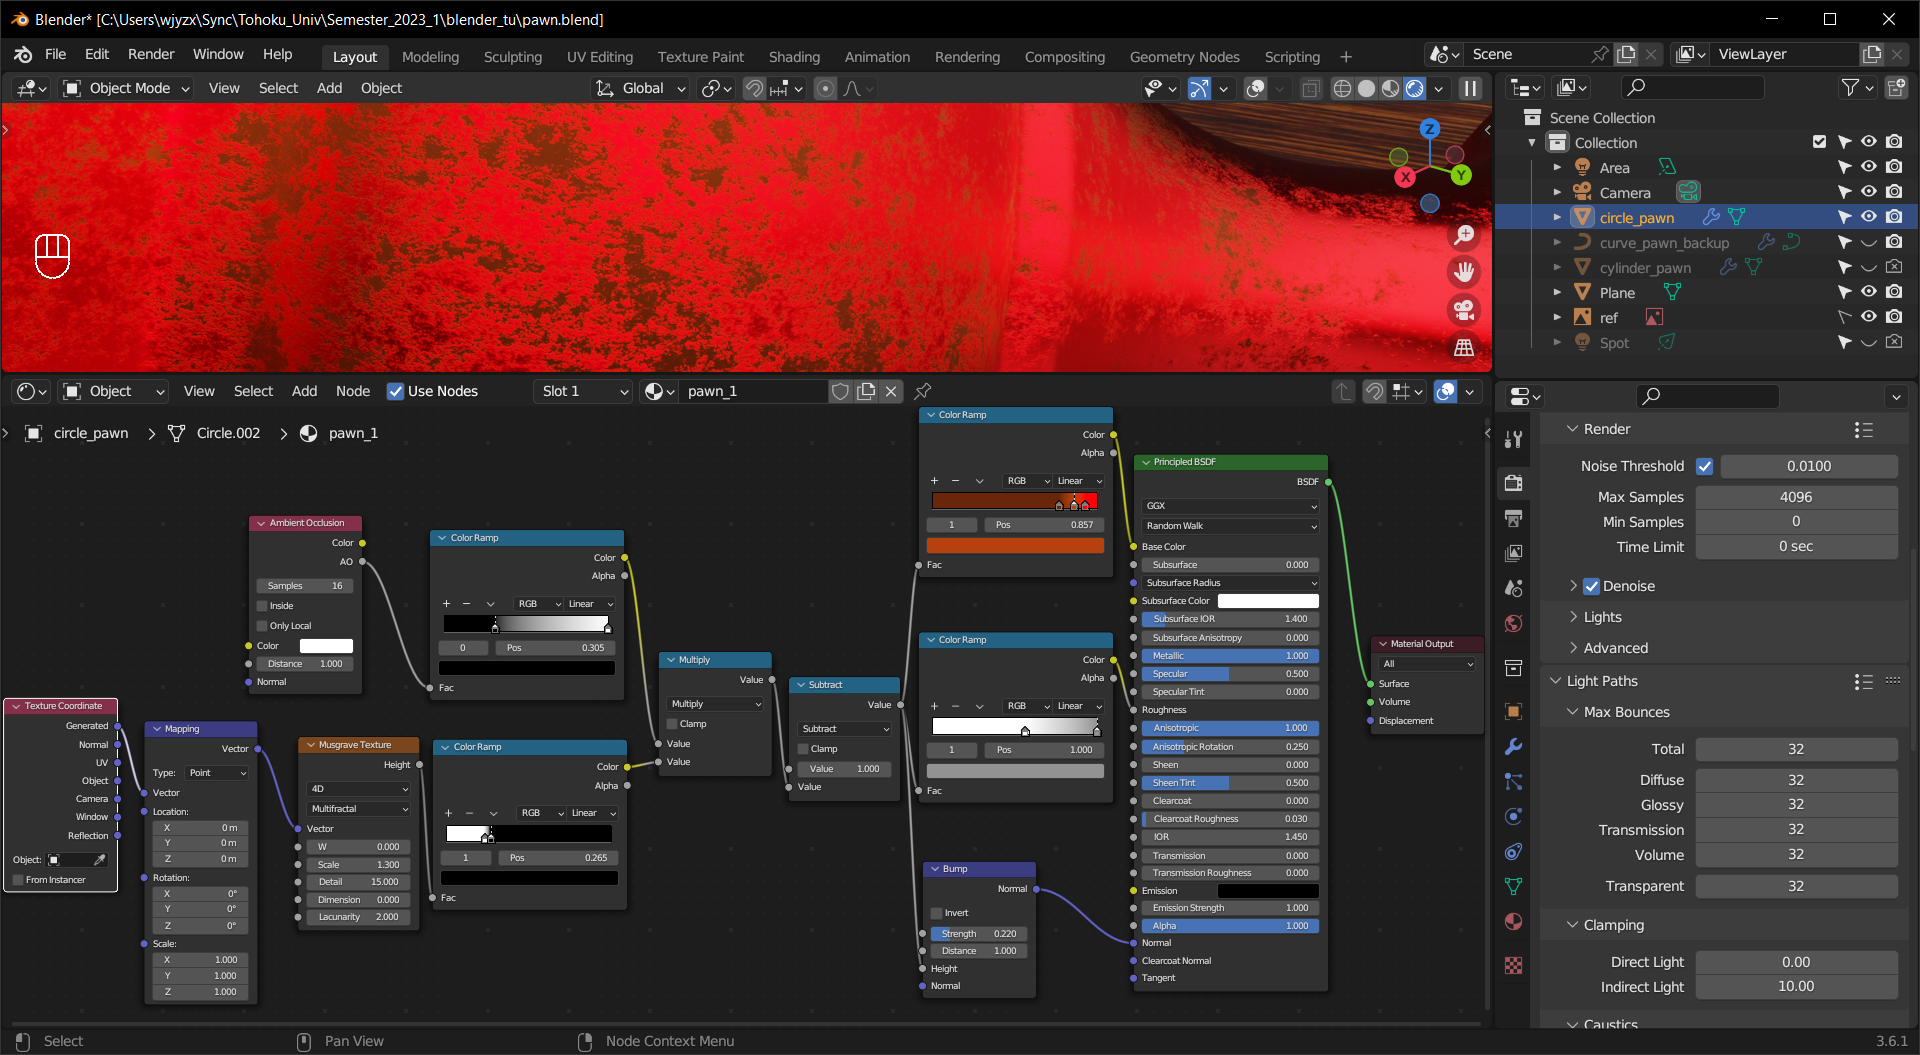
The red pawn has a metallic material with some rust. To make the rust effect, a Musgrave Texture with enhanced contrast is used.

Rusting is usually more severe on the exposed sides, we can use the AO output from the Ambient Occlusion node to find those areas.
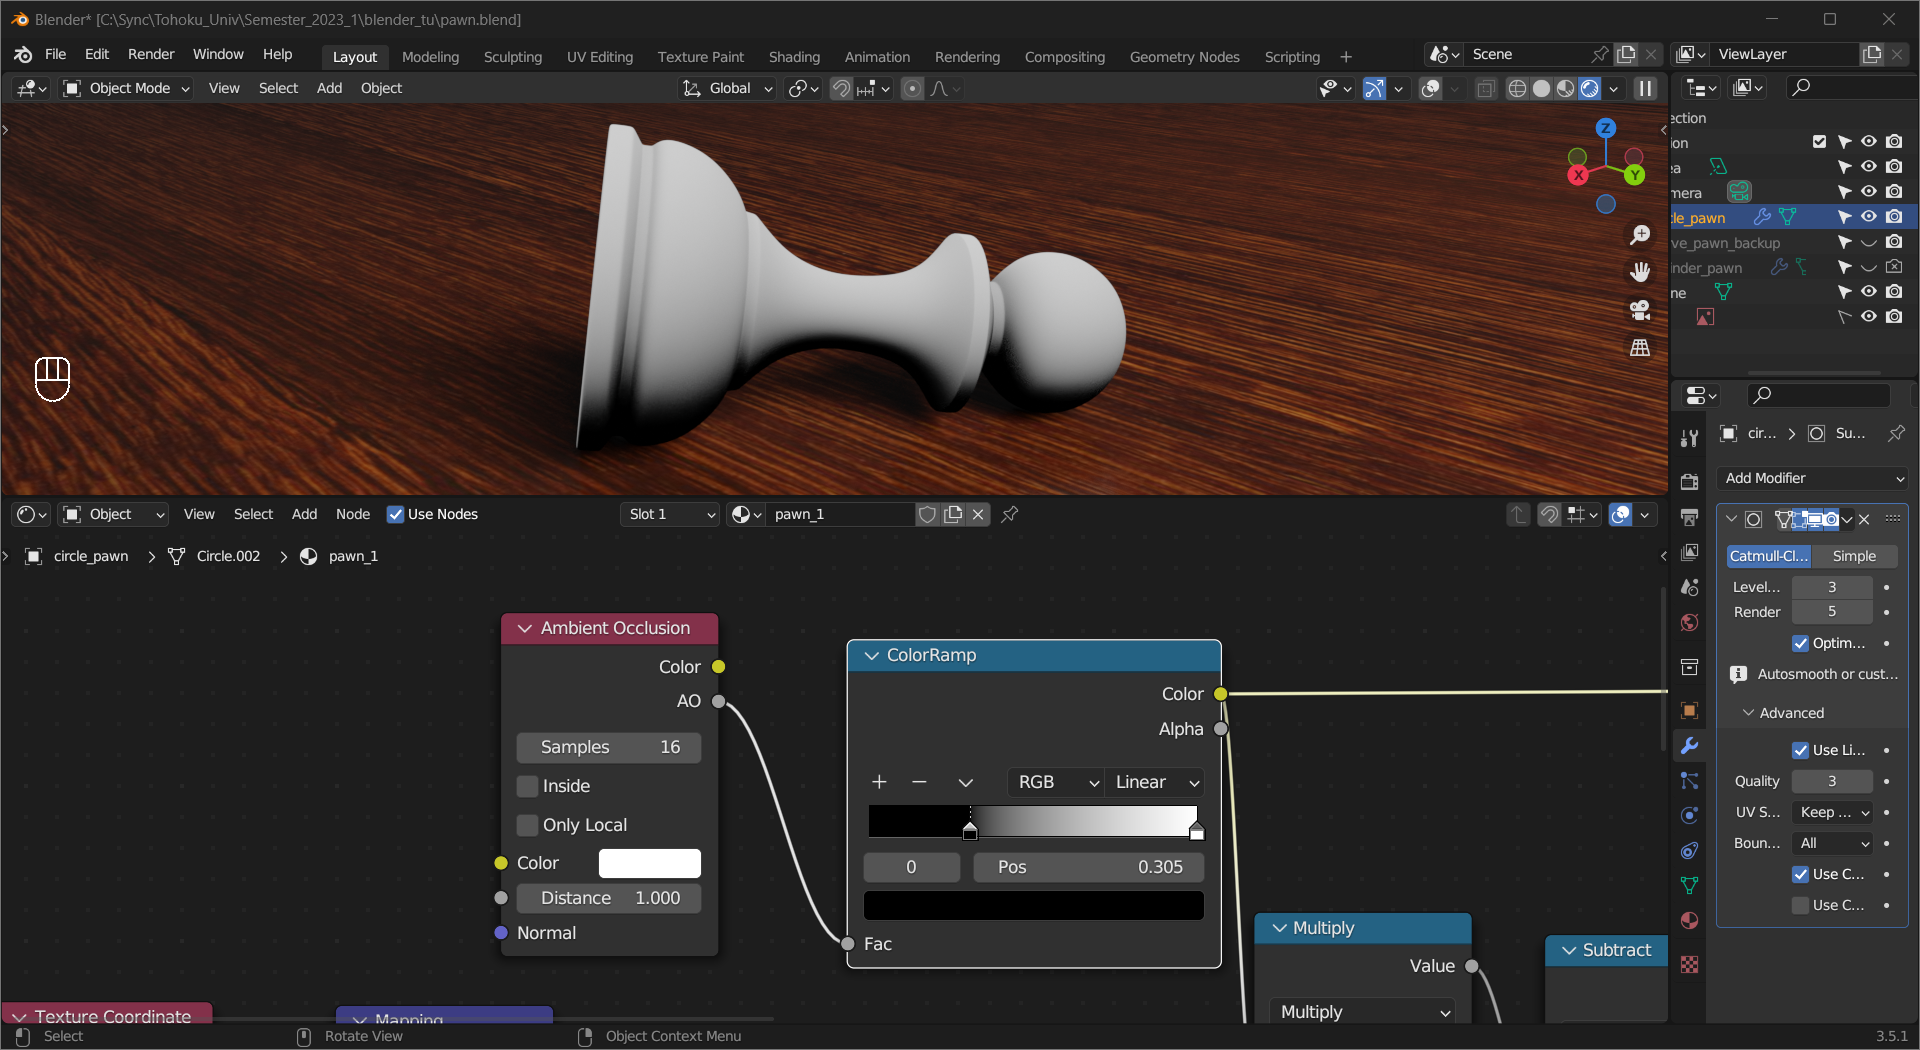
Combining these two with Math gives the rust mask.
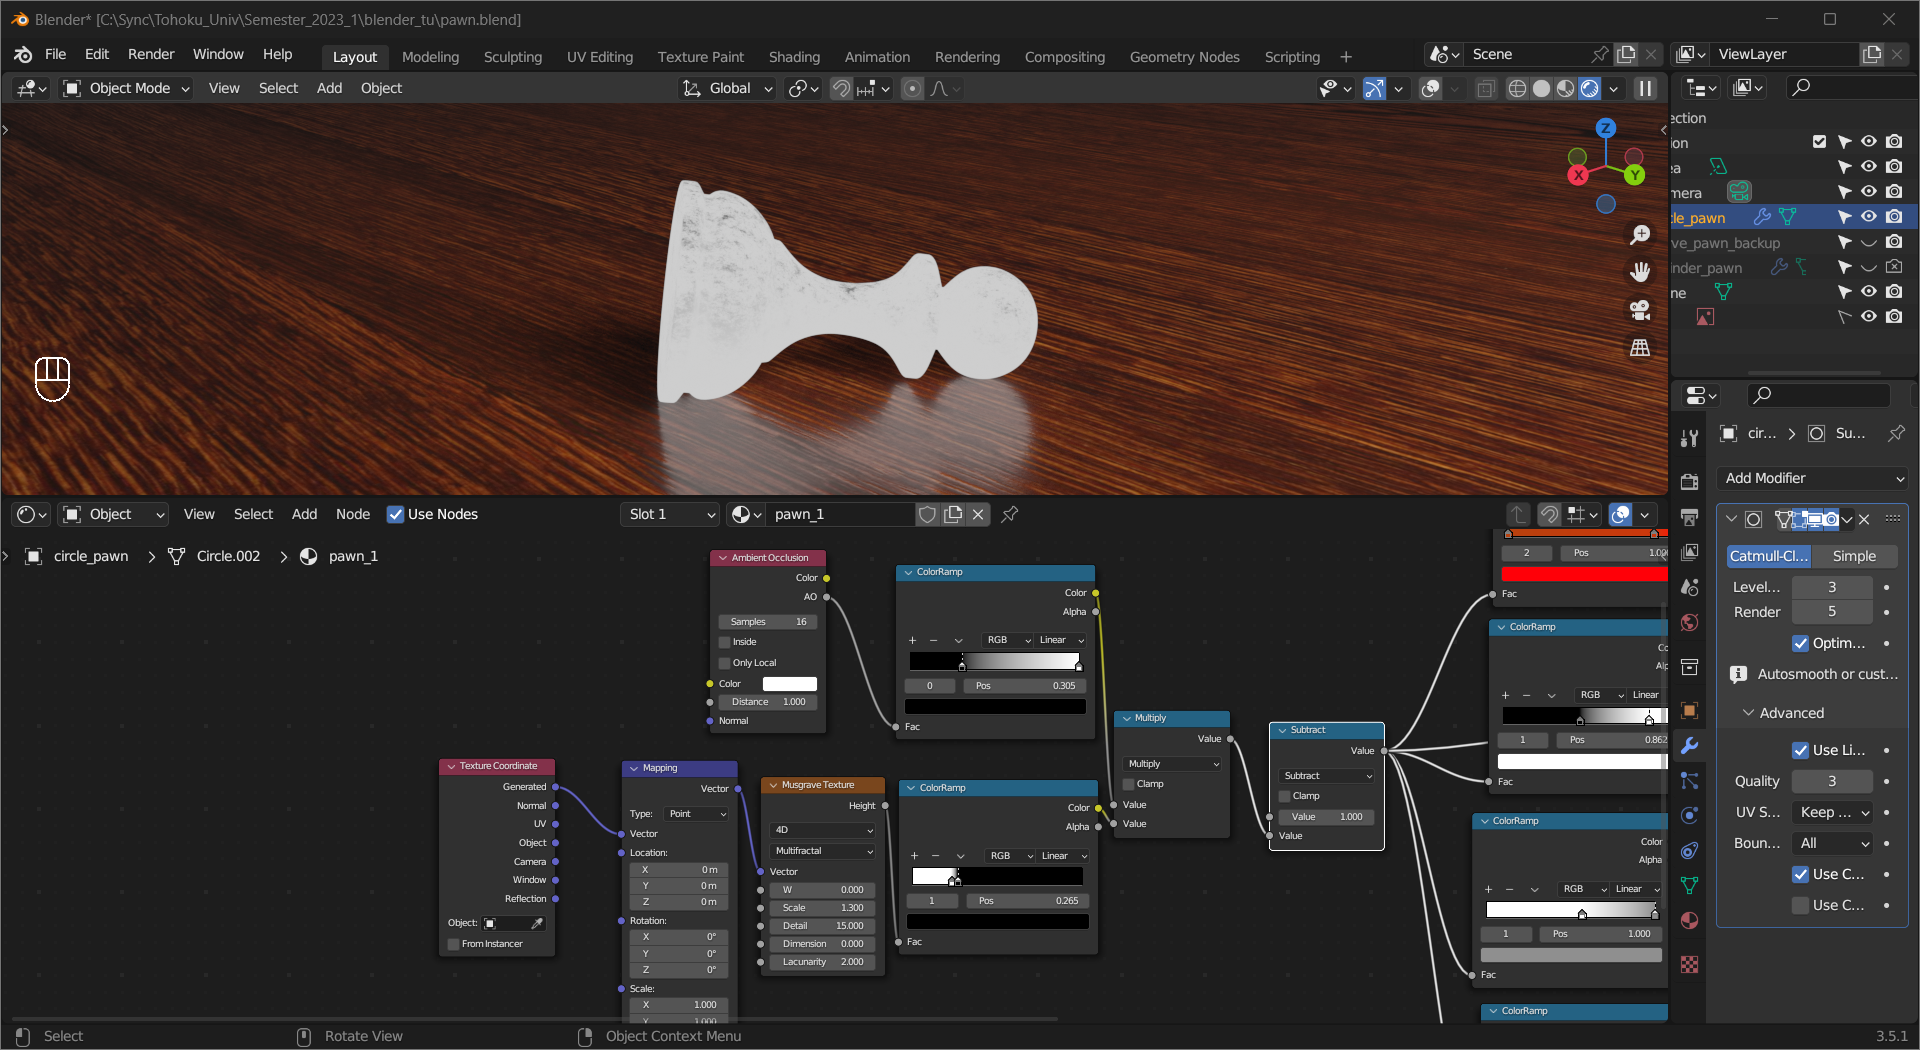
Using the rust mask to control the Base Color, Metallic, Roughness, and Normal of the Principled BSDF shader produces the final result.
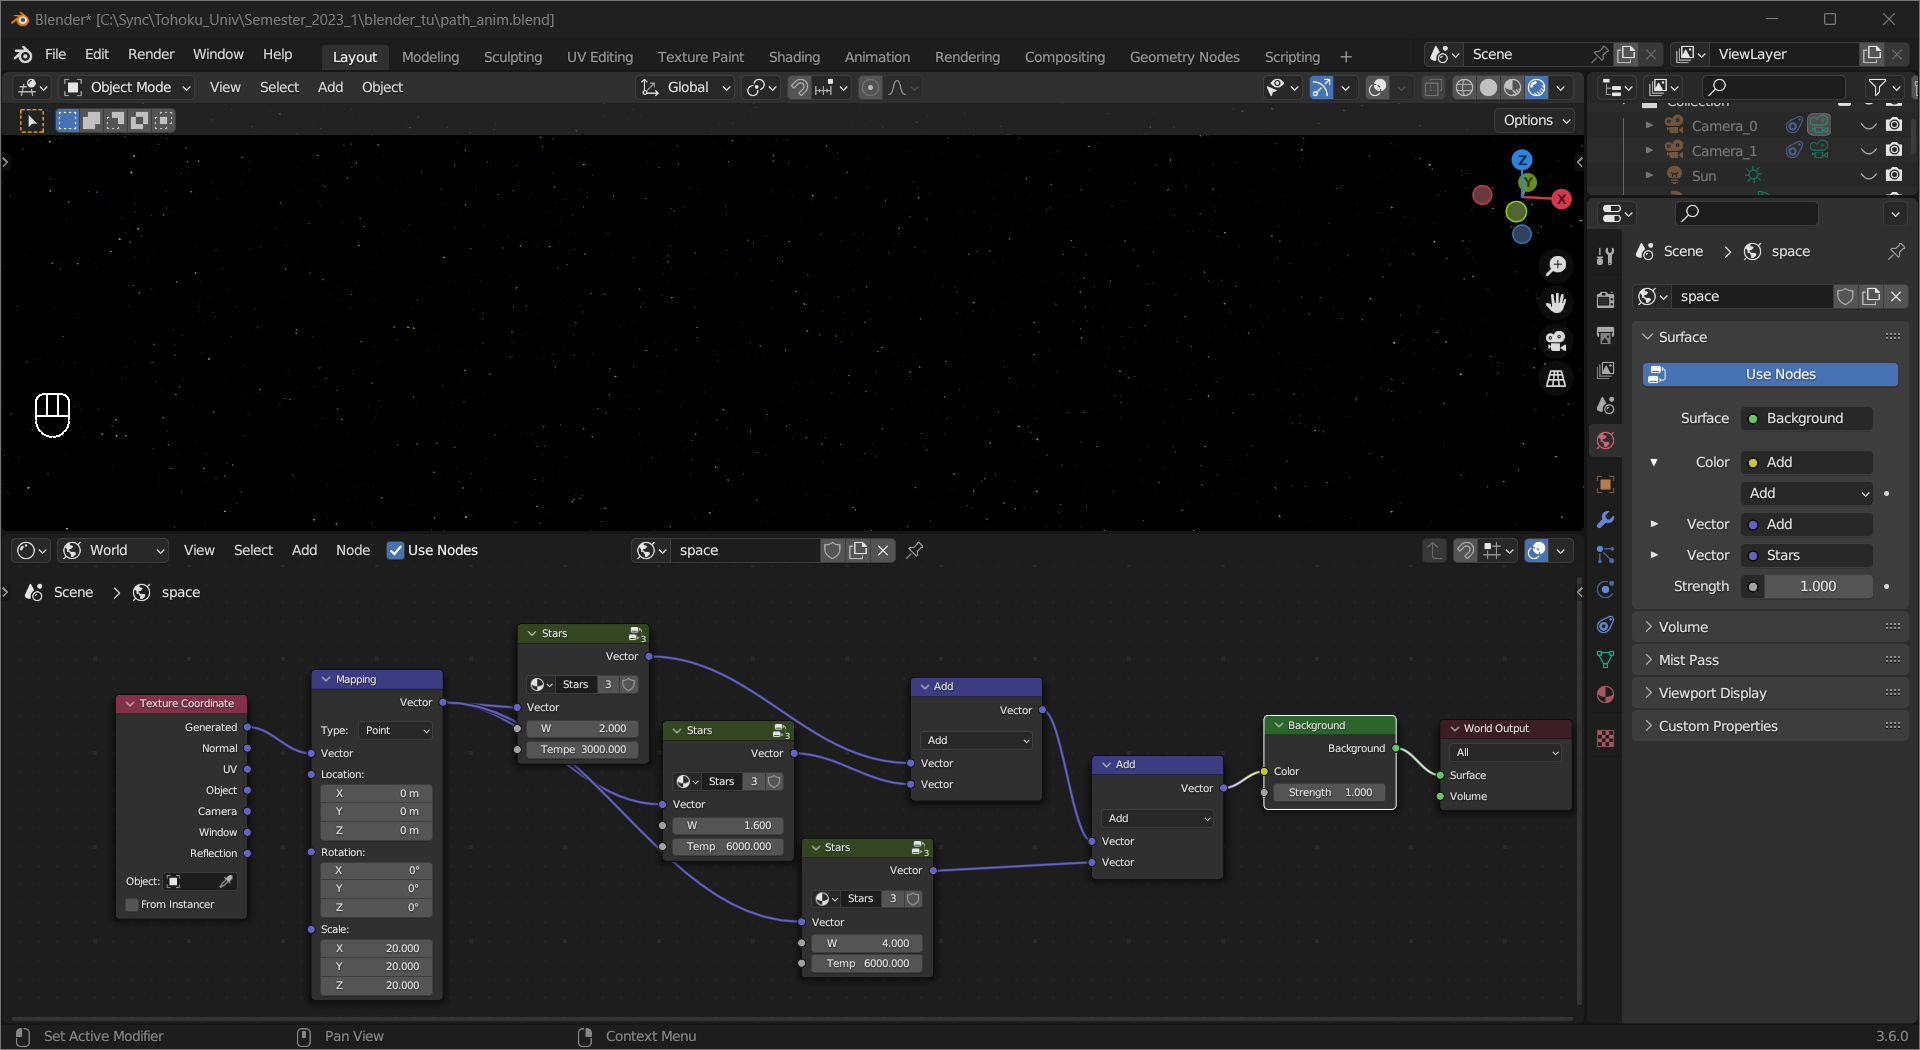
First we create a background that resembles space. To make the stars, a Noise Texture with adjusted contrast is used to determine the positions, and a Blackbody node to add color.

Tip
Time to clean your screen.
Combining multiple star textures gives the result.
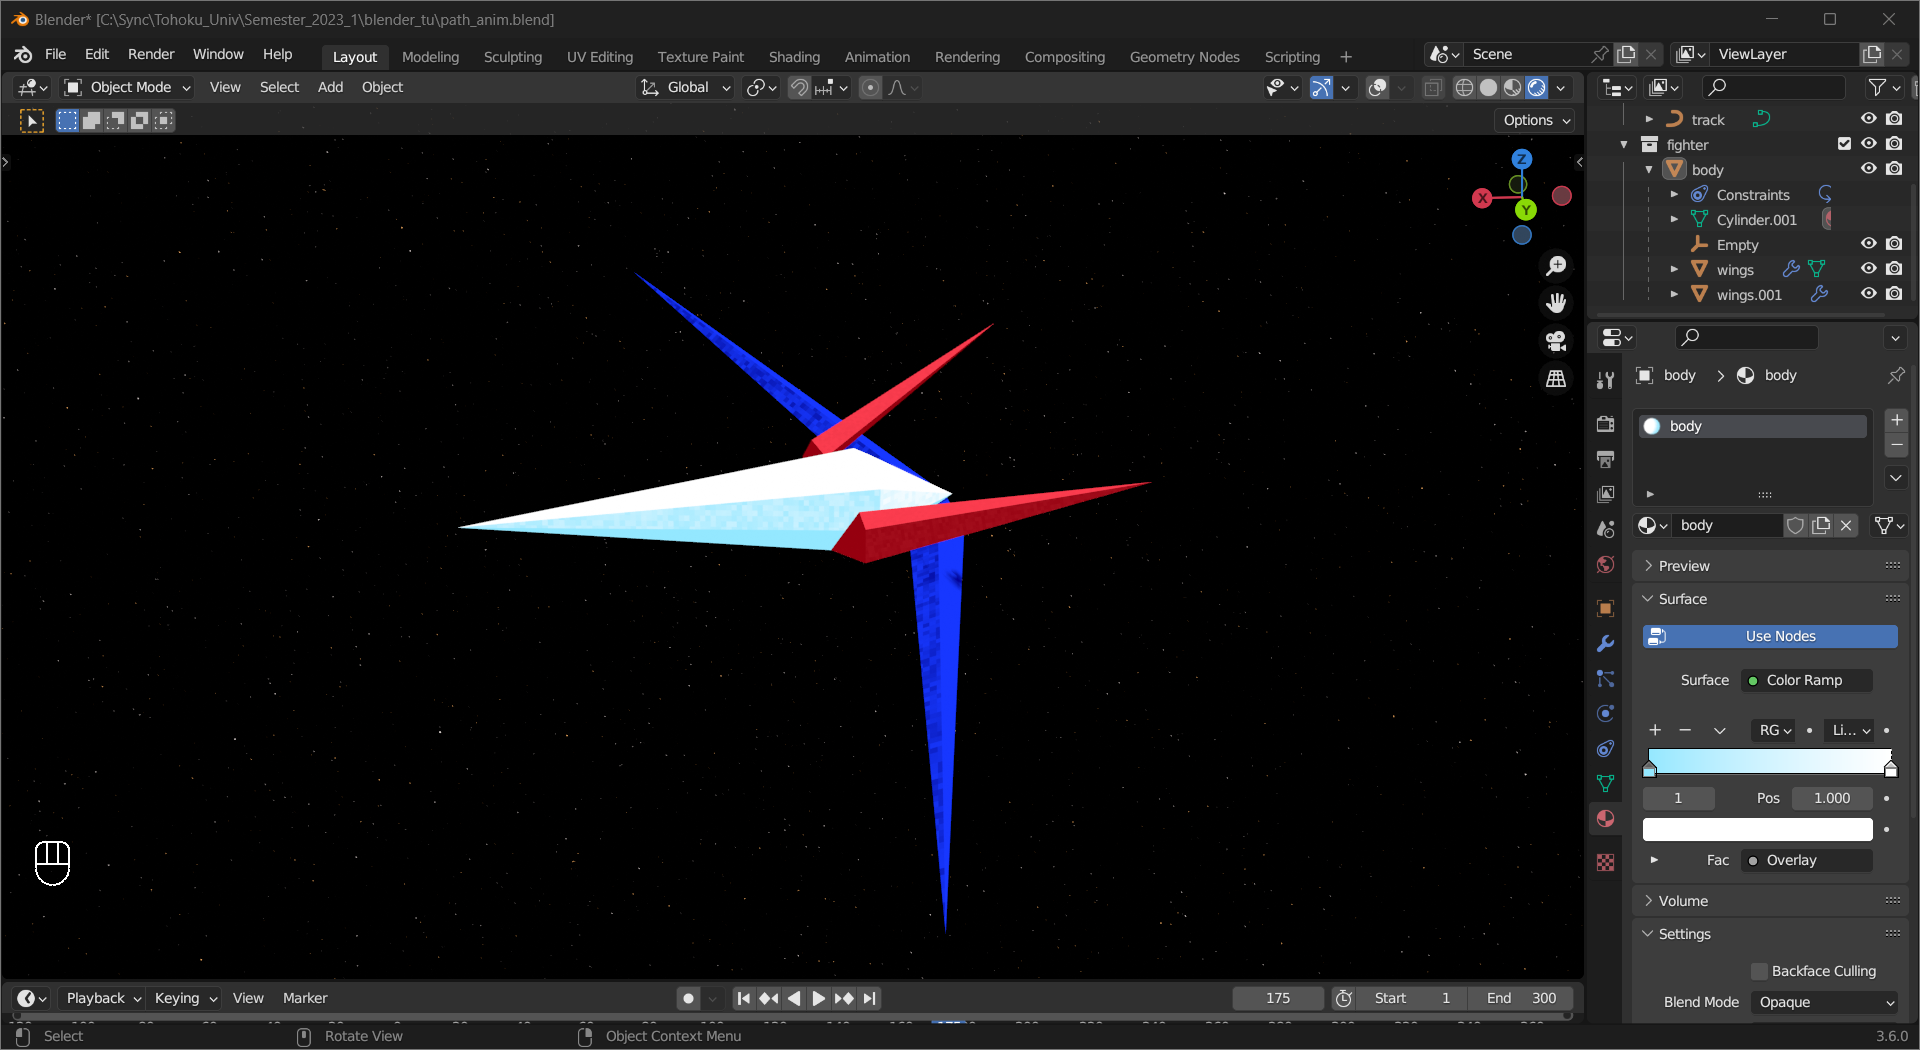
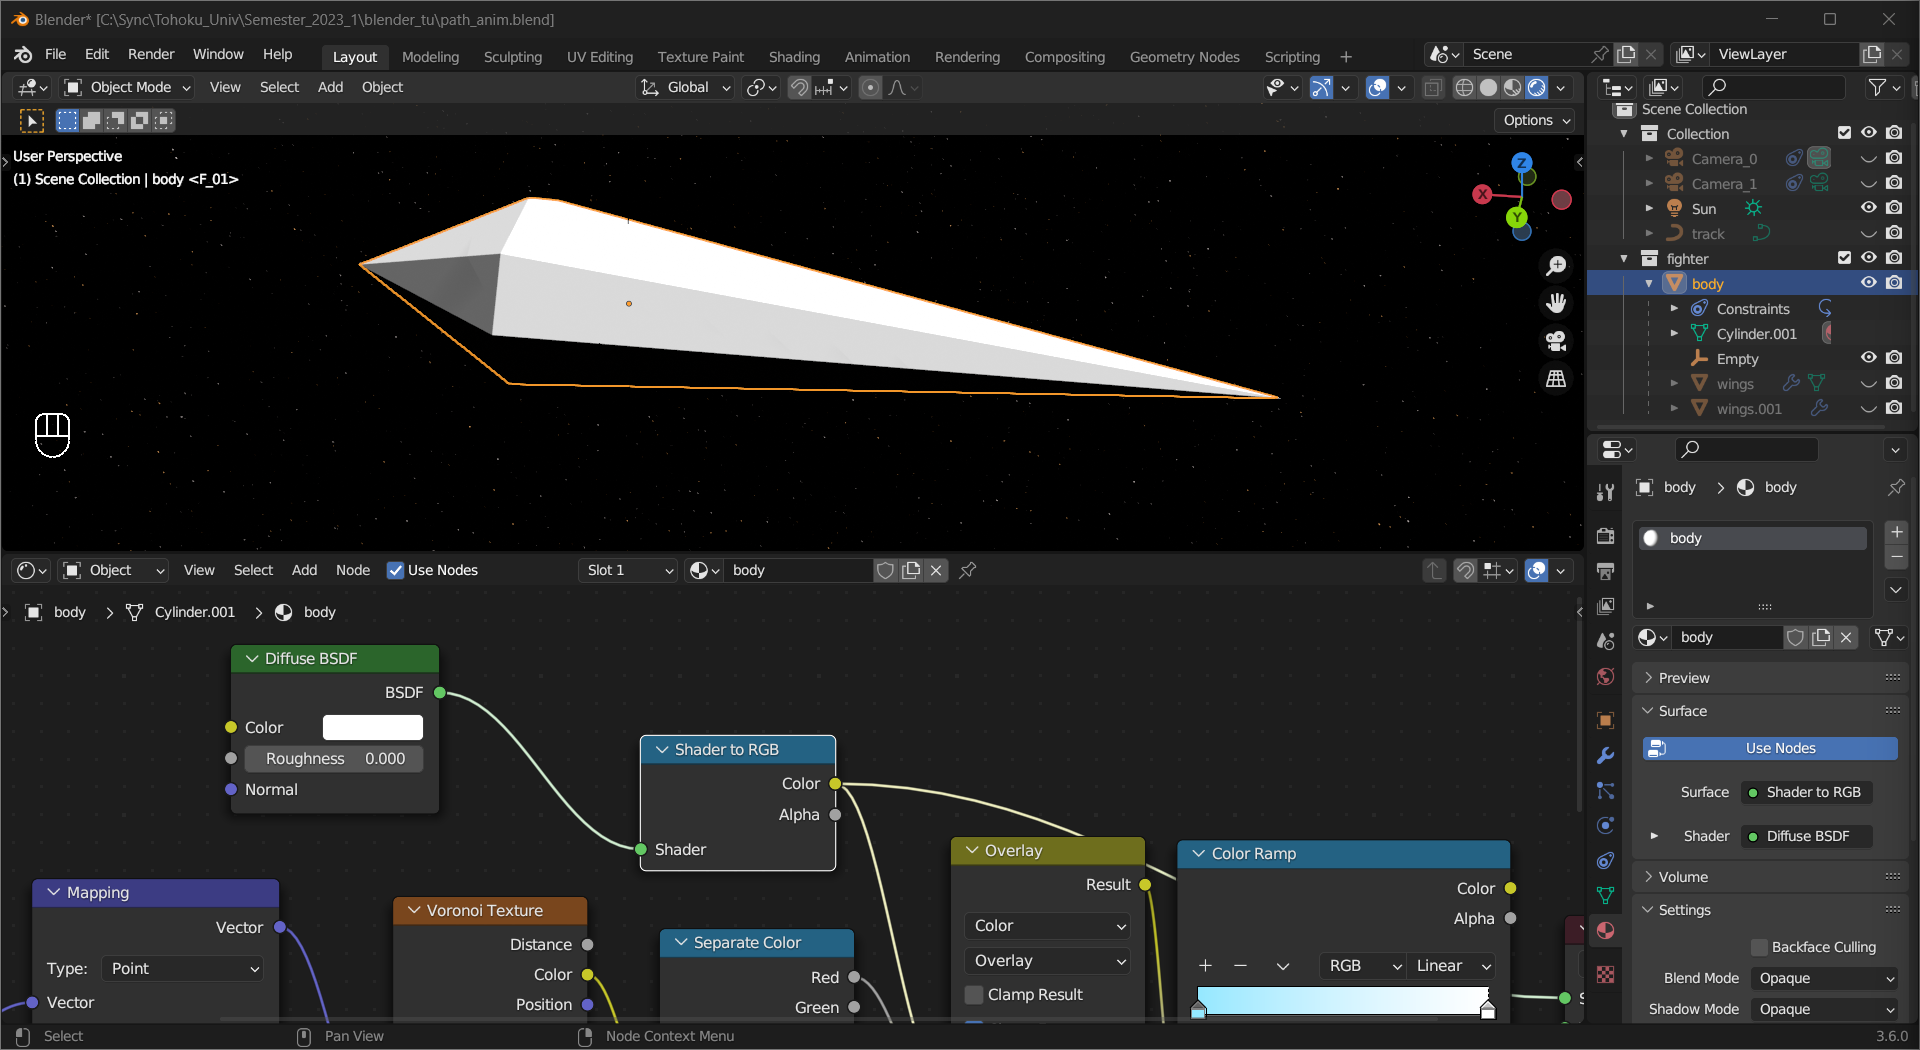
For the fighter (or your cool space vehicle), we are taking a more stylized approach. To create a pixelated look, we first add a Voronoi Texture, turn Randomness to 0 and separate the Color output.
Tip
Add a Sun Light to better see the effect in
Renderedviewport shading.EEVEE is more than enough for this material.
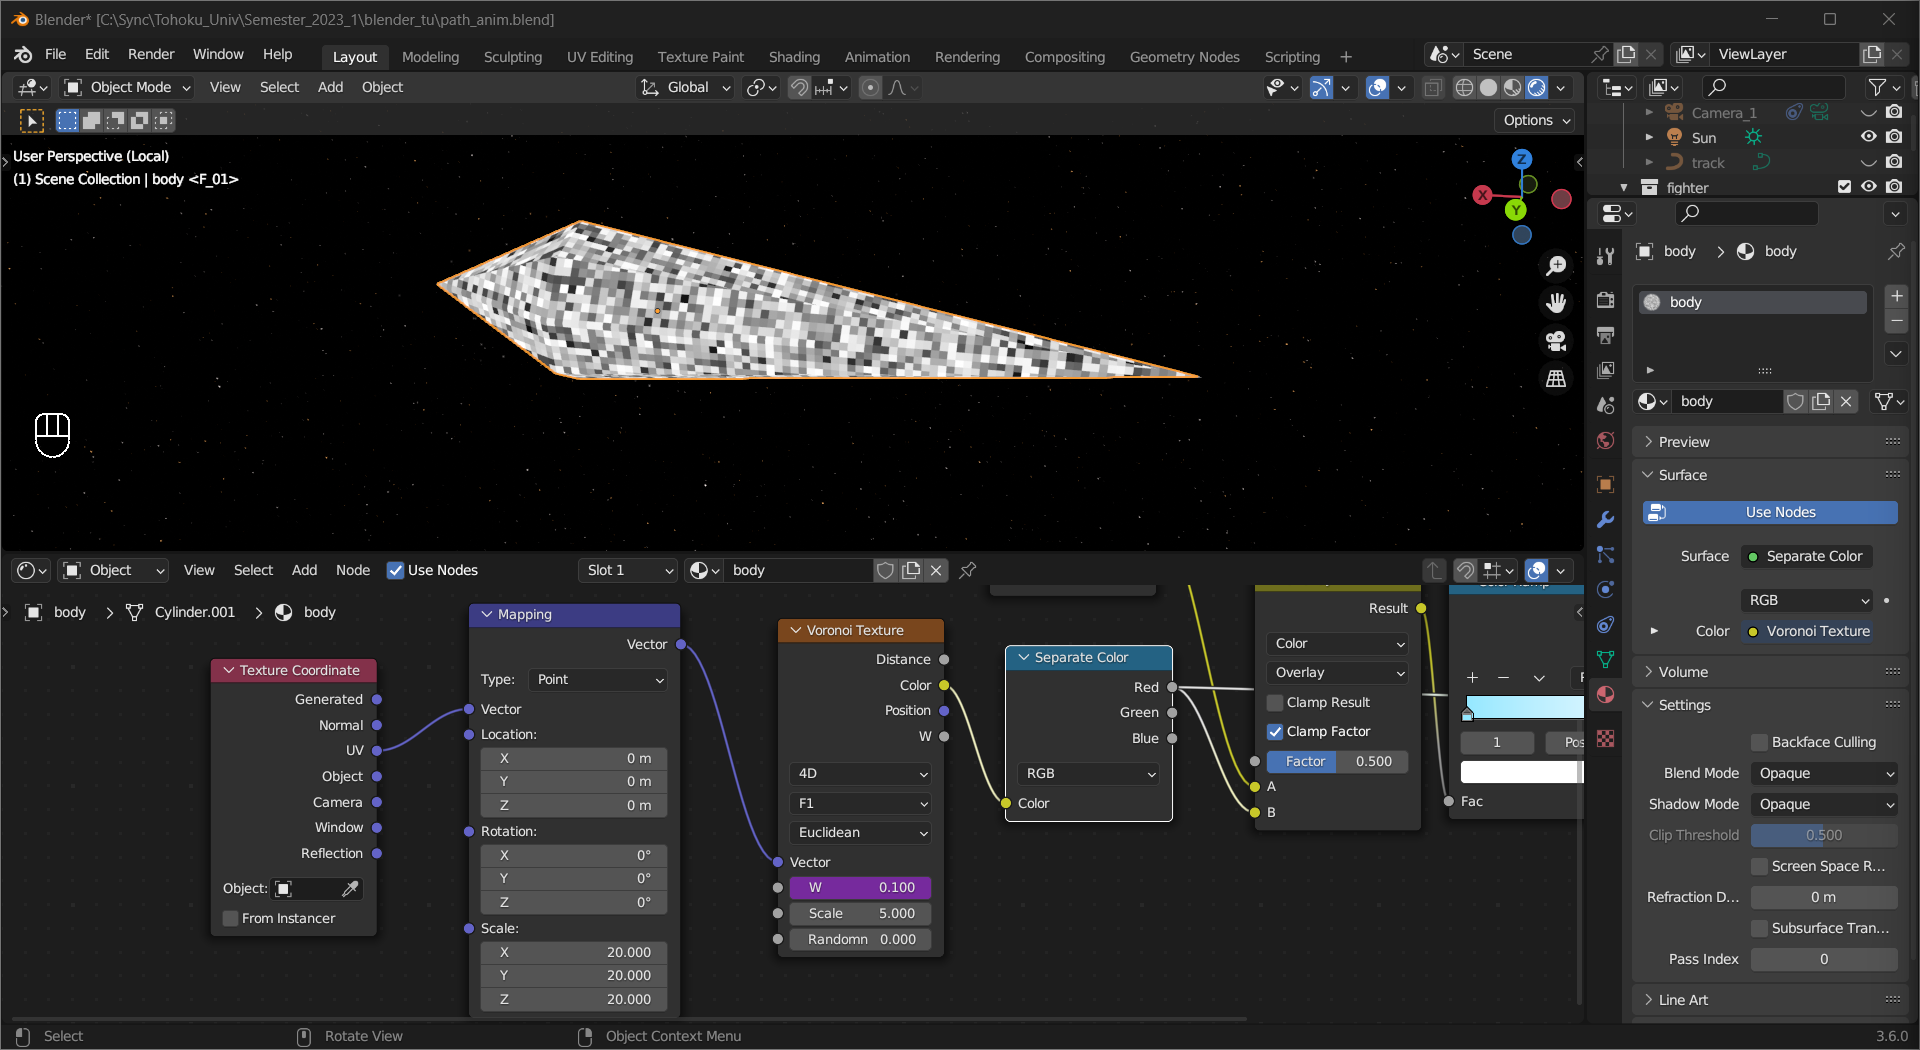
We do not need a physically based shader but the brightness information would be helpful. Connect the BSDF output of a Diffuse BSDF shader to a Shader to RGB node and use its Color output.
Combining these two with a Mix Color node with the Blending Type set to Overlay, then use a ColorRamp node to give the material desired color.
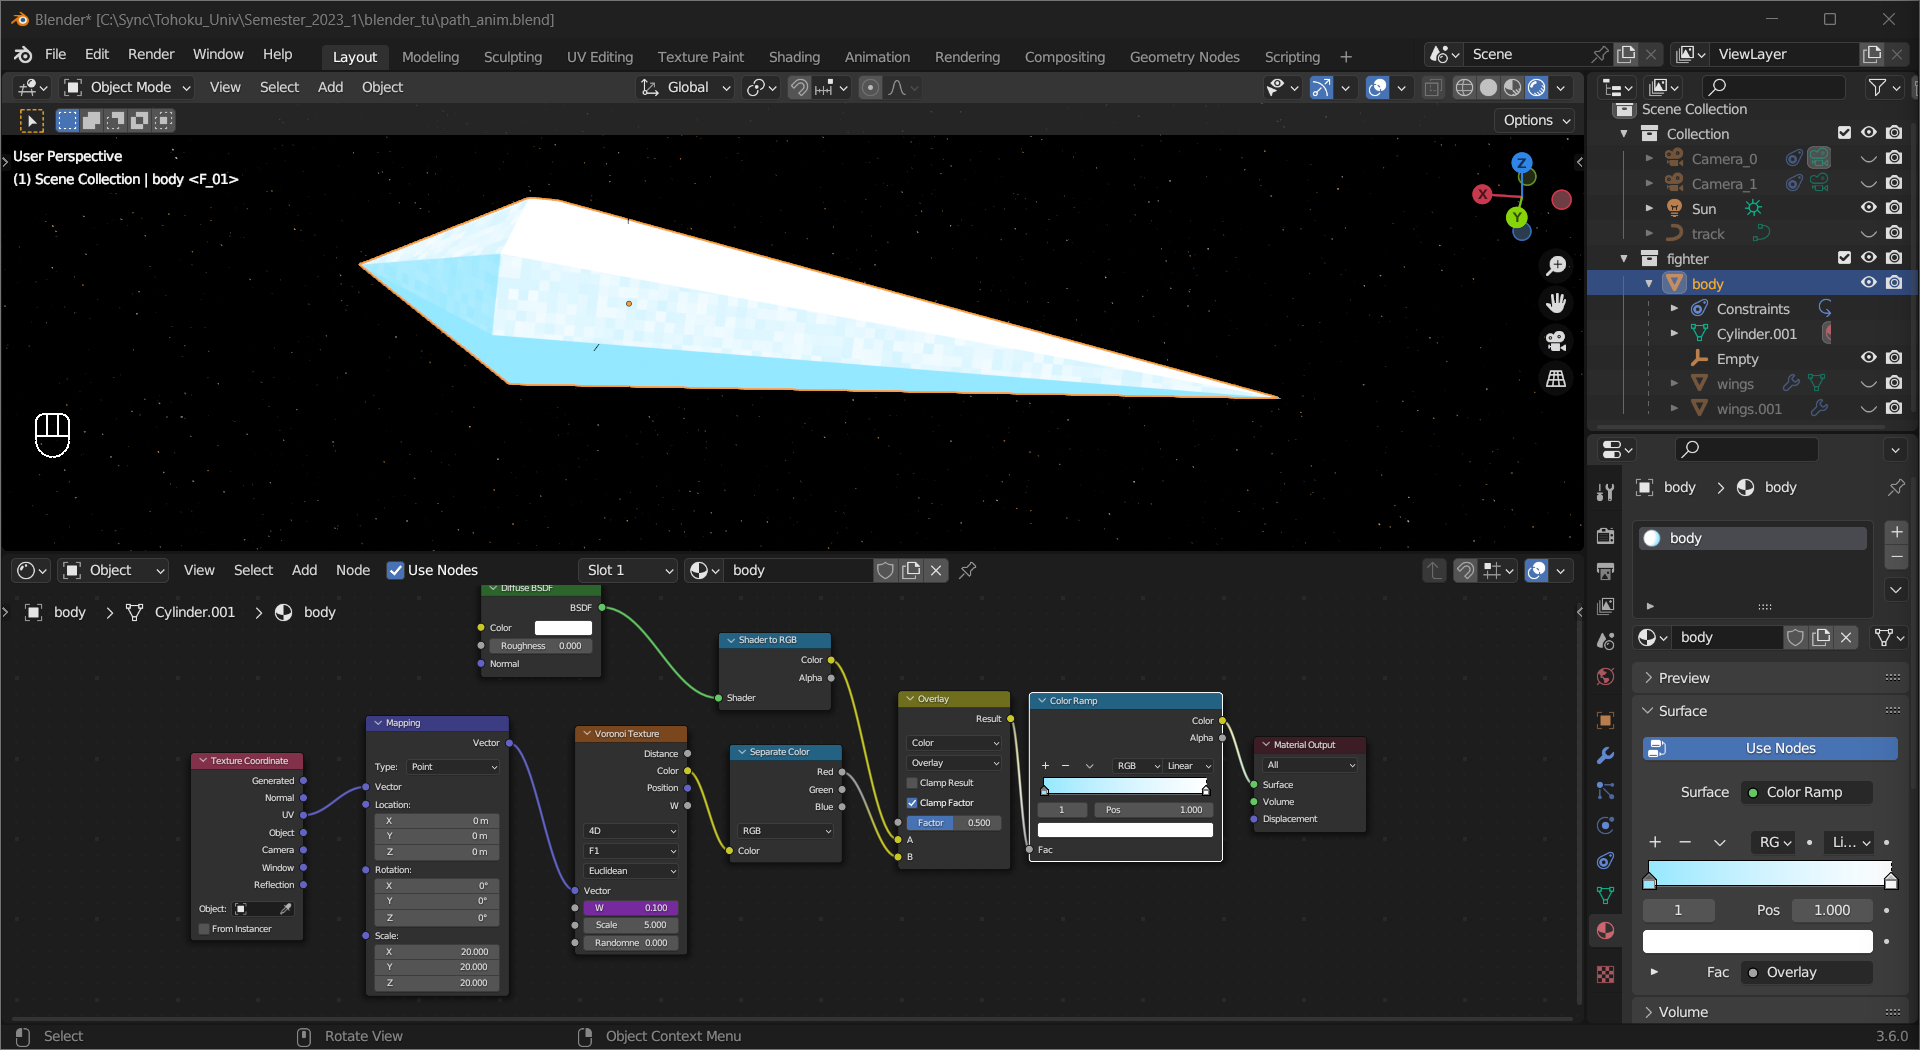
Apply this material to all parts of the fighter, and we have the result.