Camera#
A Camera object provides the point of view for rendering, and unlike its real-life counterpart, they are invisible.
Add Camera#
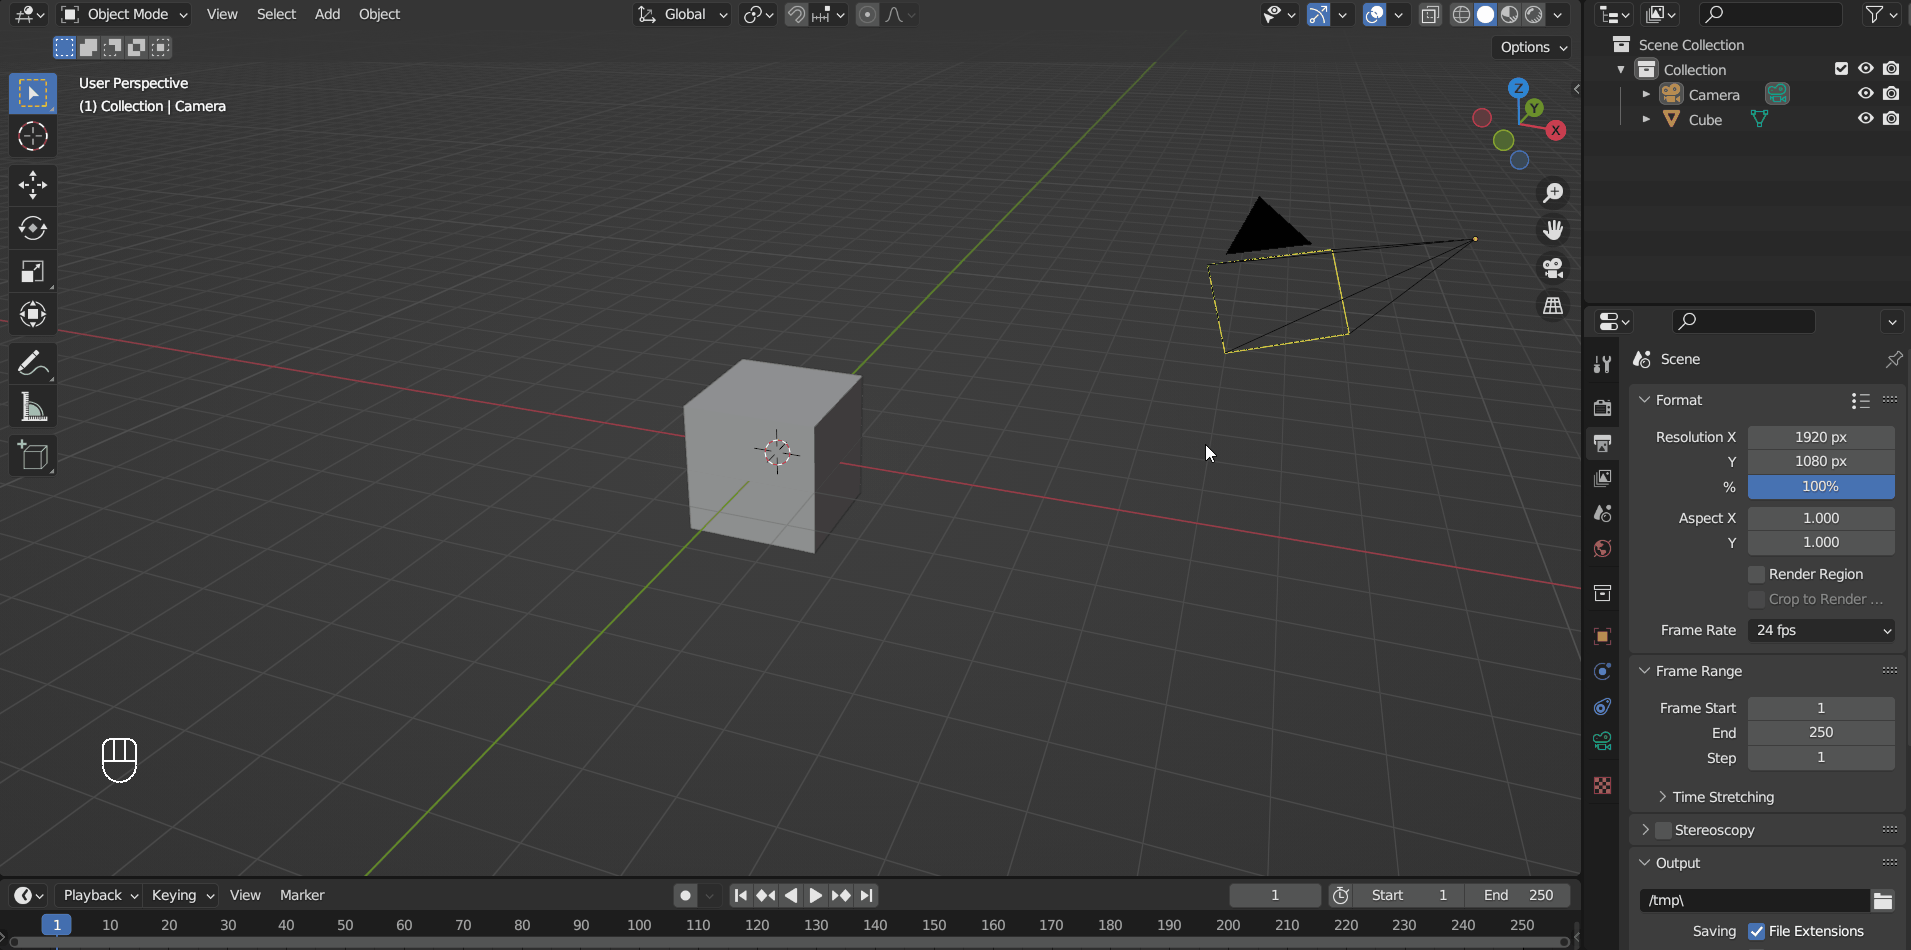
To add a Camera, press Shift + A or Left Mouse Click to open the Add menu and choose Camera. Like any other object, you can move and rotate a camera, but scaling only affects its viewport representation. To look through the camera, press Numpad 0 or Left Mouse Click the camera icon on the right edge of the viewport. If you want the camera to move with the view, tick View > View Lock> Lock Camera to View, otherwise moving the view when looking through a camera will exit the camera view.
Active Camera#
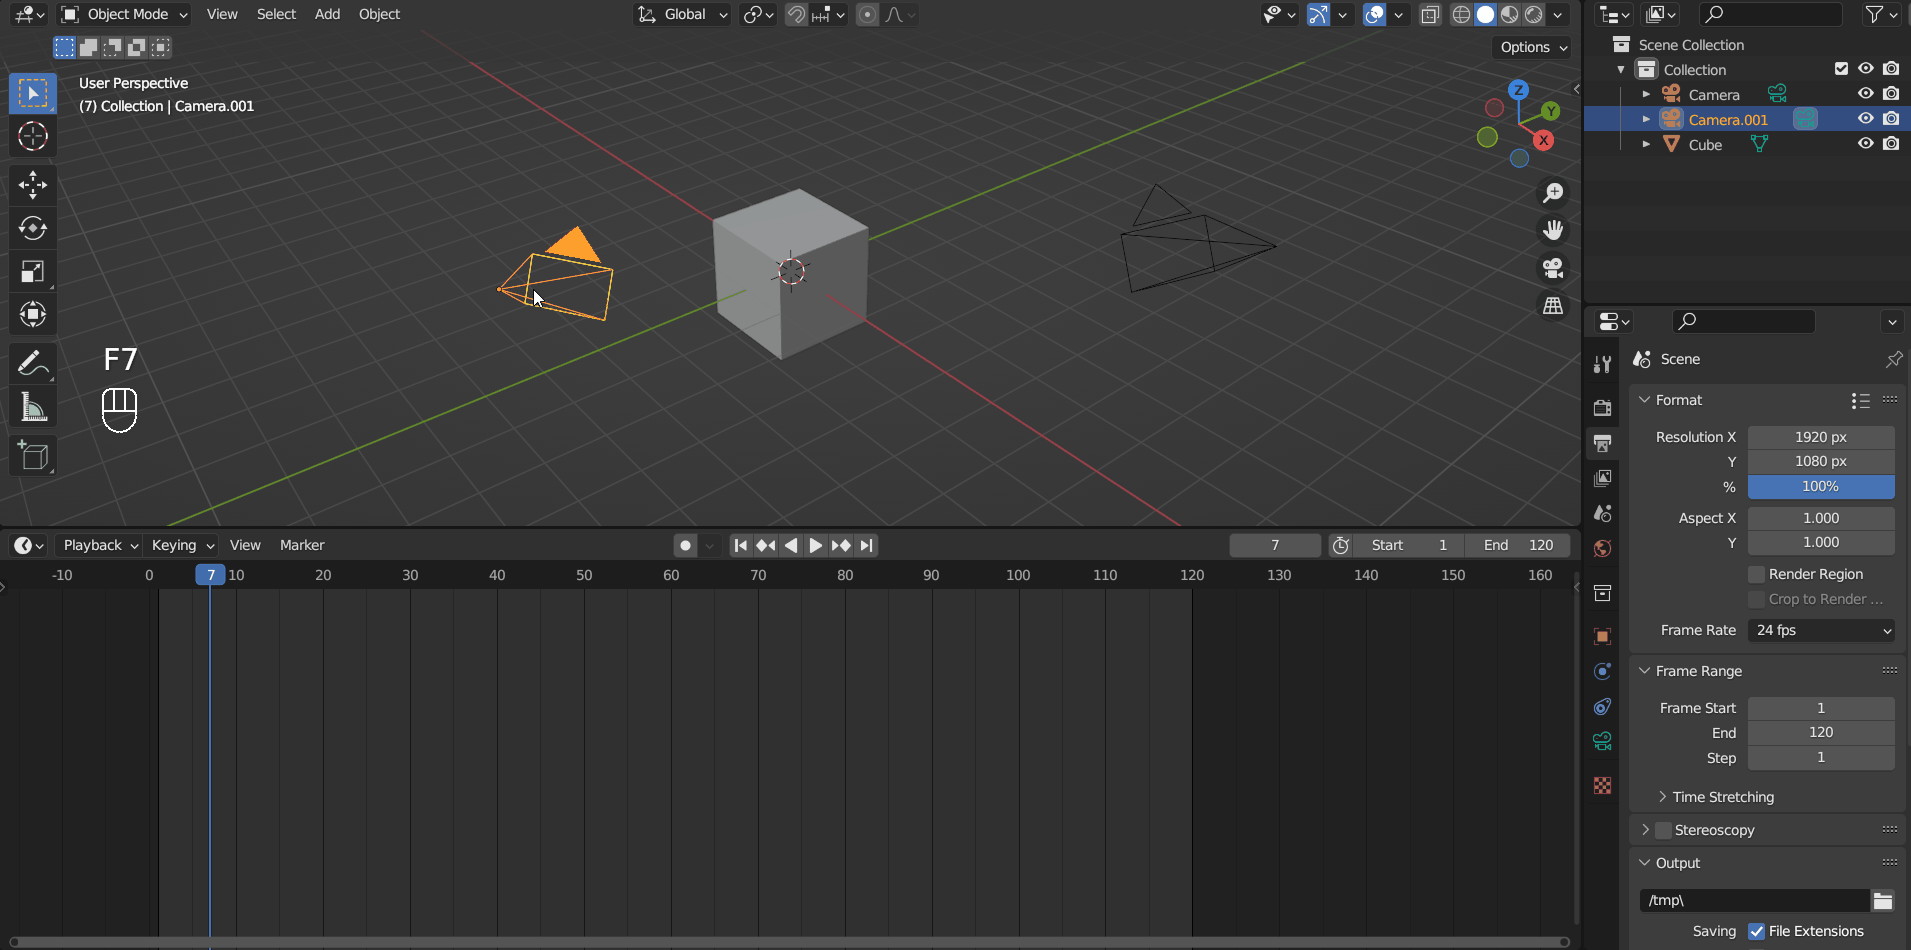
A scene can only have one camera working at a time, for obvious reasons, and it is called the Active Camera. The active camera has a solid triangle on its top, and the others have a hollow one. To change the active camera, select a camera and Right Mouse Click then choose Set Active Camera. If you want to do it during an animation, it is a bit more complicated. Set the current frame to 1 in the Timeline area and press M or Marker > Add Marker to add a marker at the frame, then select one camera and Left Mouse Click the marker and press Ctrl + B or choose Marker > Bind Camera to Markers. After that, move the current frame to the one on which you want to switch the active camera, and do the same for the other camera.
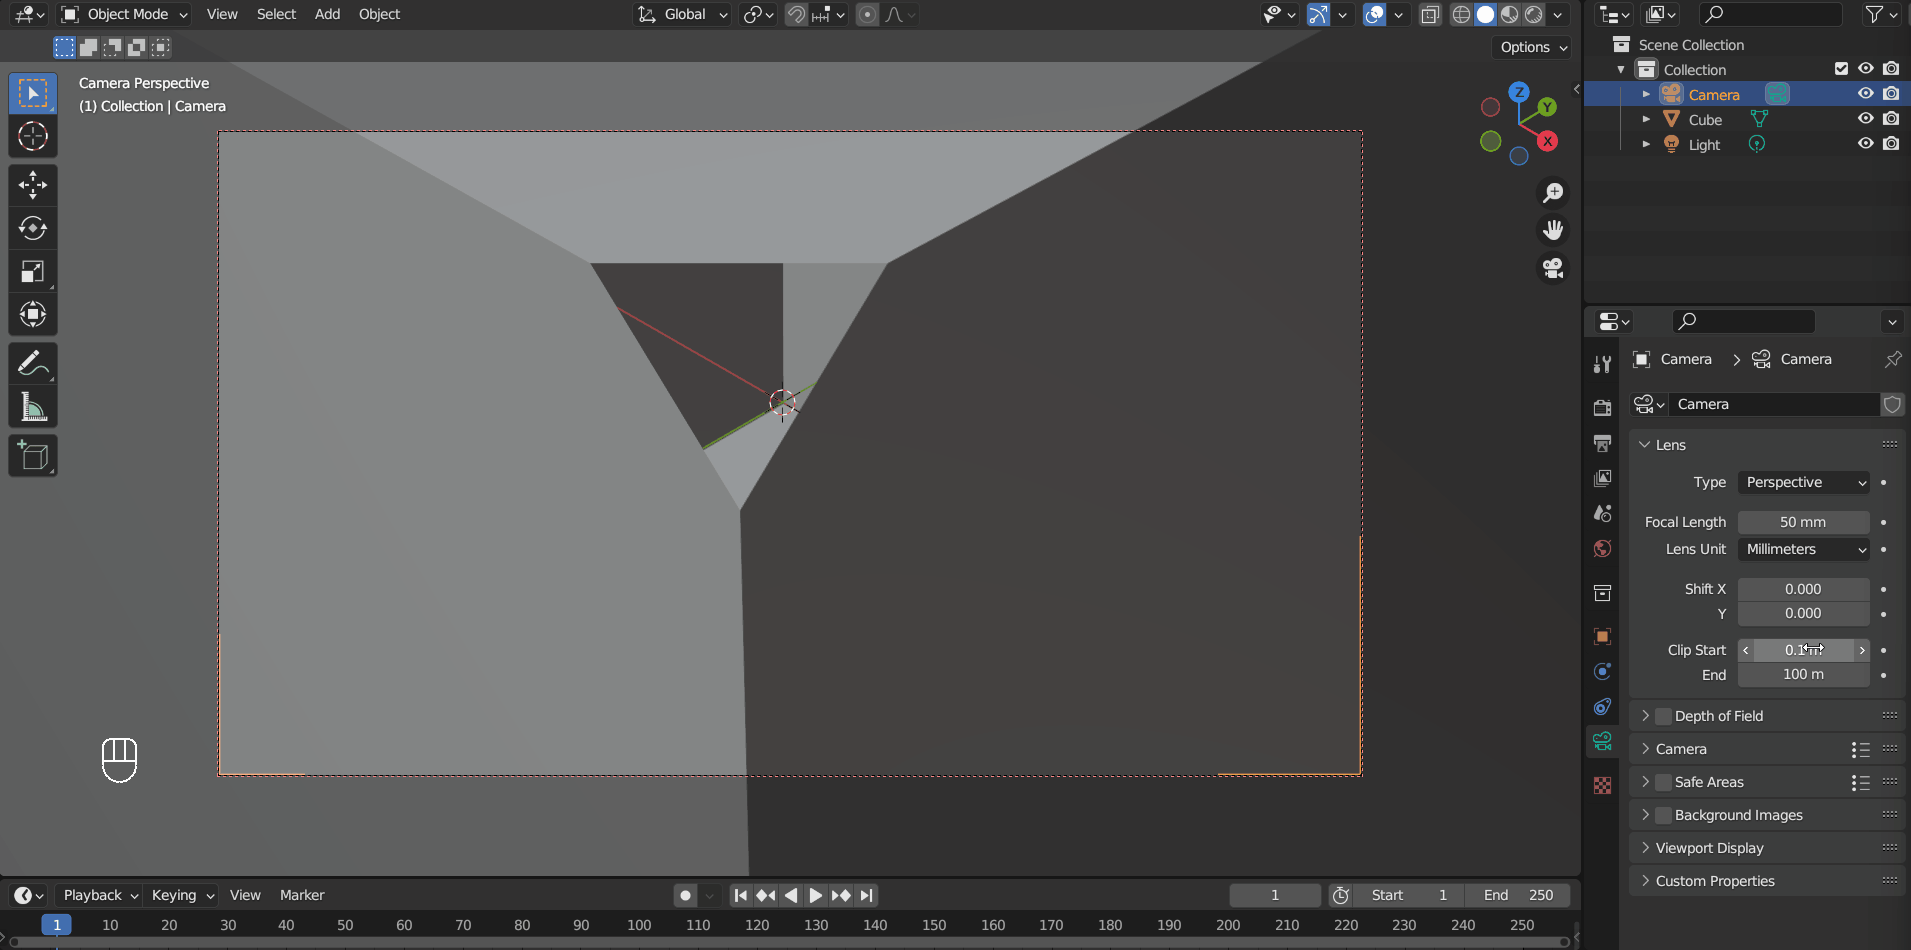
Camera Properties#
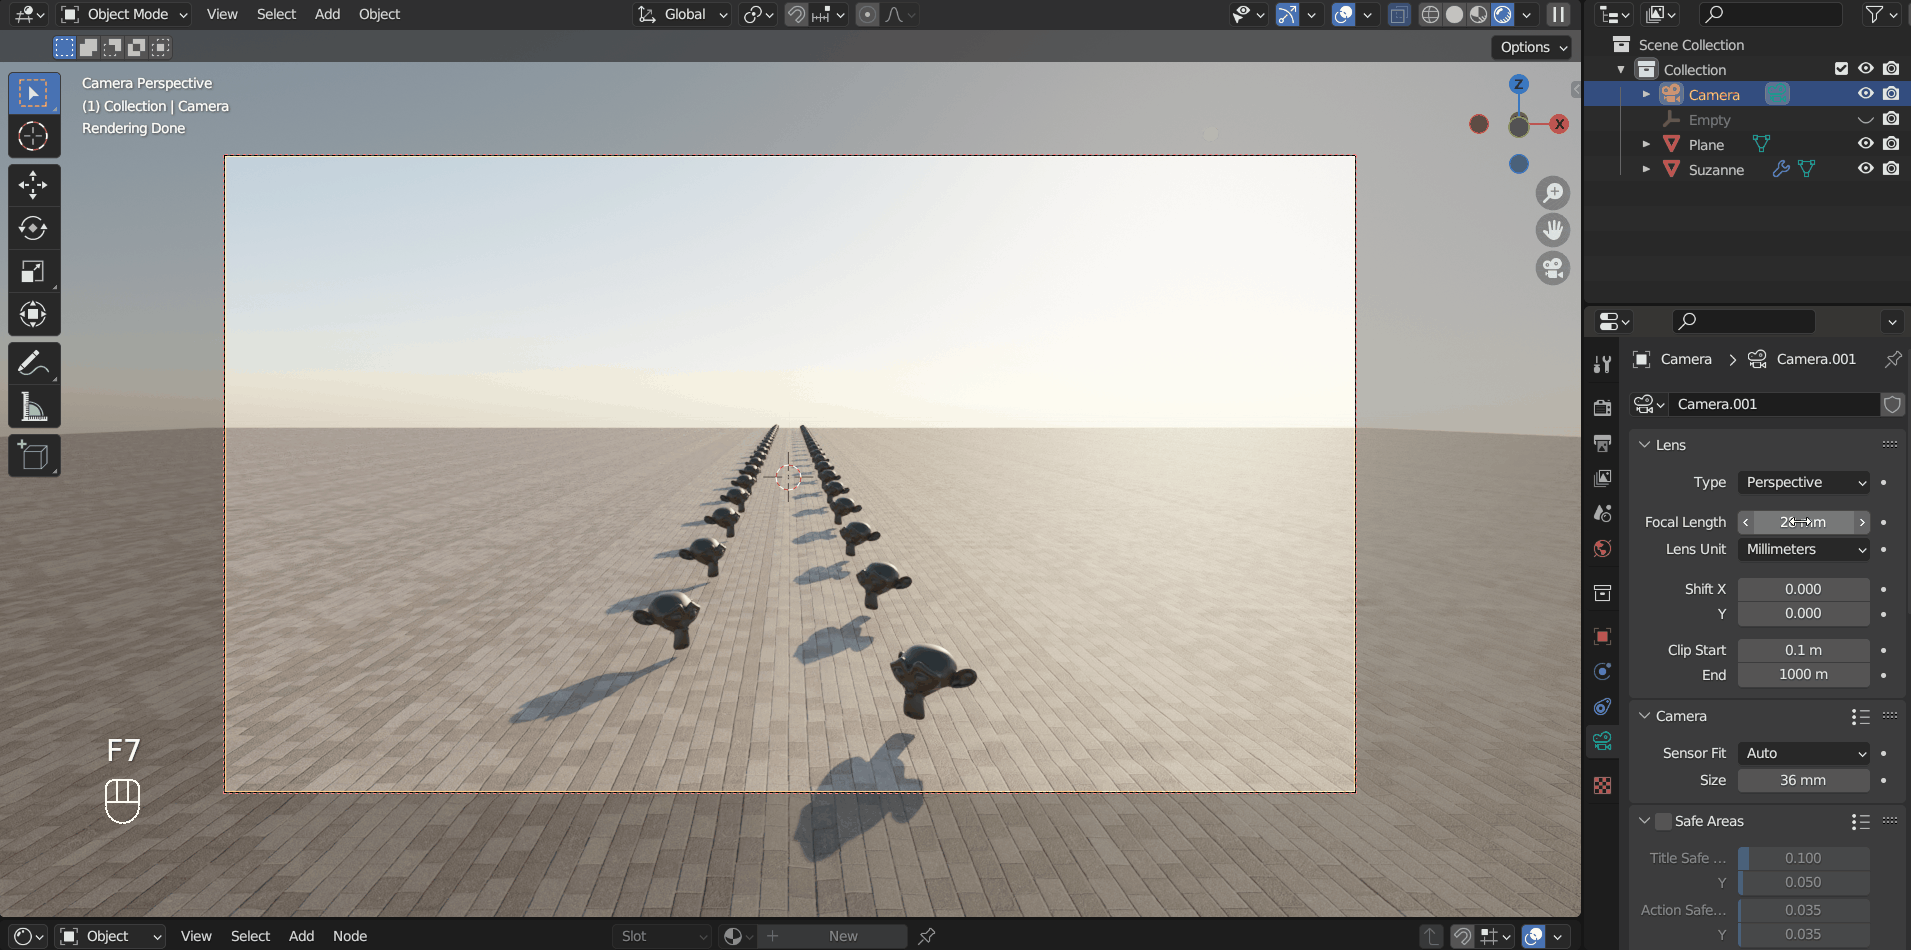
Lens > Focal Length controls the field of view, the larger the number, the more zoomed in you are.
Parts of objects that get too close or too far from the camera will not be rendered, and this is called Clip. You can adjust its behavior by changing Lens > Clip Start/End values.
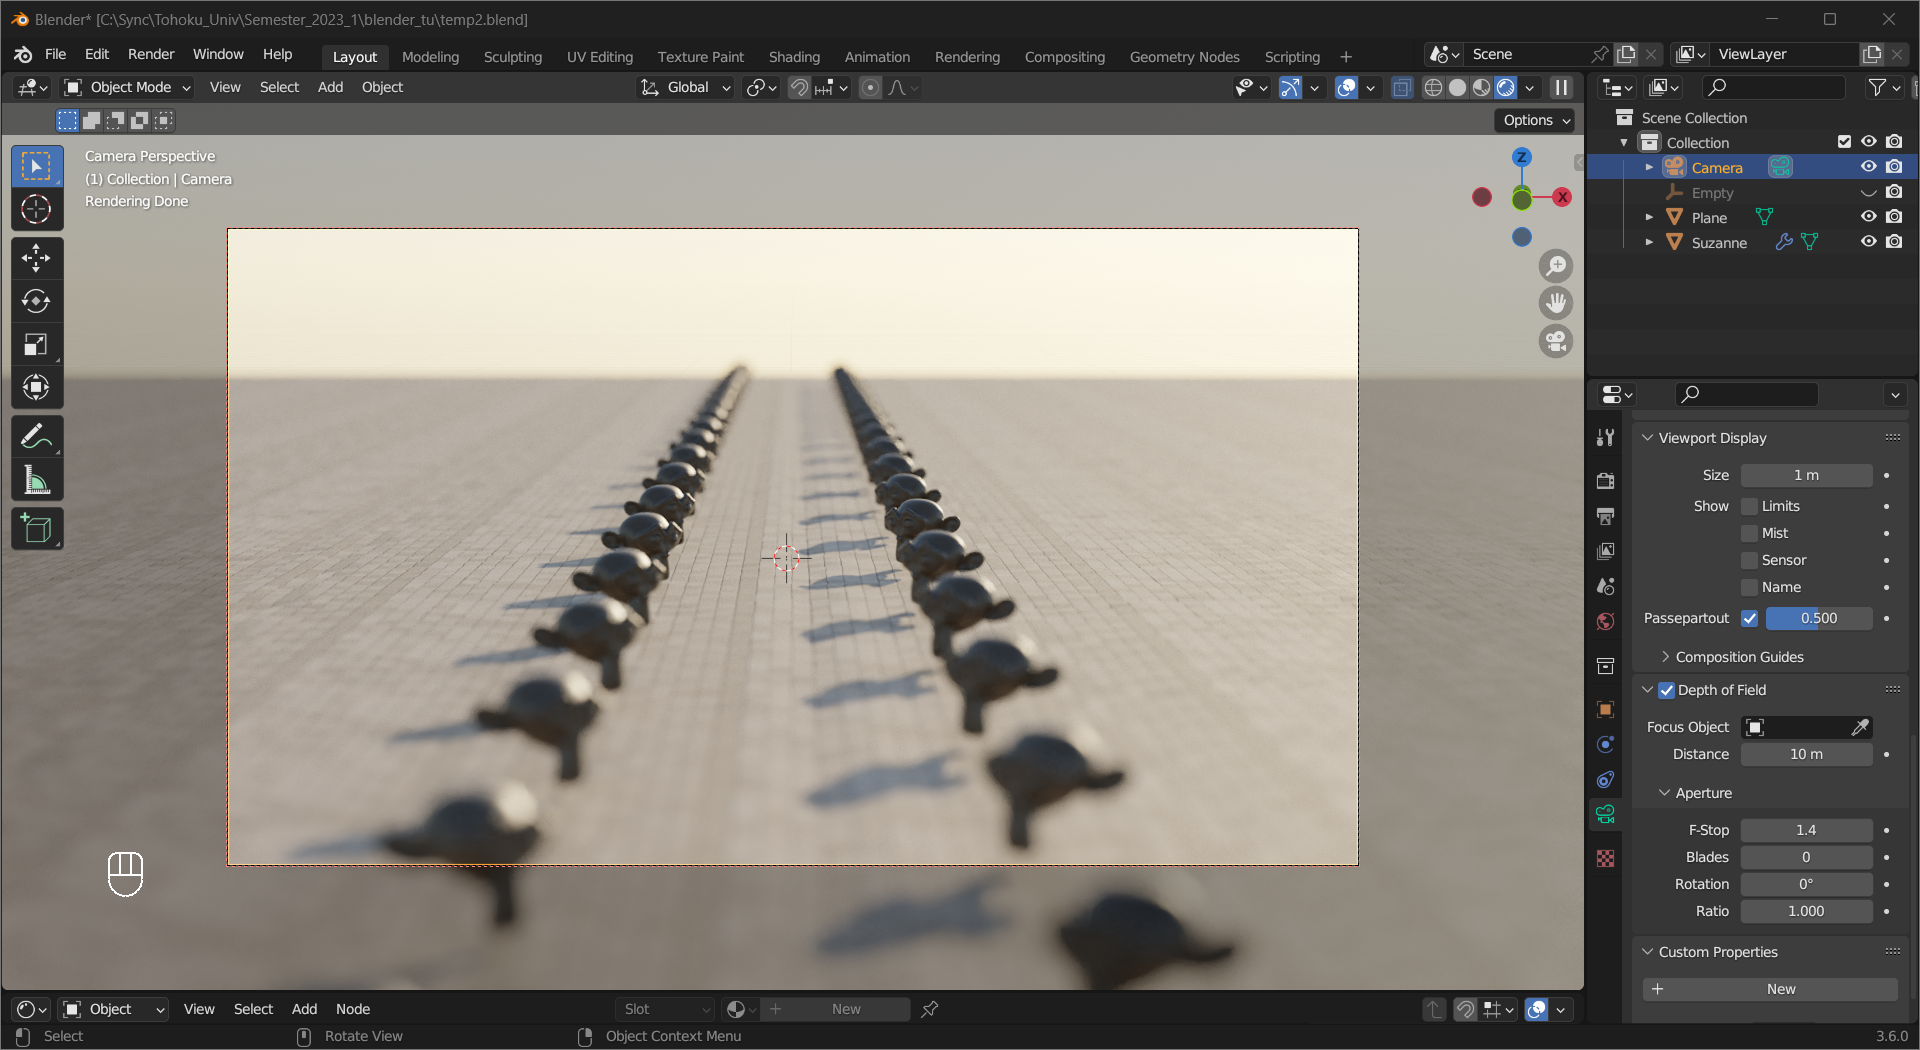
Real lenses have focal points, and out-of-focus objects look blurry. the Depth of field property simulates that effect, and tweaking Aperture help to make it more realistic.
Tip
This effect is sometimes referred as Bokeh.