More about Shader Nodes#
The last section explained the standard makeup of a realistic-looking material, but it is far from the only way. You probably noticed that there are a lot more shader nodes than the ones we used, and with their power combined, the only limit is your imagination.
Socket Types#
Tip
The Fac(facor) socket outputs/expects input float values between 0 and 1.
The color of the sockets on the nodes indicates the type of data, here are the common ones:
Light green: Shader
Dark green : Integer
Grey: Float
Yellow: Color
Pink: Boolean
Purple: Vector
Orange: Object
Some types can be automatically converted to another when the sockets are connected, and the noodle will have a gradient between the two colors. When the conversion is not possible, the noodle will appear red.
Layout#
When you have dozens of nodes in your node tree, it is important to keep them well organized. The Frame is a useful tool to remind yourself what all these nodes do. To make a new frame, select the nodes you want to be part of it and press Ctrl + J or Right Mouse Click to bring up Node Context Menu and choose Join in New Frame. You can give the frame a Label via Node > label in the Sidebar. To add new nodes to the frame, simply drag them into the frame; to remove, press Alt + P or choose Remove from Frame in the Node Context Menu.
Tip
You can give label to nodes in the same way.

Group#
In programming, we write custom functions to avoid code repetition. The Node Groups can help us with that problem in node trees. Select the nodes you want to group up, then press Ctrl + G or Right Mouse Click to bring up Node Context Menu and choose Make Group. Inside the node group, you can link input sockets to the hollowed circle on the Group Input to add new inputs to the Group, or output ones to the Group Output to make new outputs. To change the names and types of the sockets, open the sidebar and switch to the Group tab.
Press Tab to return to the node tree, and you can Left Mouse Click the symbol on its top right or select and press Tab to get inside the node group again. Linking a node group is the same as any regular node. After you have made a node group, you can add a copy through Add > Group > {Group Name}.
Tip
Editing a node group will change all its instances because they share the underlying data. To avoid that behavior, Left Mouse Click the number to the right of the name of the node group and it will creat a copy of the original group in the data.
Use Add-ons#
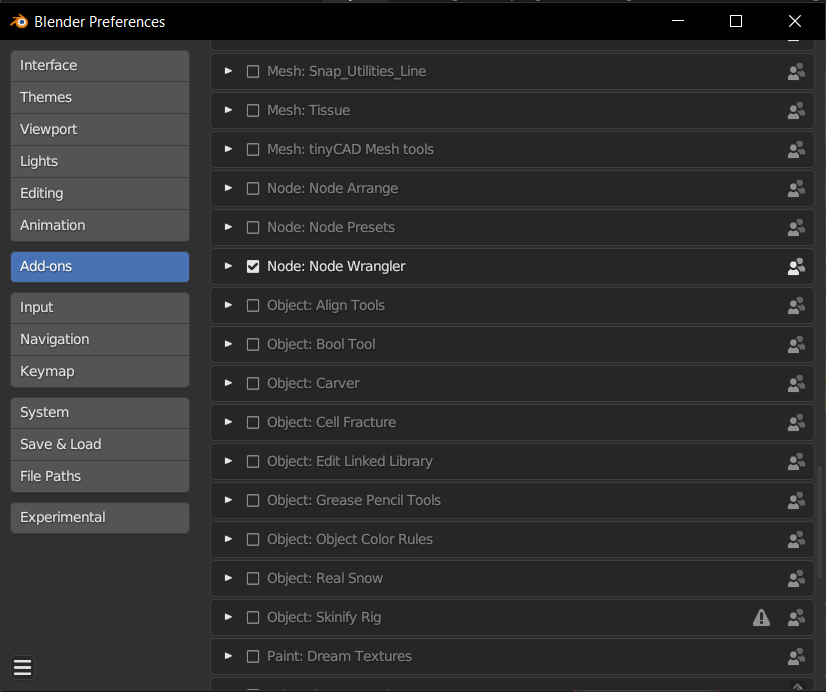
One advantage of Blender is that it has great community support, and you can find all kinds of Add-ons to enhance its functionality. When it comes to nodes, the Node Wrangler is a very popular one and you already have it in your installation. This add-on provides various tools to make node editing easier. Open Blender preferences window using Edit > Preferences..., in the Add-ons tab, you can find the add-on in the list or search it by name, then tick the box to enable.
Tip
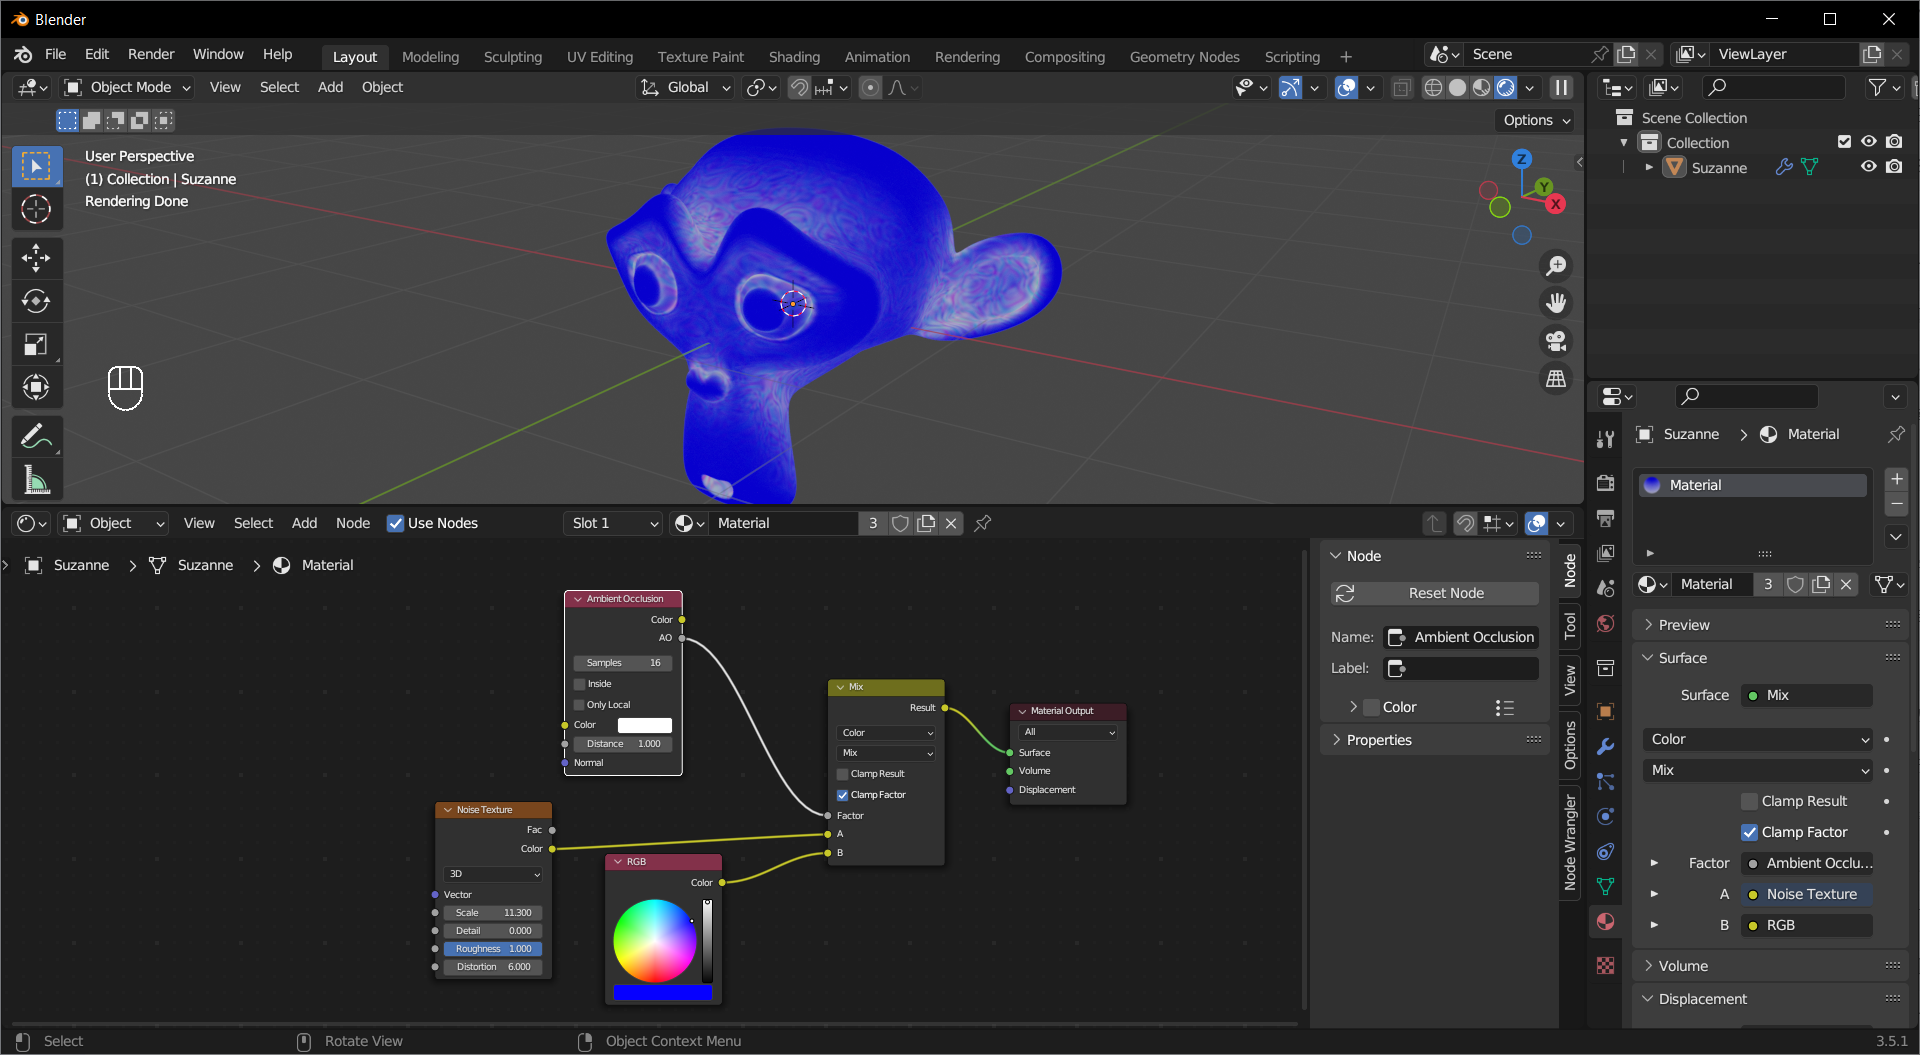
One useful functionality of this add-on is to connect the output of a node to the
Surfacesocket of theMaterial Outputnode by Ctrl + Shift + Left Mouse Click, it allows you to quickly check how the output of a node looks.Apart from the ones that come with Blender, you can find much more free and paid add-ons online.
More Nodes#
If you are a PC gamer, the word Ambient Occlusion may sound familiar. Ambient occlusion is a technique of simulating shadows in the nooks and crannies which are often not calculated in shadow maps.
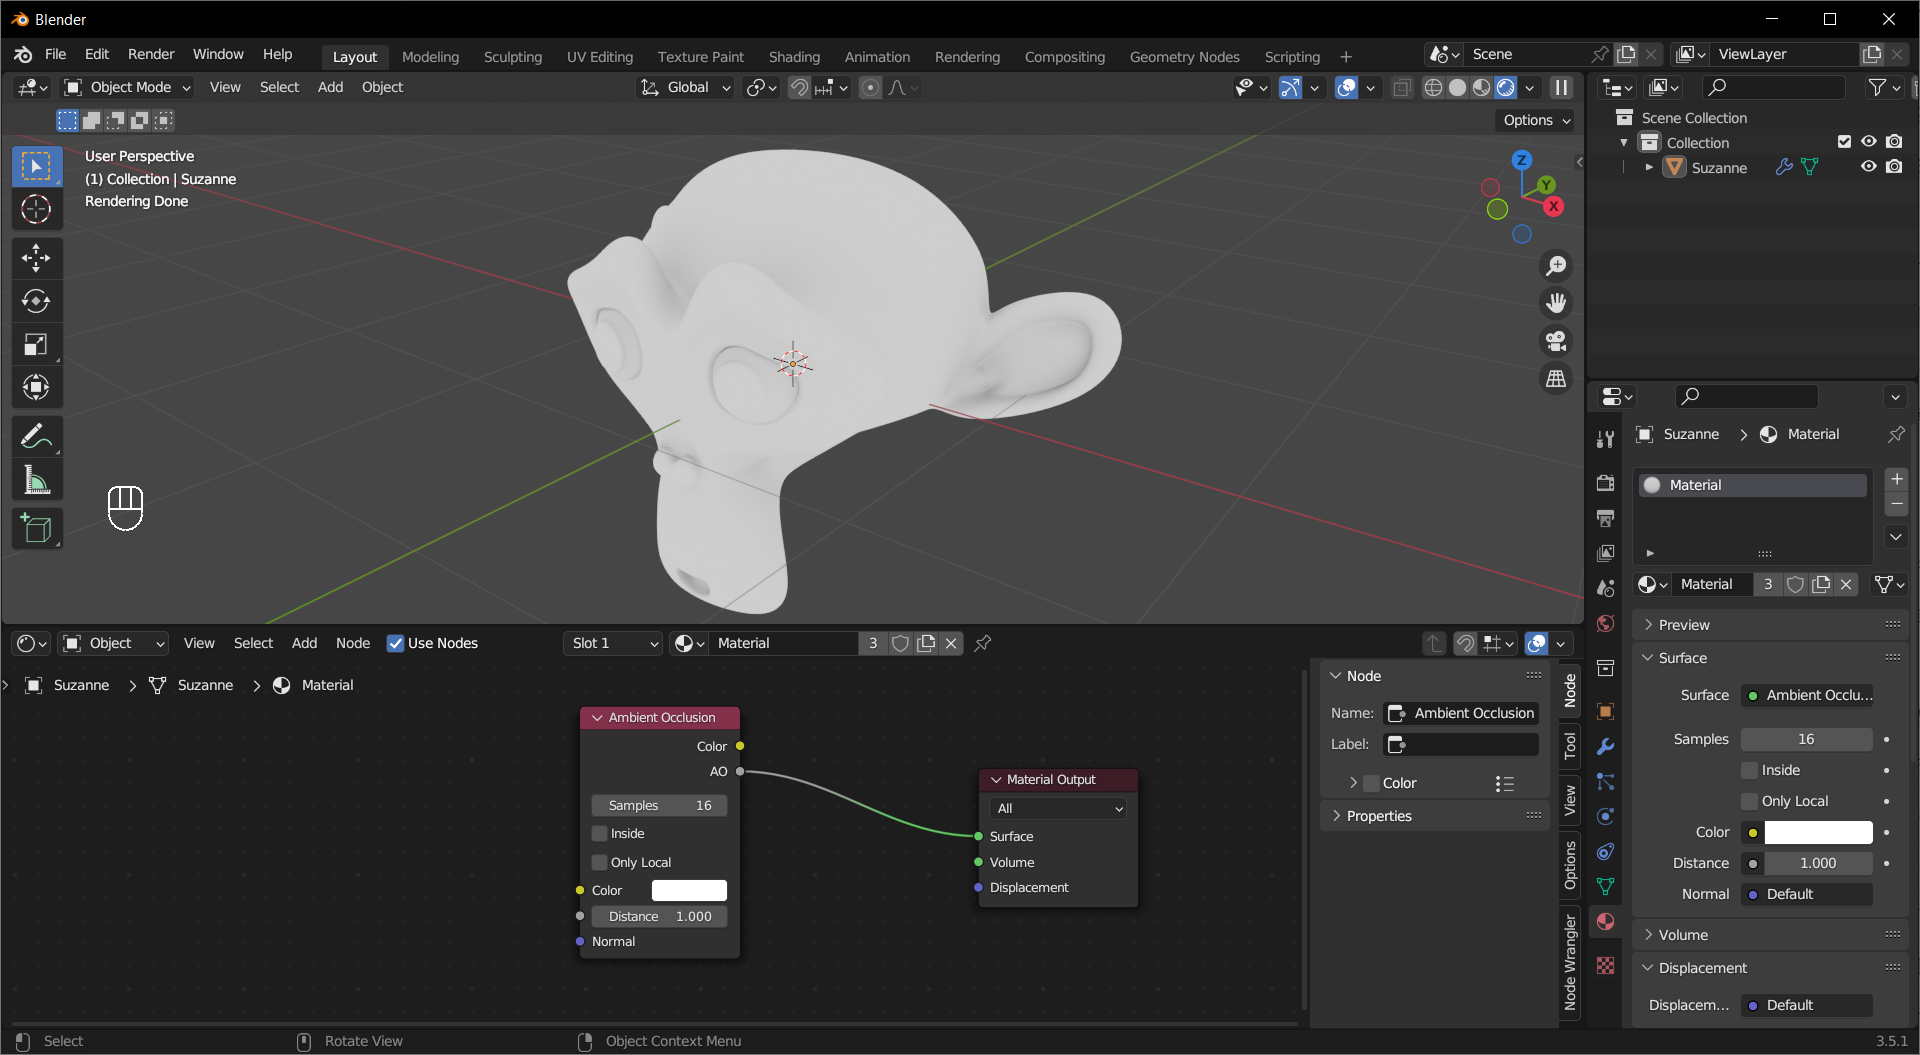
You can use it for that purpose, or use the AO output as a mask for other effects.
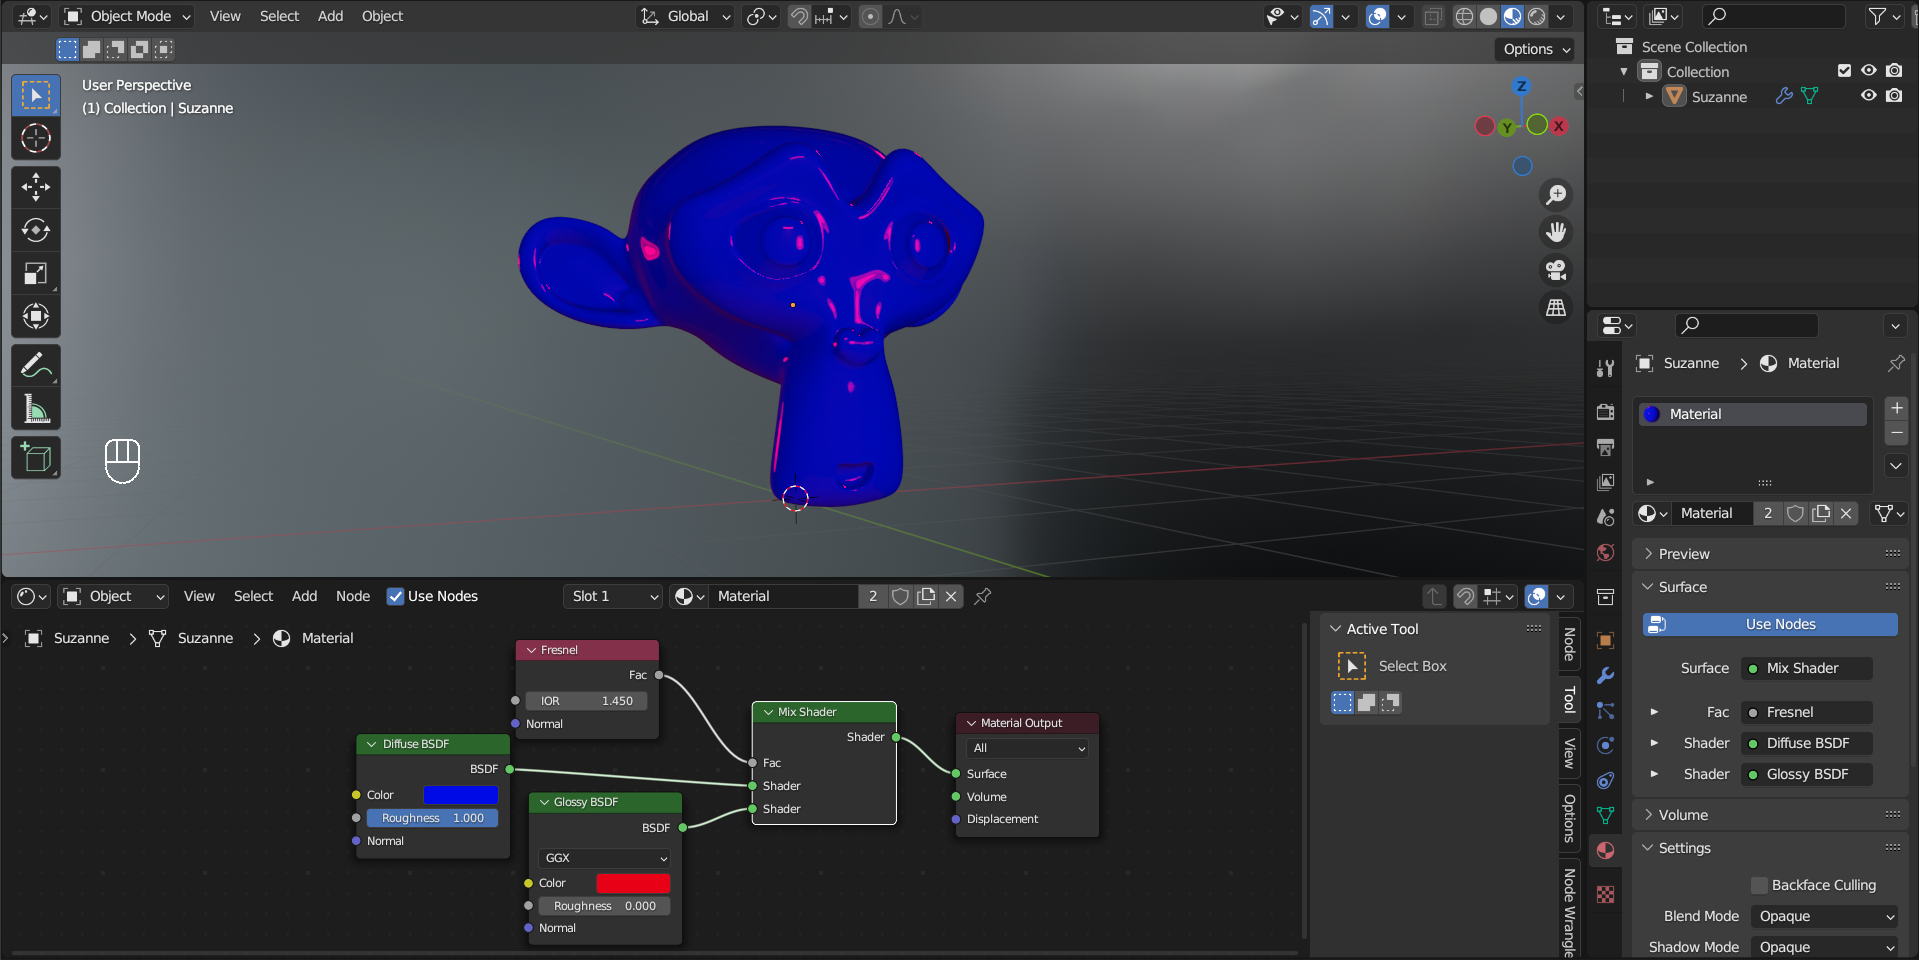
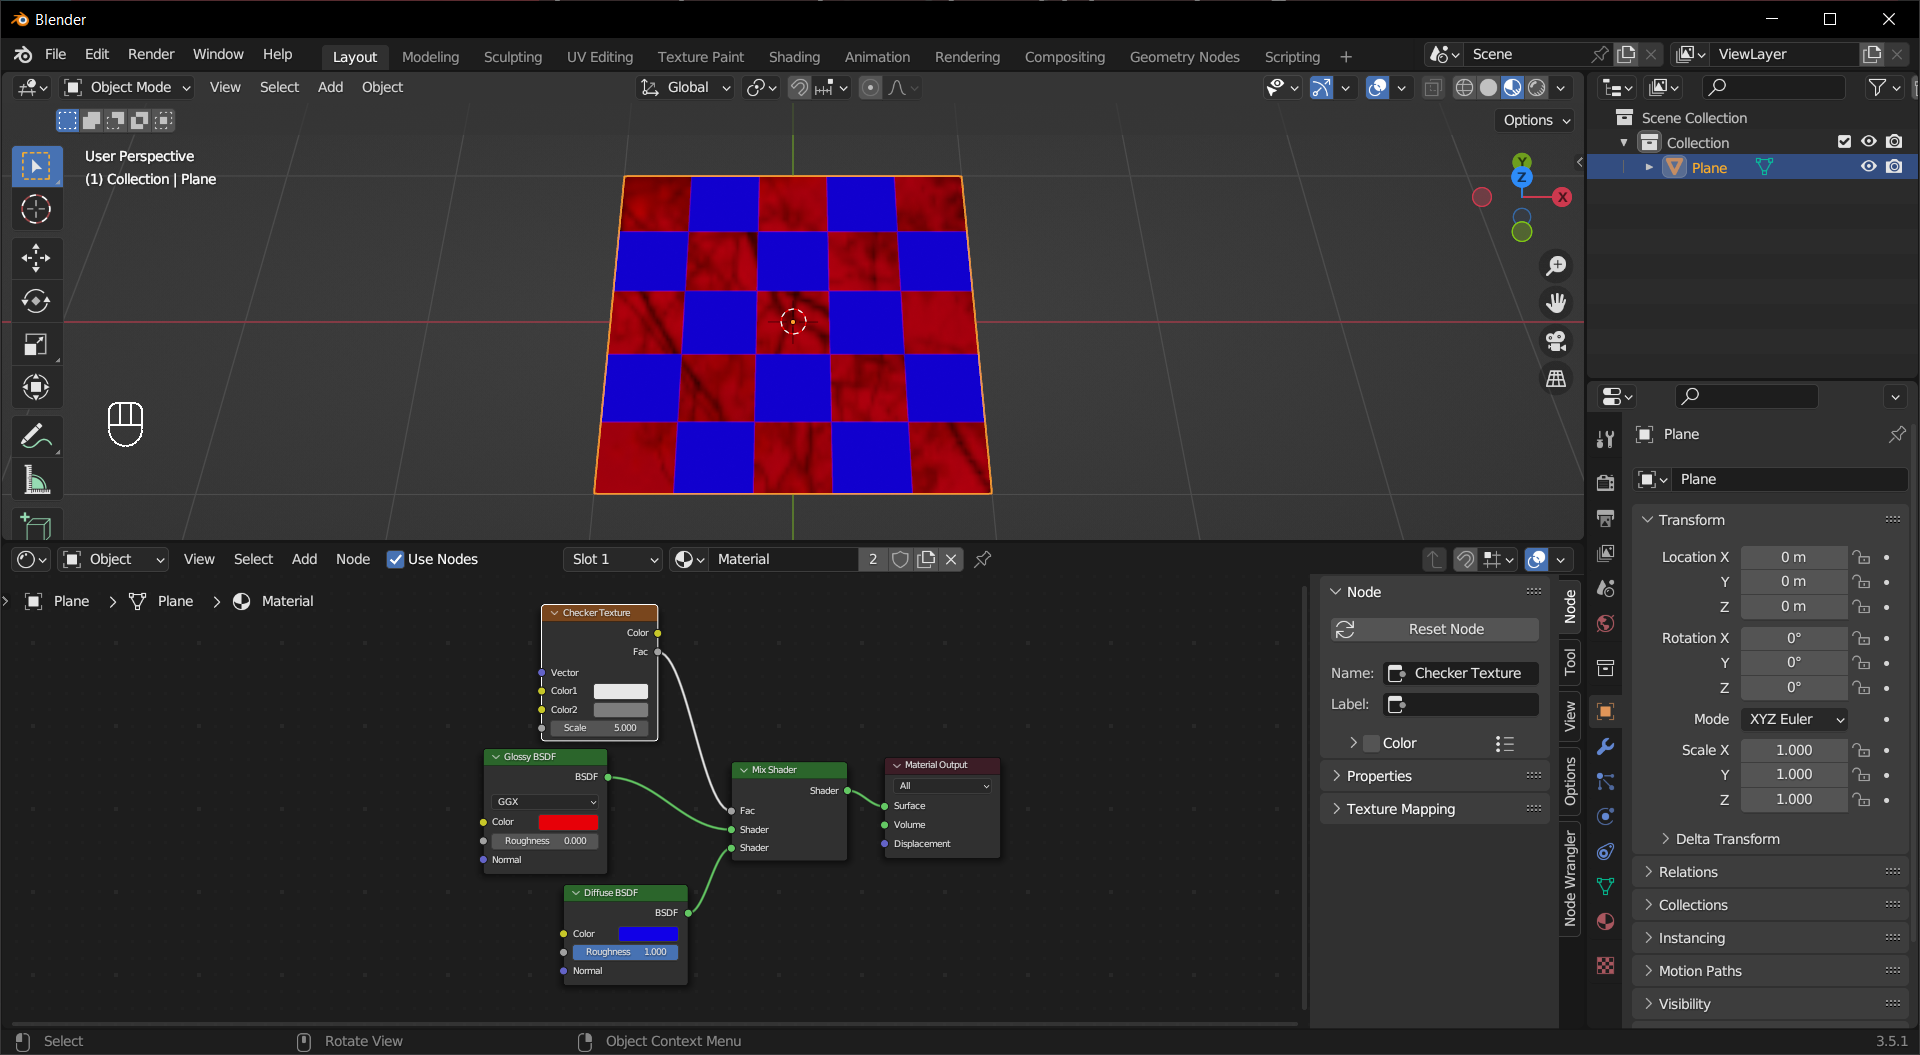
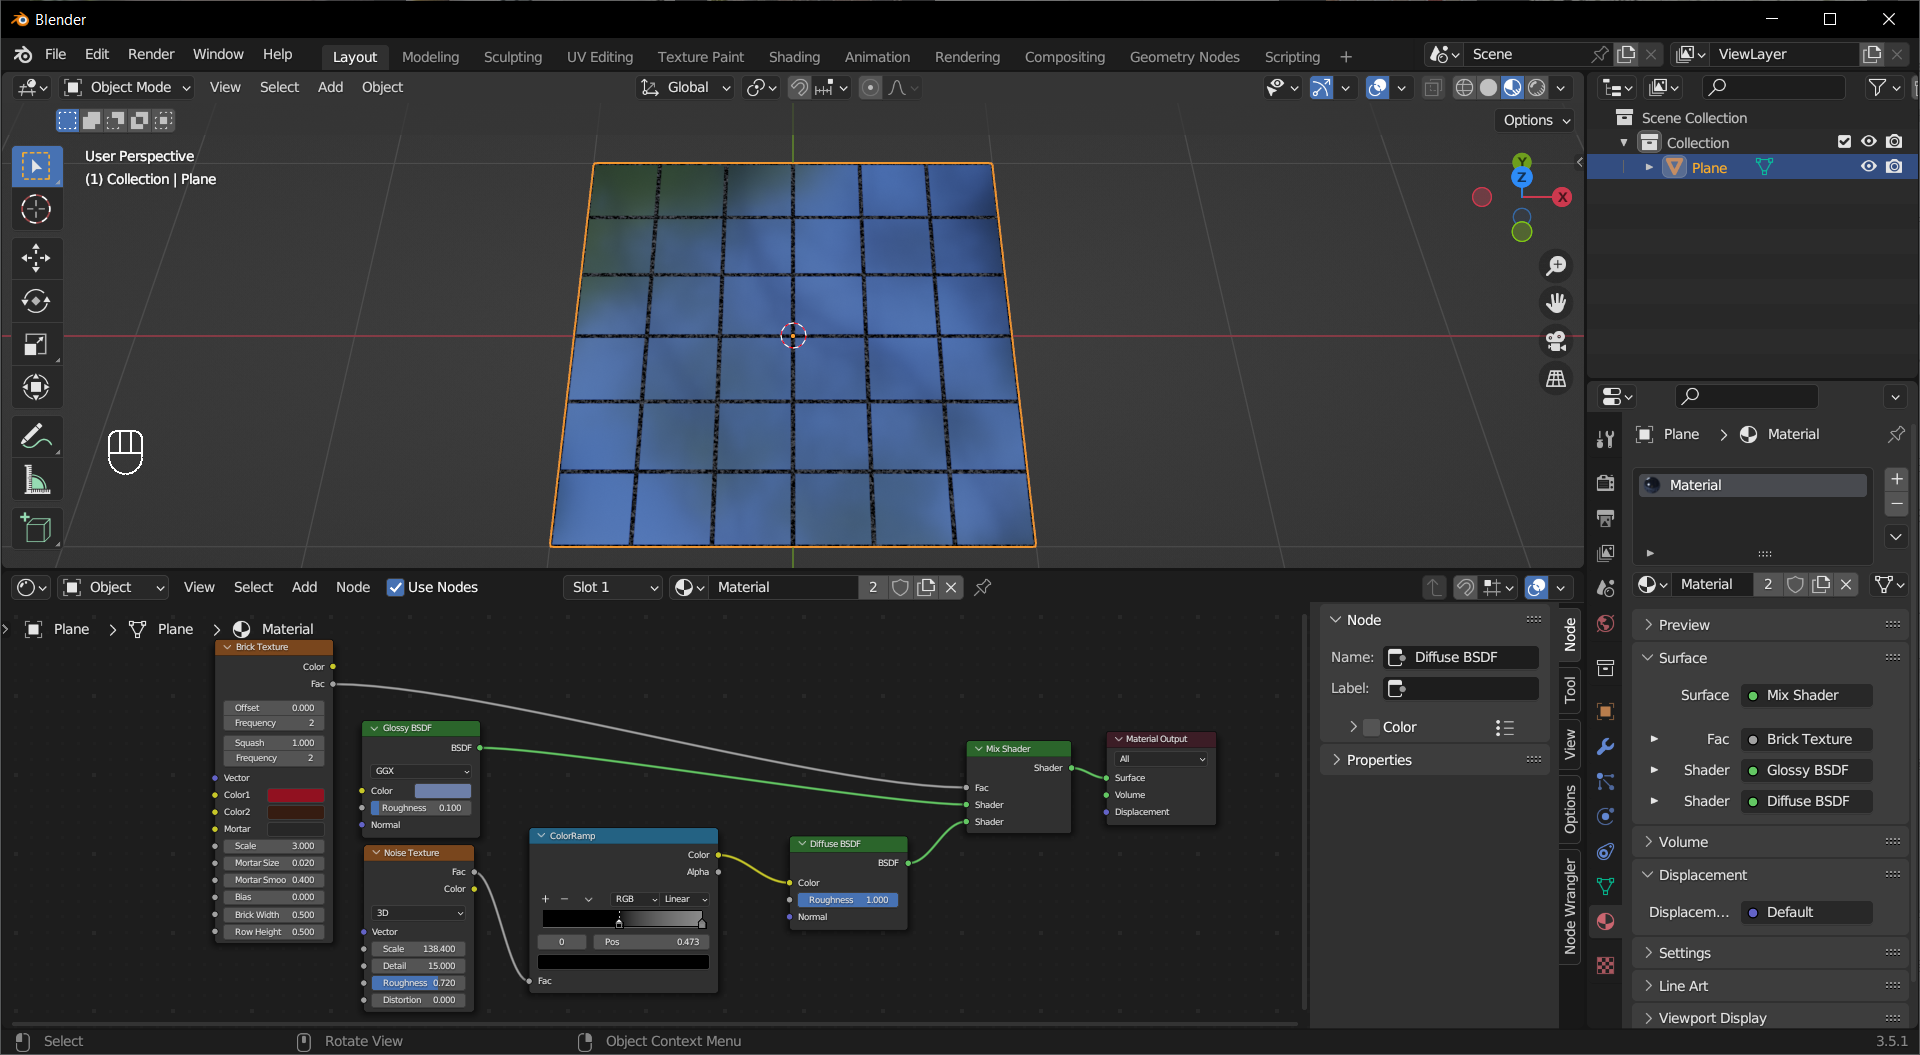
The observed reflectiveness of a material is dependent on the viewing angle, and it is called the Frensnel effect. The Fresnel node gives you a factor indicating which part of the material should me more reflective.
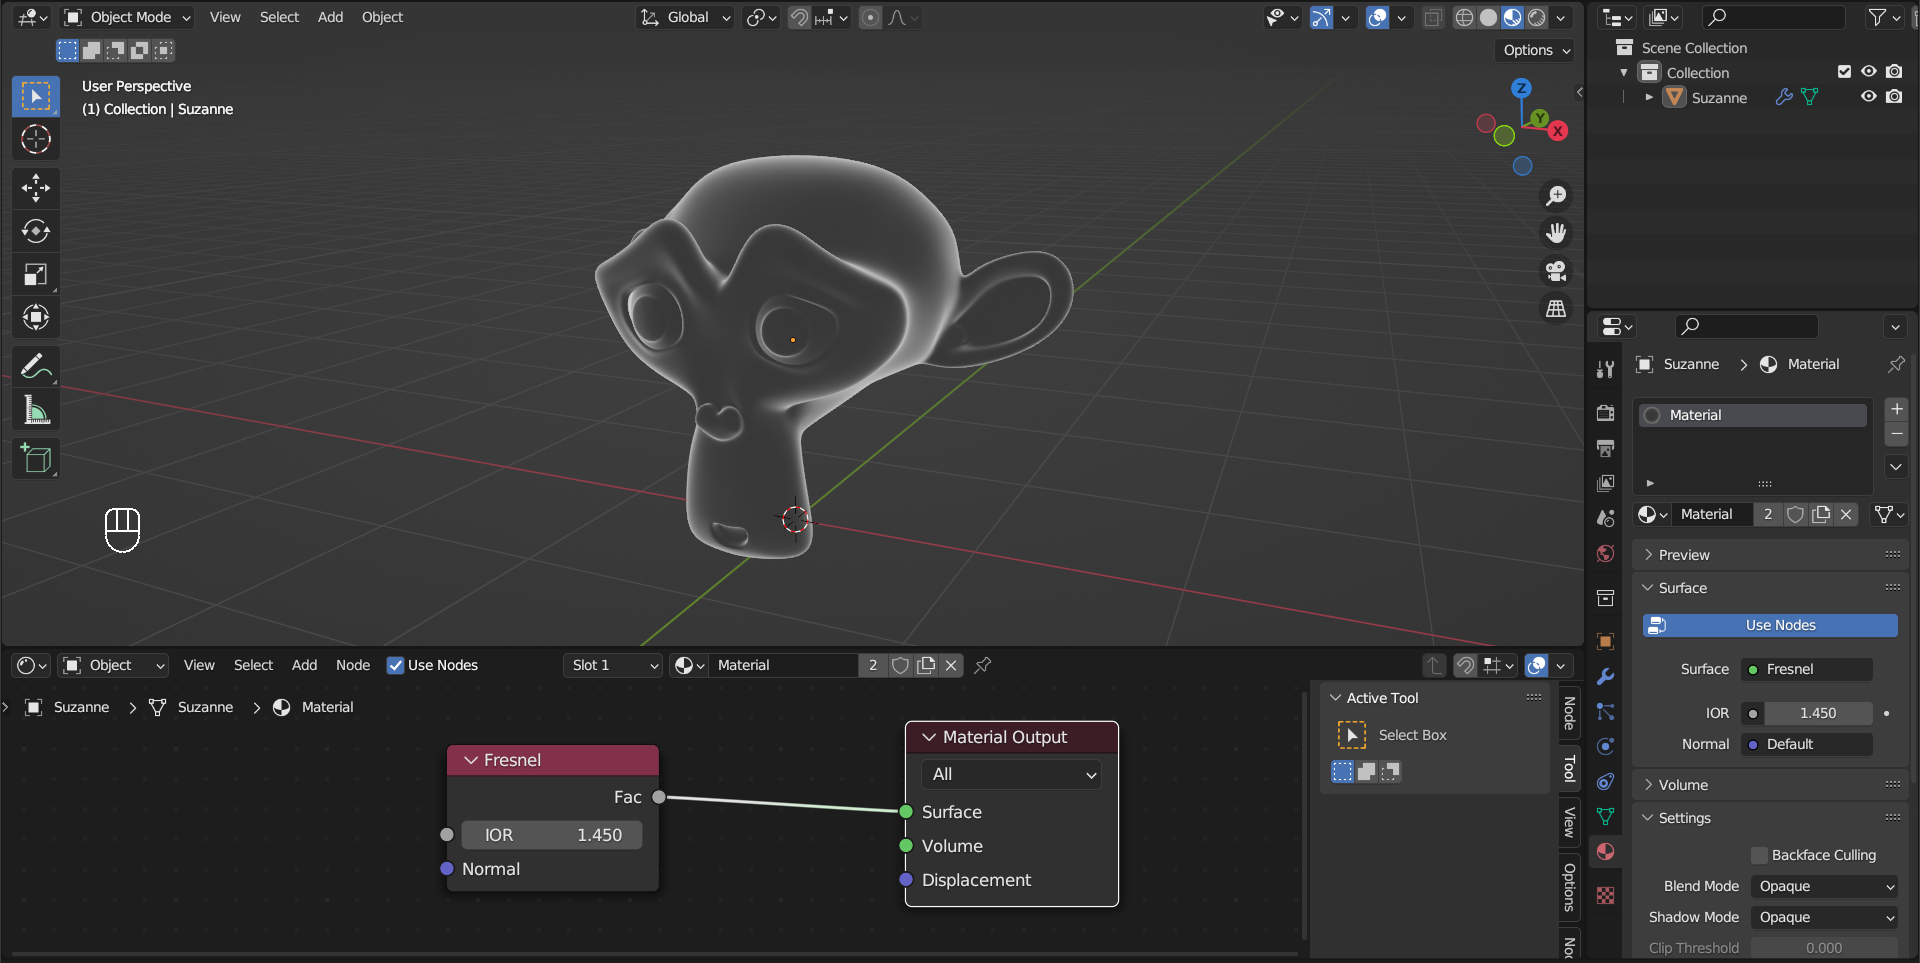
It is often used along with Mix Shader. This example shows a mixture of a matte blue material and a glossy red one.
Yes, you can use the UV output of the texture coordinate node, but if the object has multiple UV maps, it only use the active one. The UV Map node let you choose which UV map you want to use.
The Value node is very simple: it stores and outputs 1 value. It is useful when you want to link multiple input values together.
Every material needs a Material Output node to work. The Surface and the Volume socket are for their respective shaders, and Displacement is for the displacement effect introduced in the last section. It also let you make different outputs for EEVEE and Cycles render engines.
Most of the nodes here can be seen as components of the principled BSDF shader, and they give you more freedom to create new materials.
Real-life materials are usually not uniform, and different part has different properties. The Mix Shader node allows you to combine two shaders together with their arrangement defined by the Fac input. With the help of Node Wrangler, this node can also be created by holding Ctrl + Shift + Right Mouse Button and dragging the cursor from one shader to another.
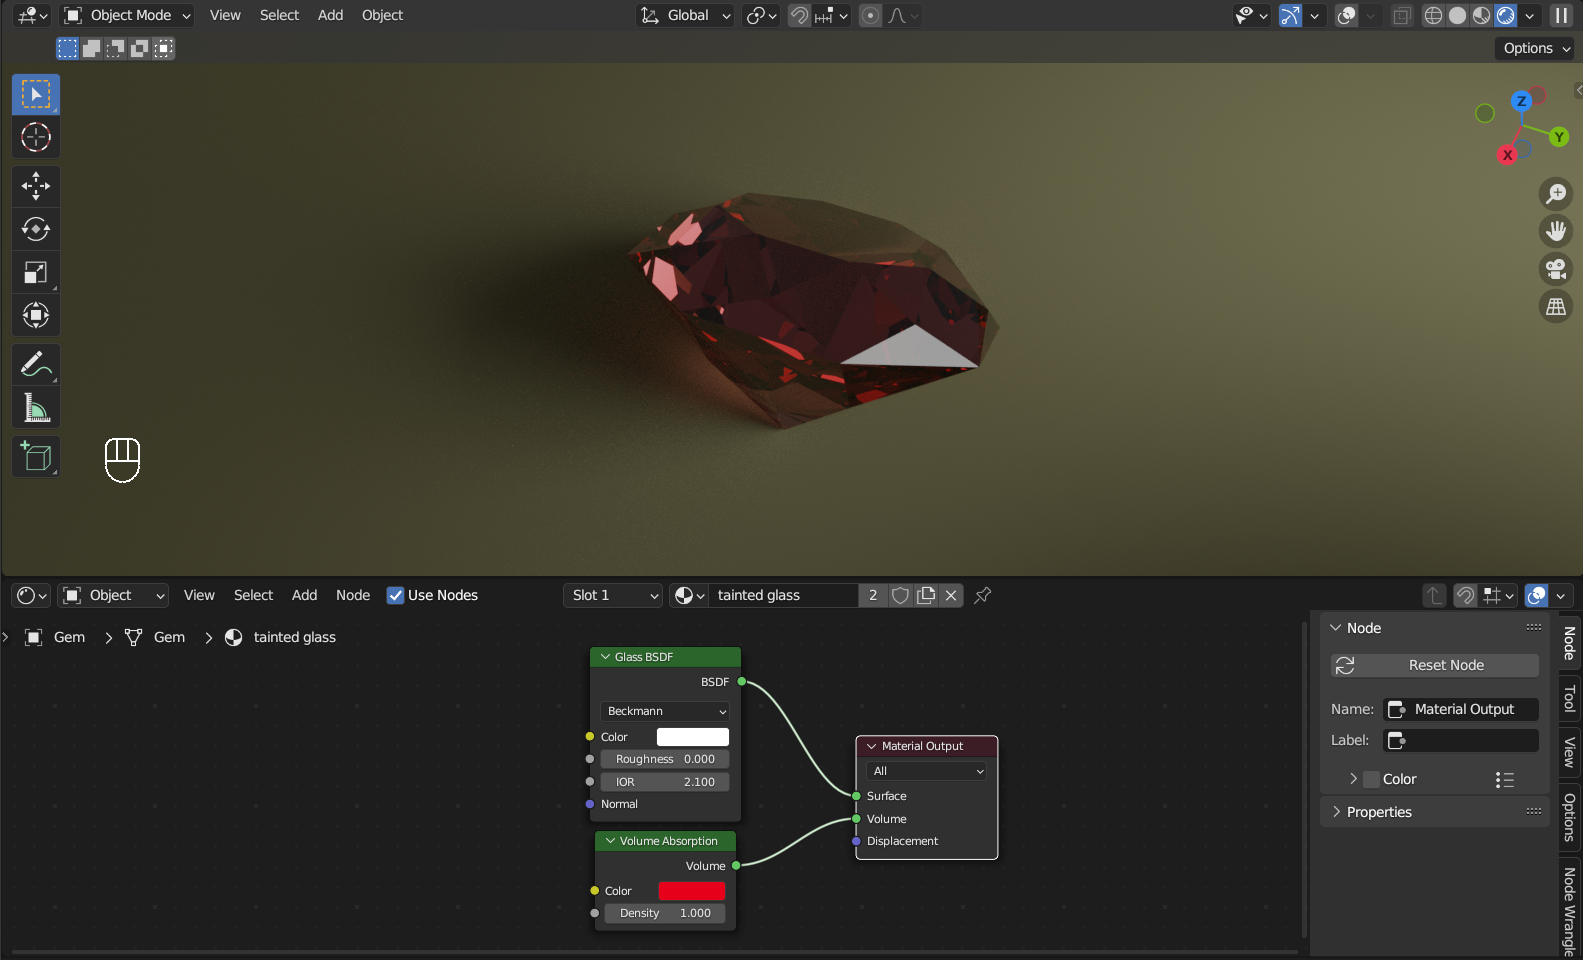
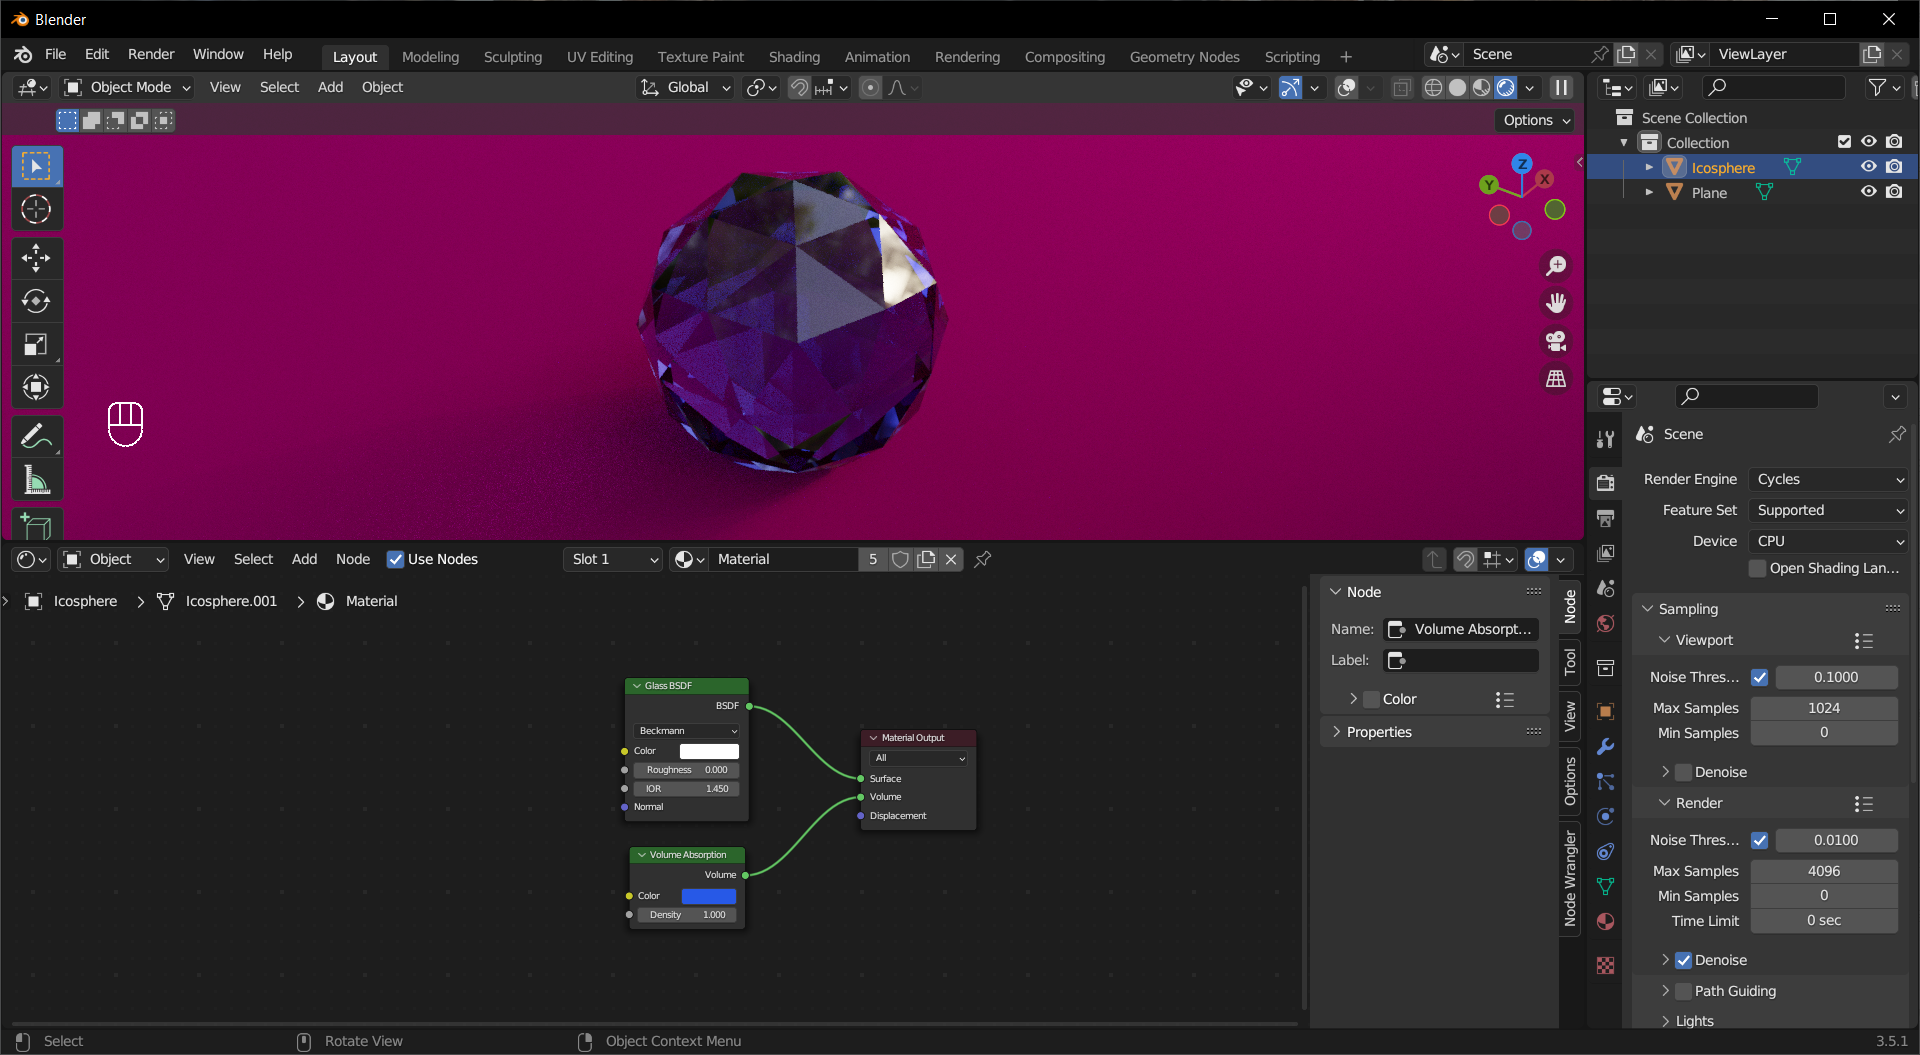
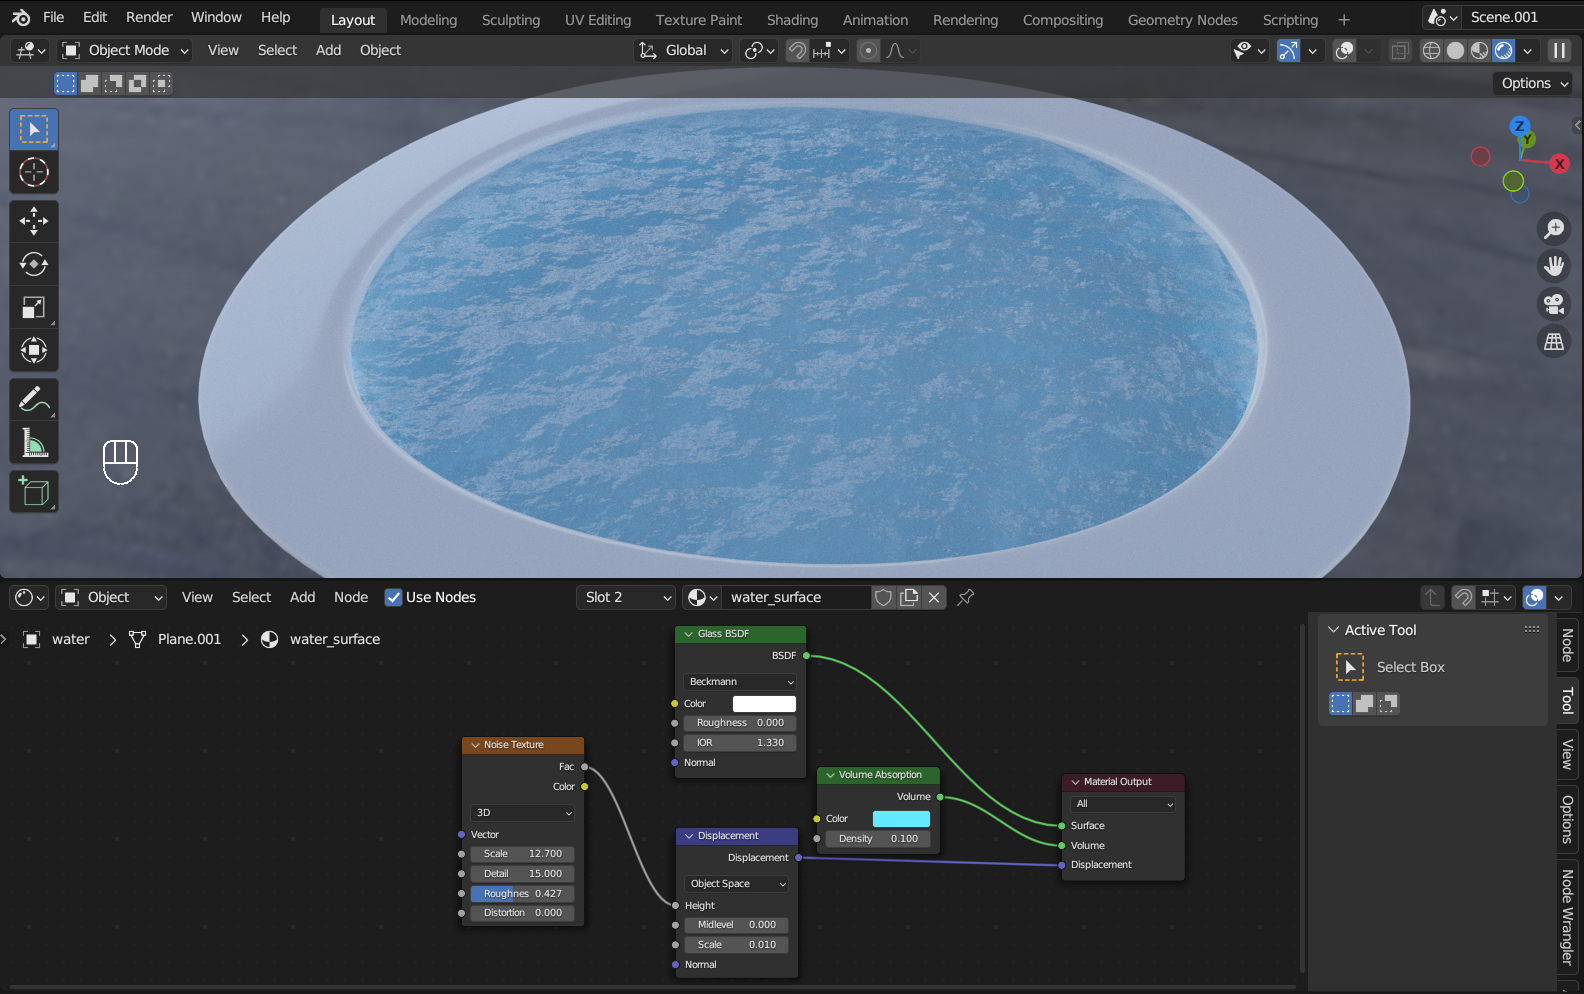
To create colored translucent material like tinted glass, you will need the Volume Absorption node. Be sure to connect its output to the Volume input socket of the Material Output node.
Tip
Switch to Cycles render engine for better results.
It is often combined with a surface material.
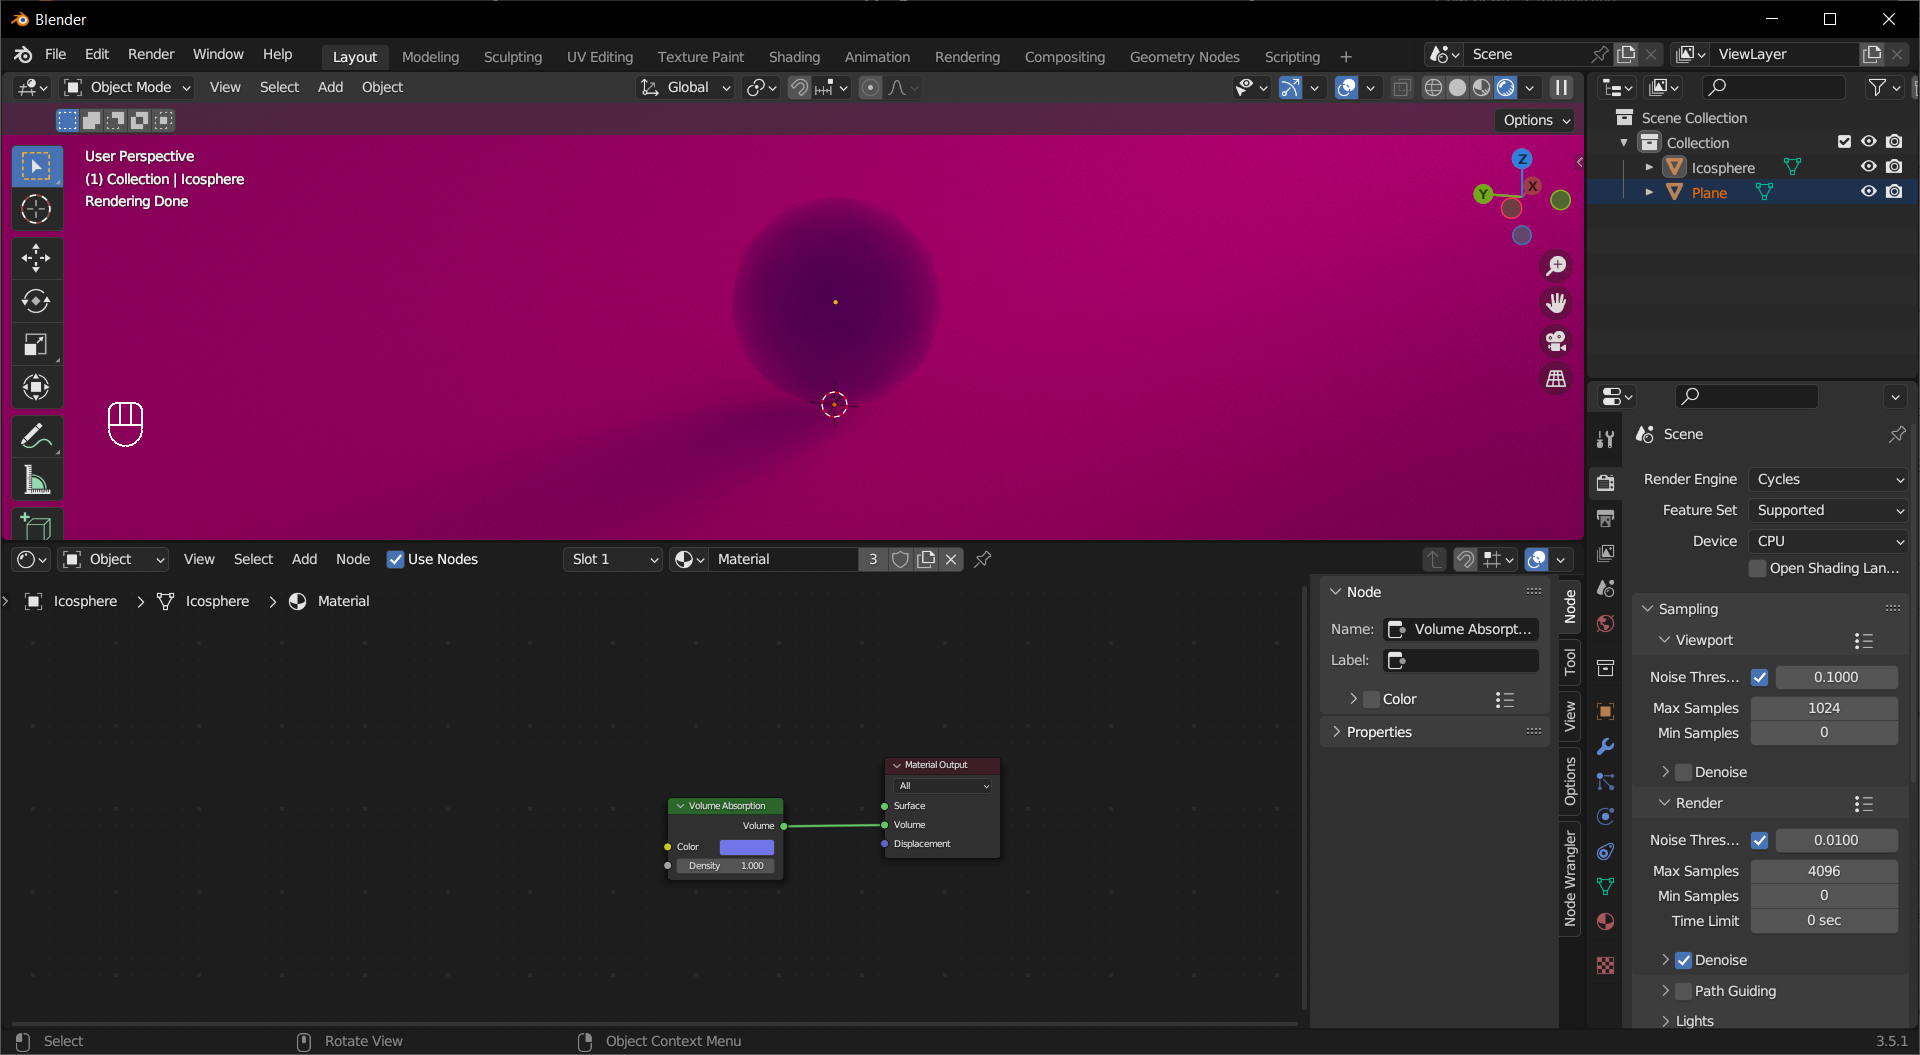
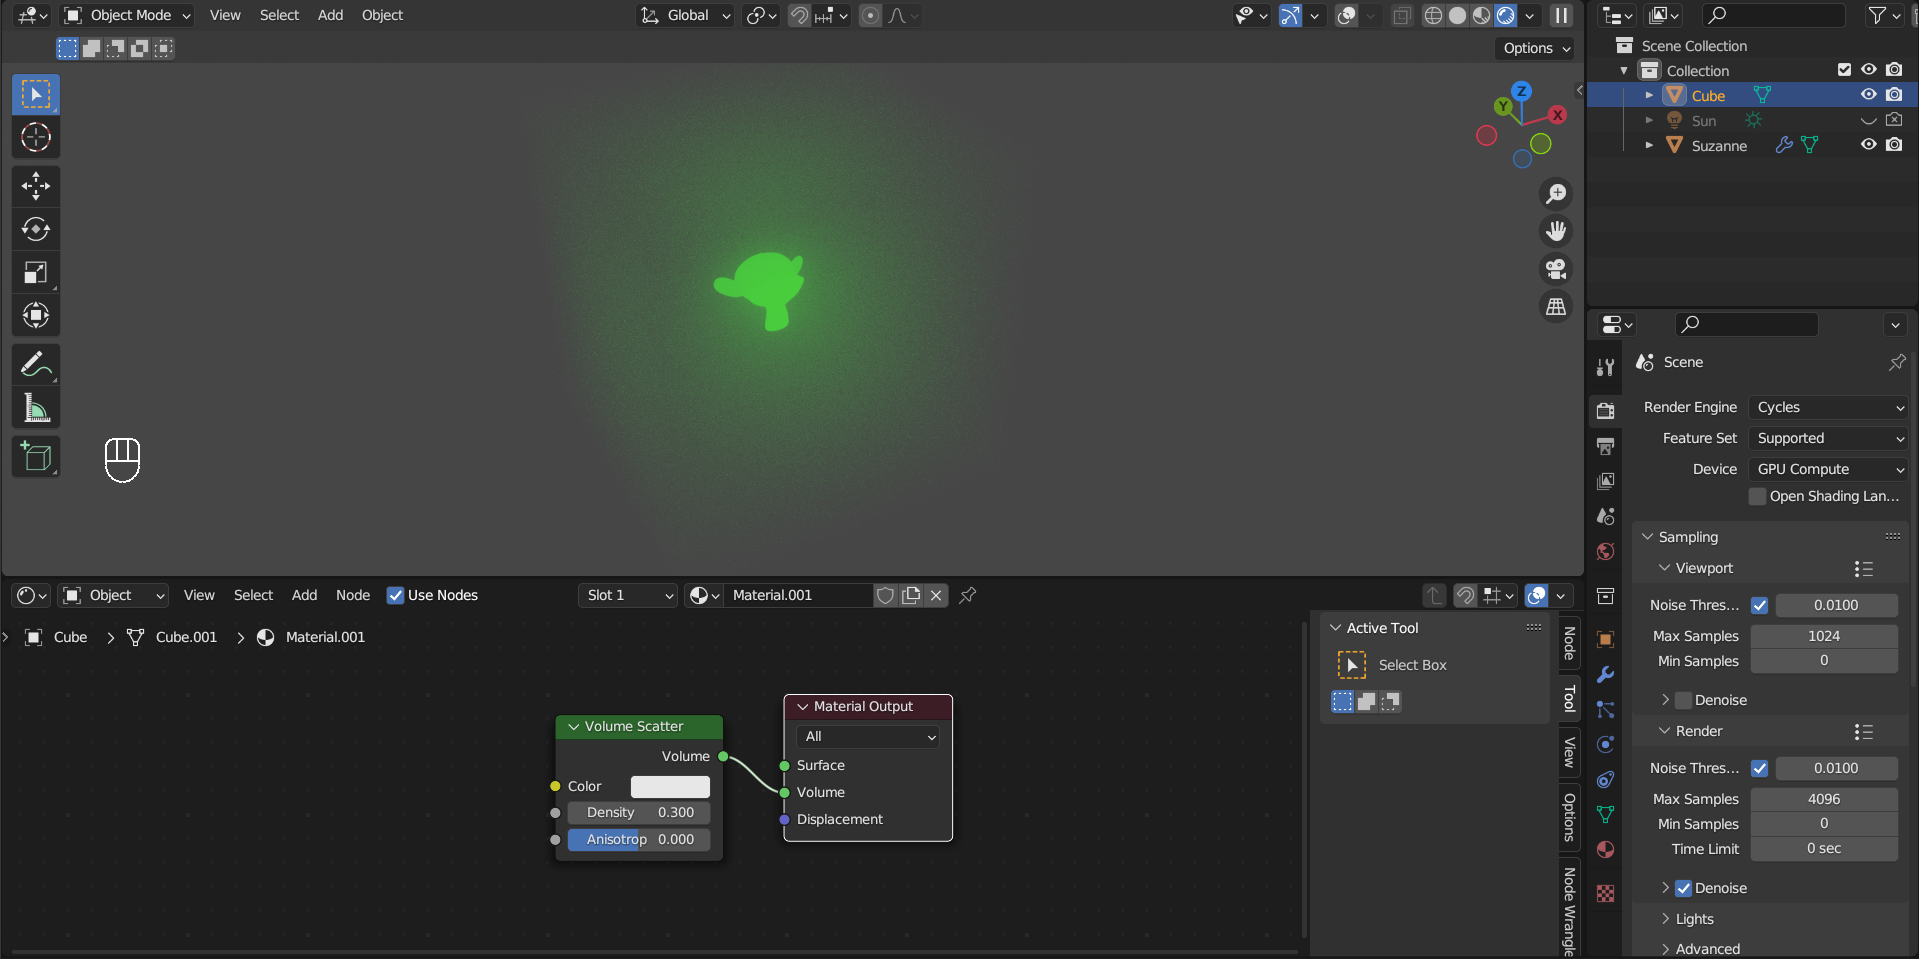
Adding some fog to your scene can make it look less empty, and the Volume Scatter node helps you to create such material. In this example, such material is applied to a cube, and another object with an emissive material is put insde the cube.
Tip
Switch to Cycles render engine for better results.
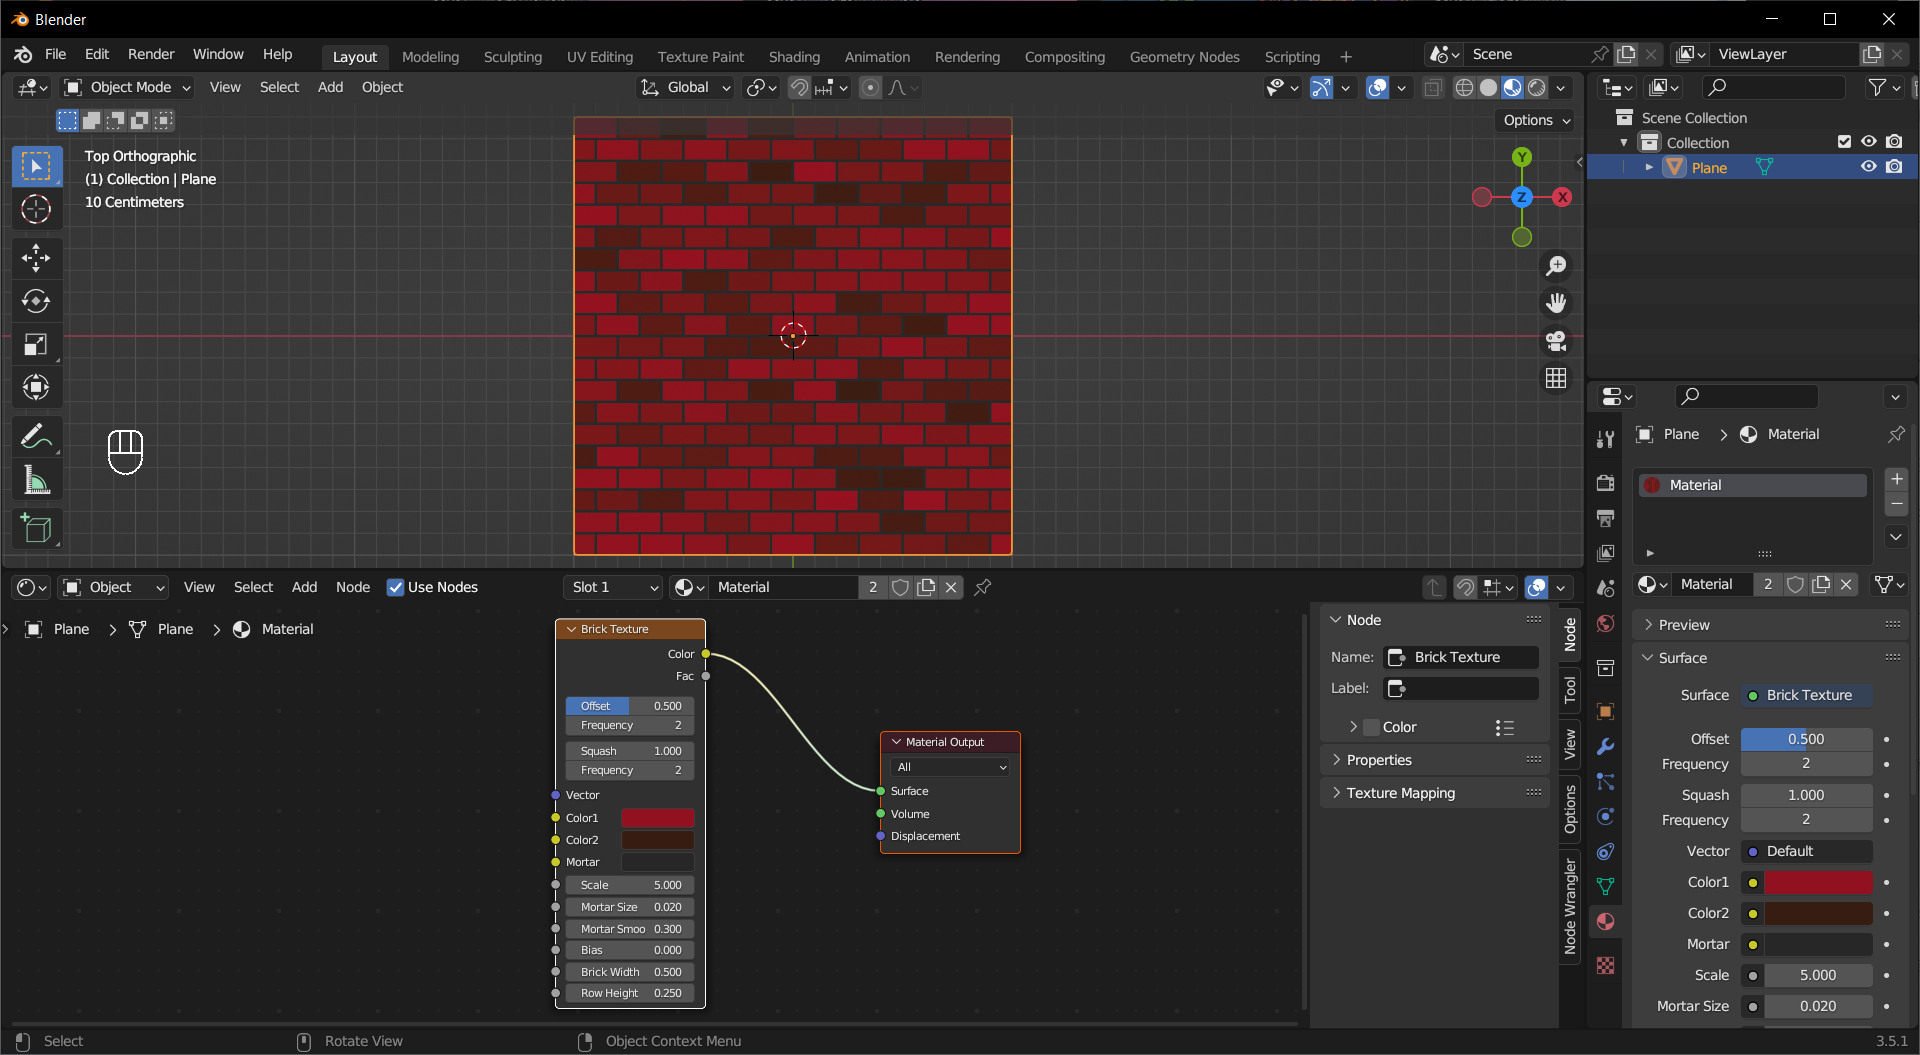
The Brick Texture makes procedually generated brick wall textures, or other tiled textures if you use it in more creative ways. The Color socket outputs the texture, and Facgives you a factor where the brick parts are 0s and mortar 1s.
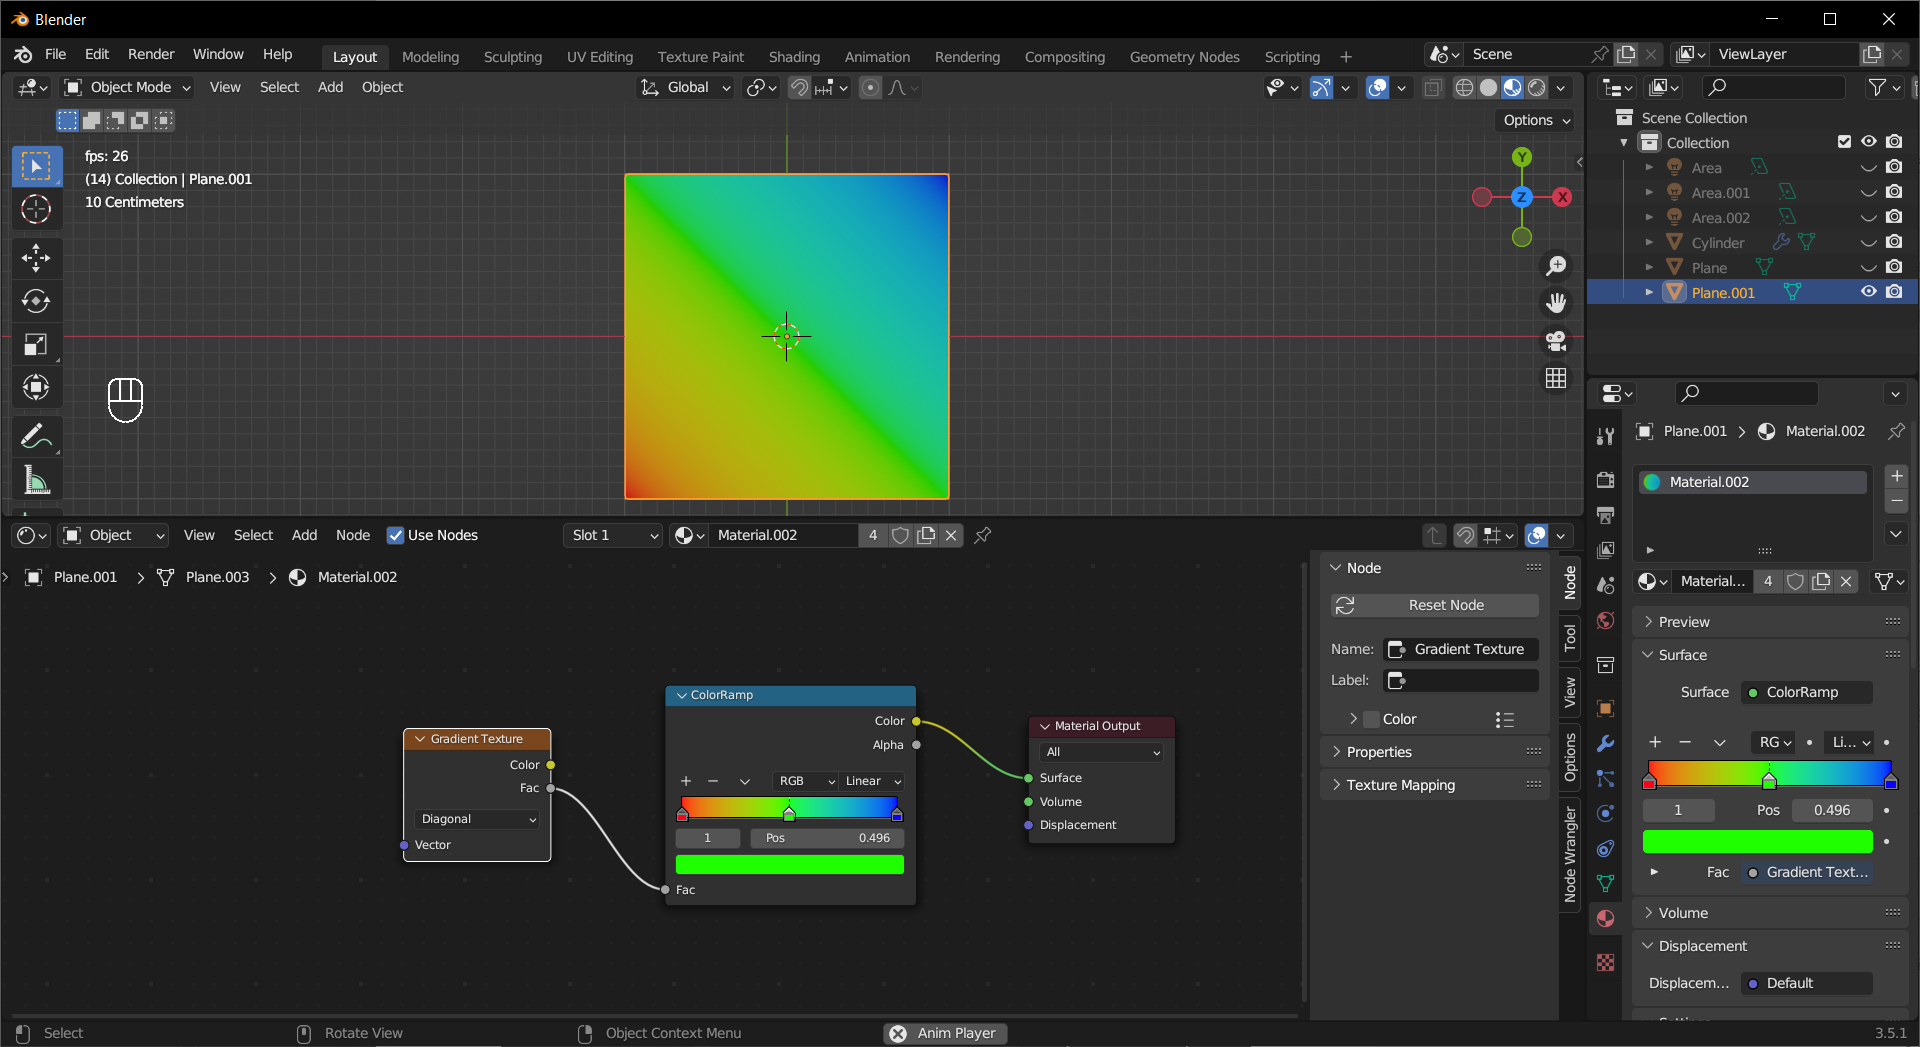
Gradient Texture can help you make a blend or fade in/out effect.

The Magic Texture may look weird, but it is useful for generating repeating patterns. If you look at its R(ed)/G(reen)/B(lue) channel separately using the Separate Color node, the simpler underlying patterns will reveal themselves.
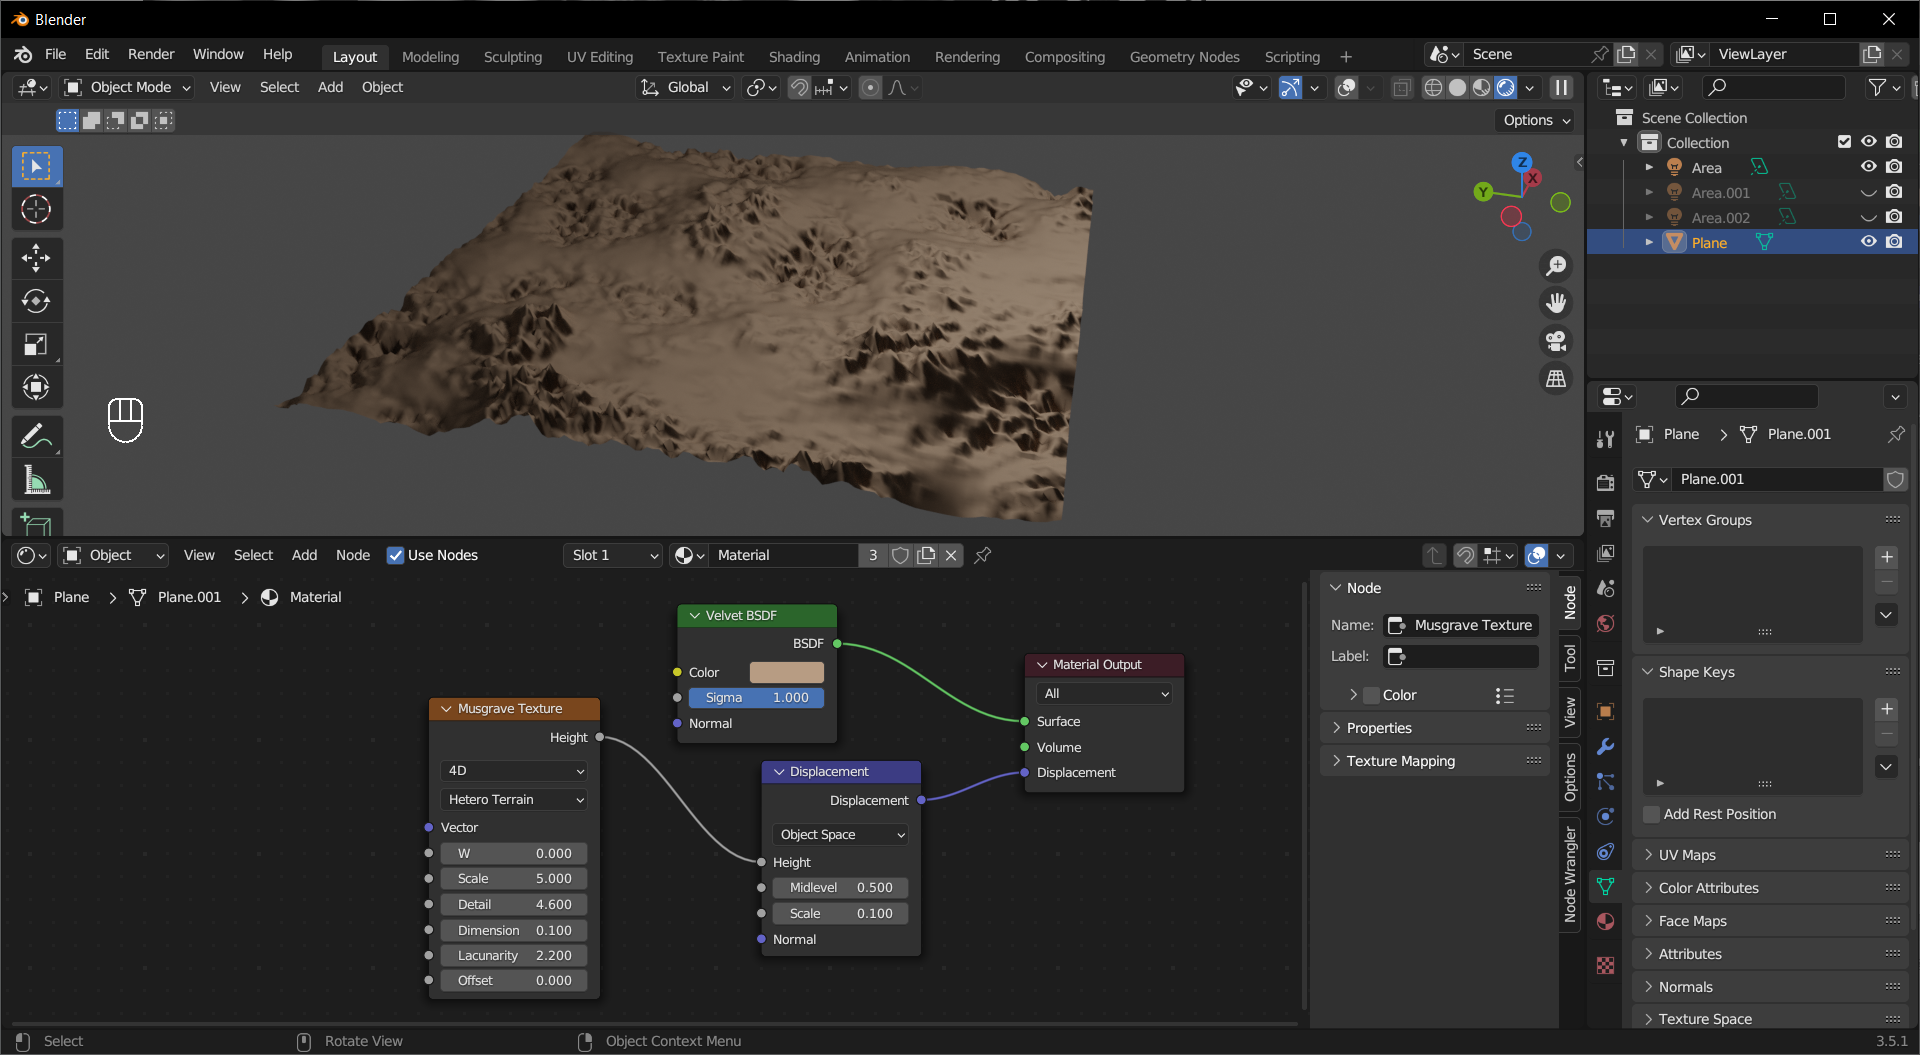
The Musgrave Texture is based on Perlin noise, and it gives you more control compared to the Noise Texture node.
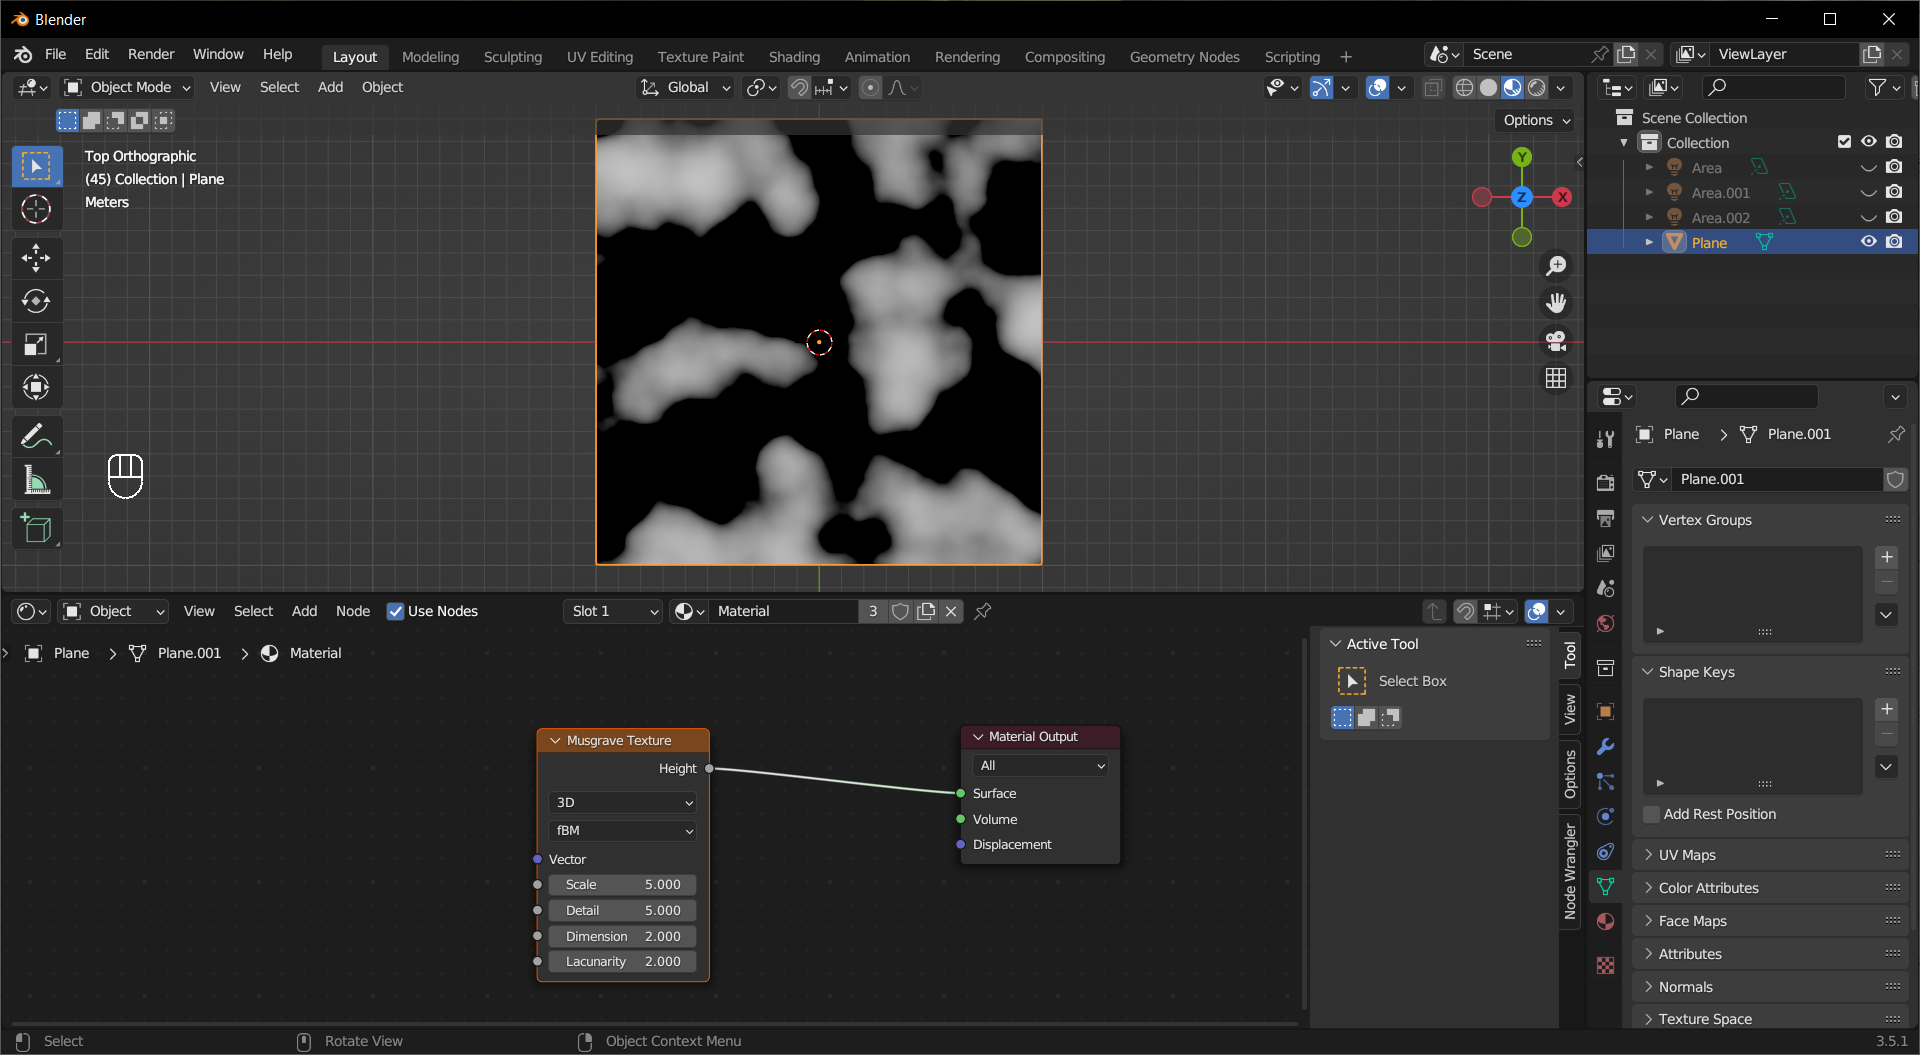
It is good at mimicking organic surface and creating terrain. Unlike the more common Fac output, the Height output is not limited to the range of 0 to 1, and you can see the effect when using it for Displacement. When the number of dimension is set to 4D, you can use W as a random seed or for animation.
Noise Texture generates a pattern based on Perlin noise. The Fac output pattern is the same as the red channel in the Color output.
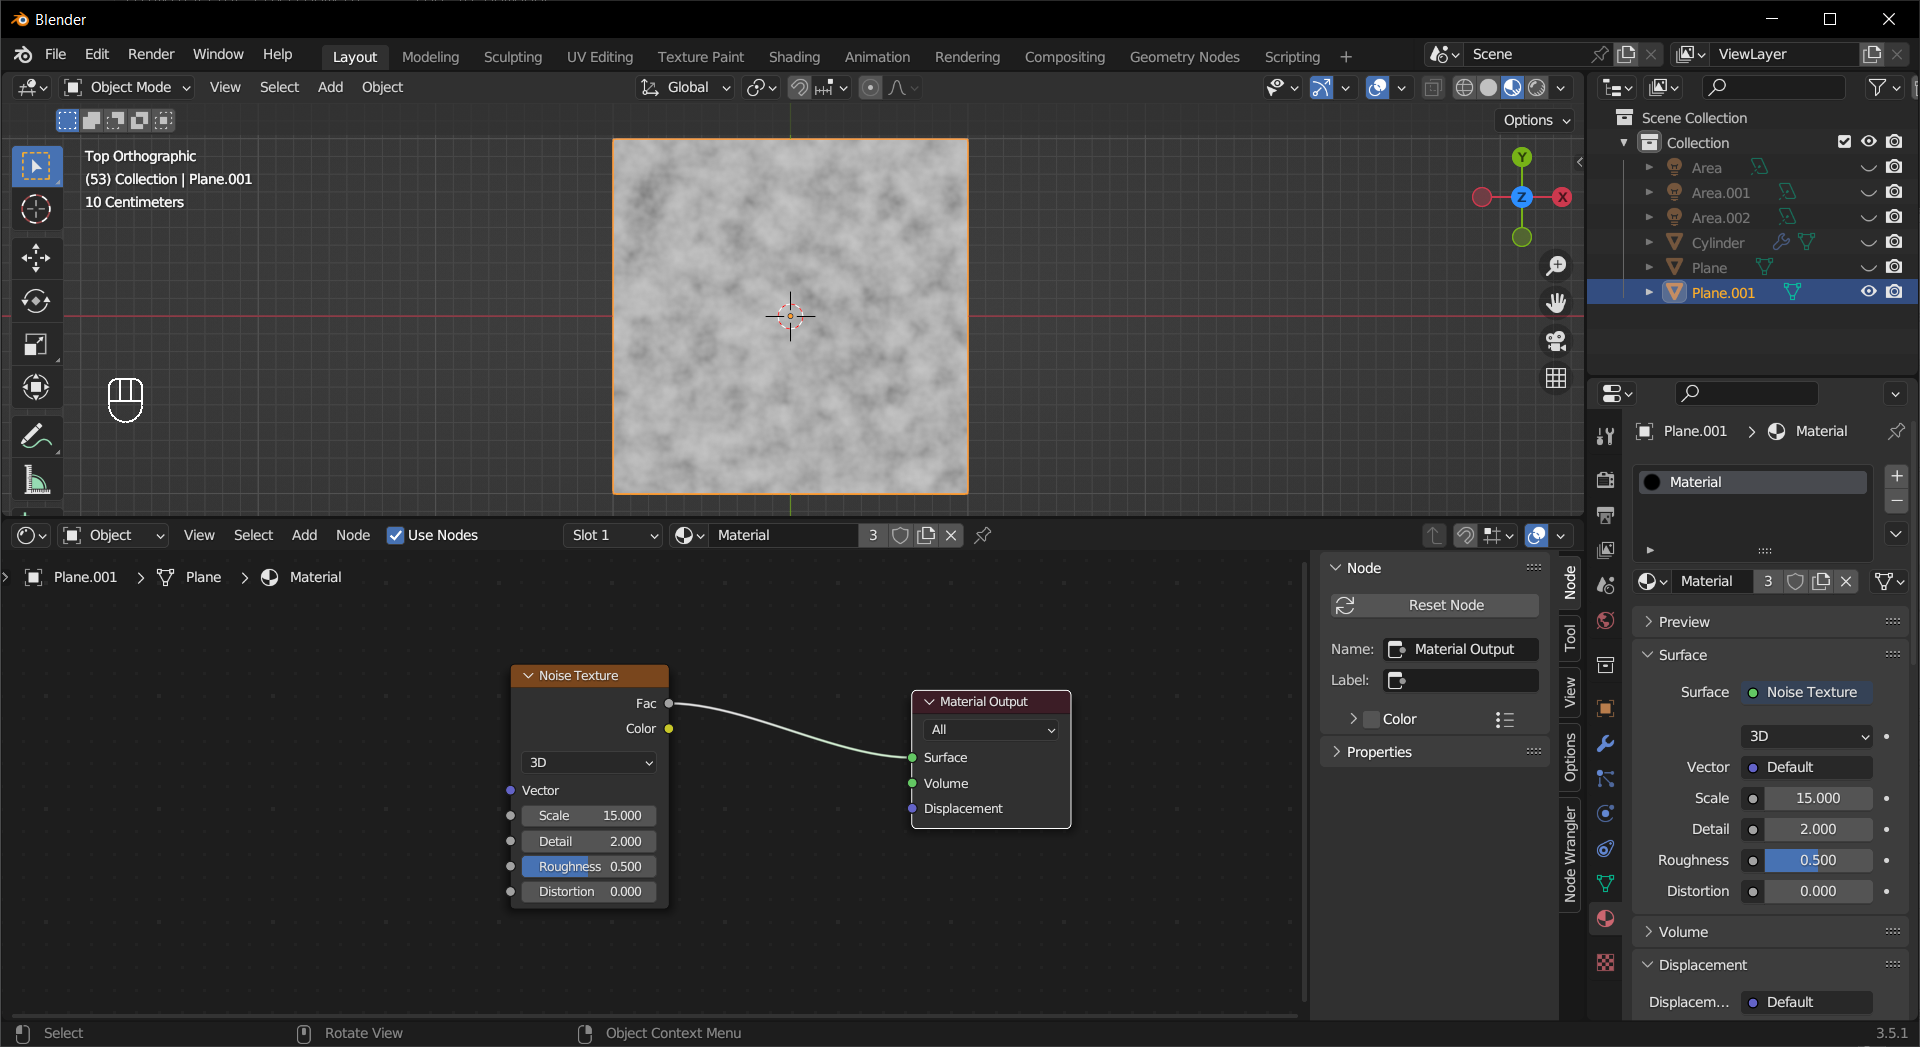
You can use it to add some flavor to your material, or combine it with other textures to create interesting effets.
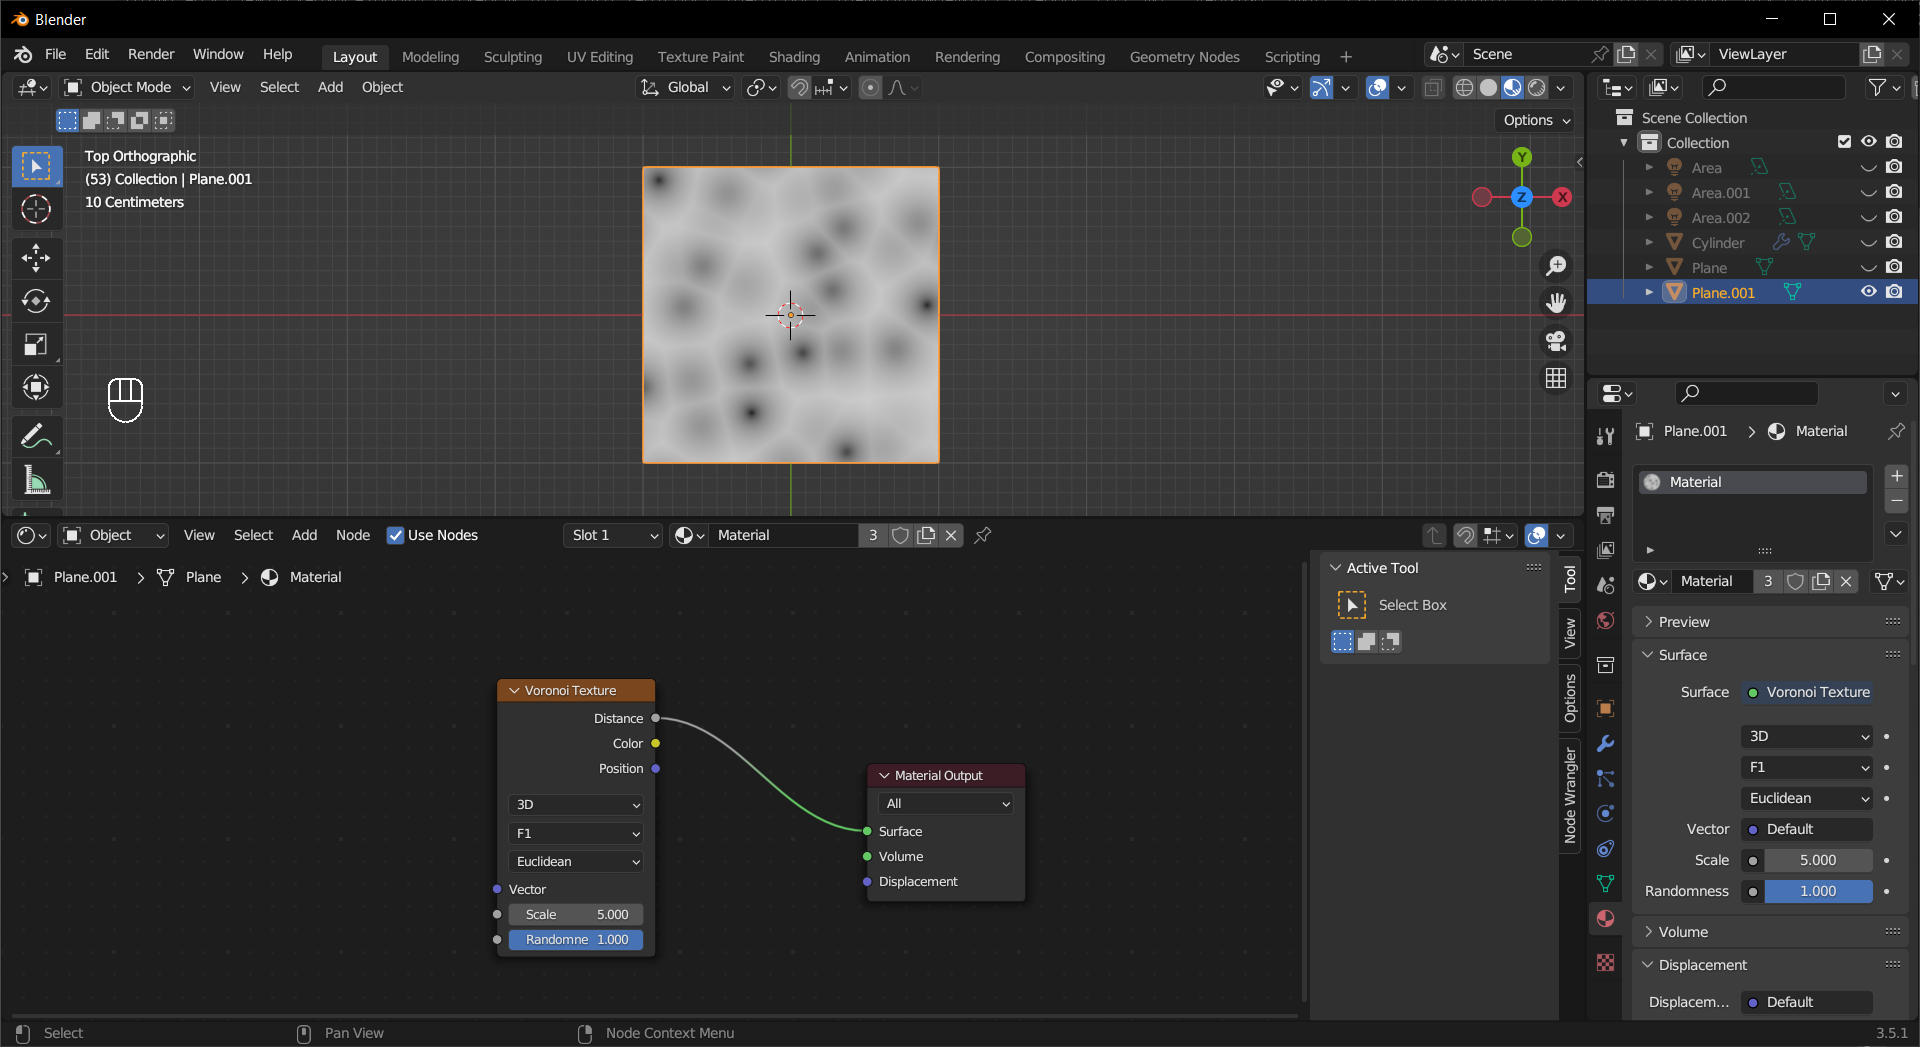
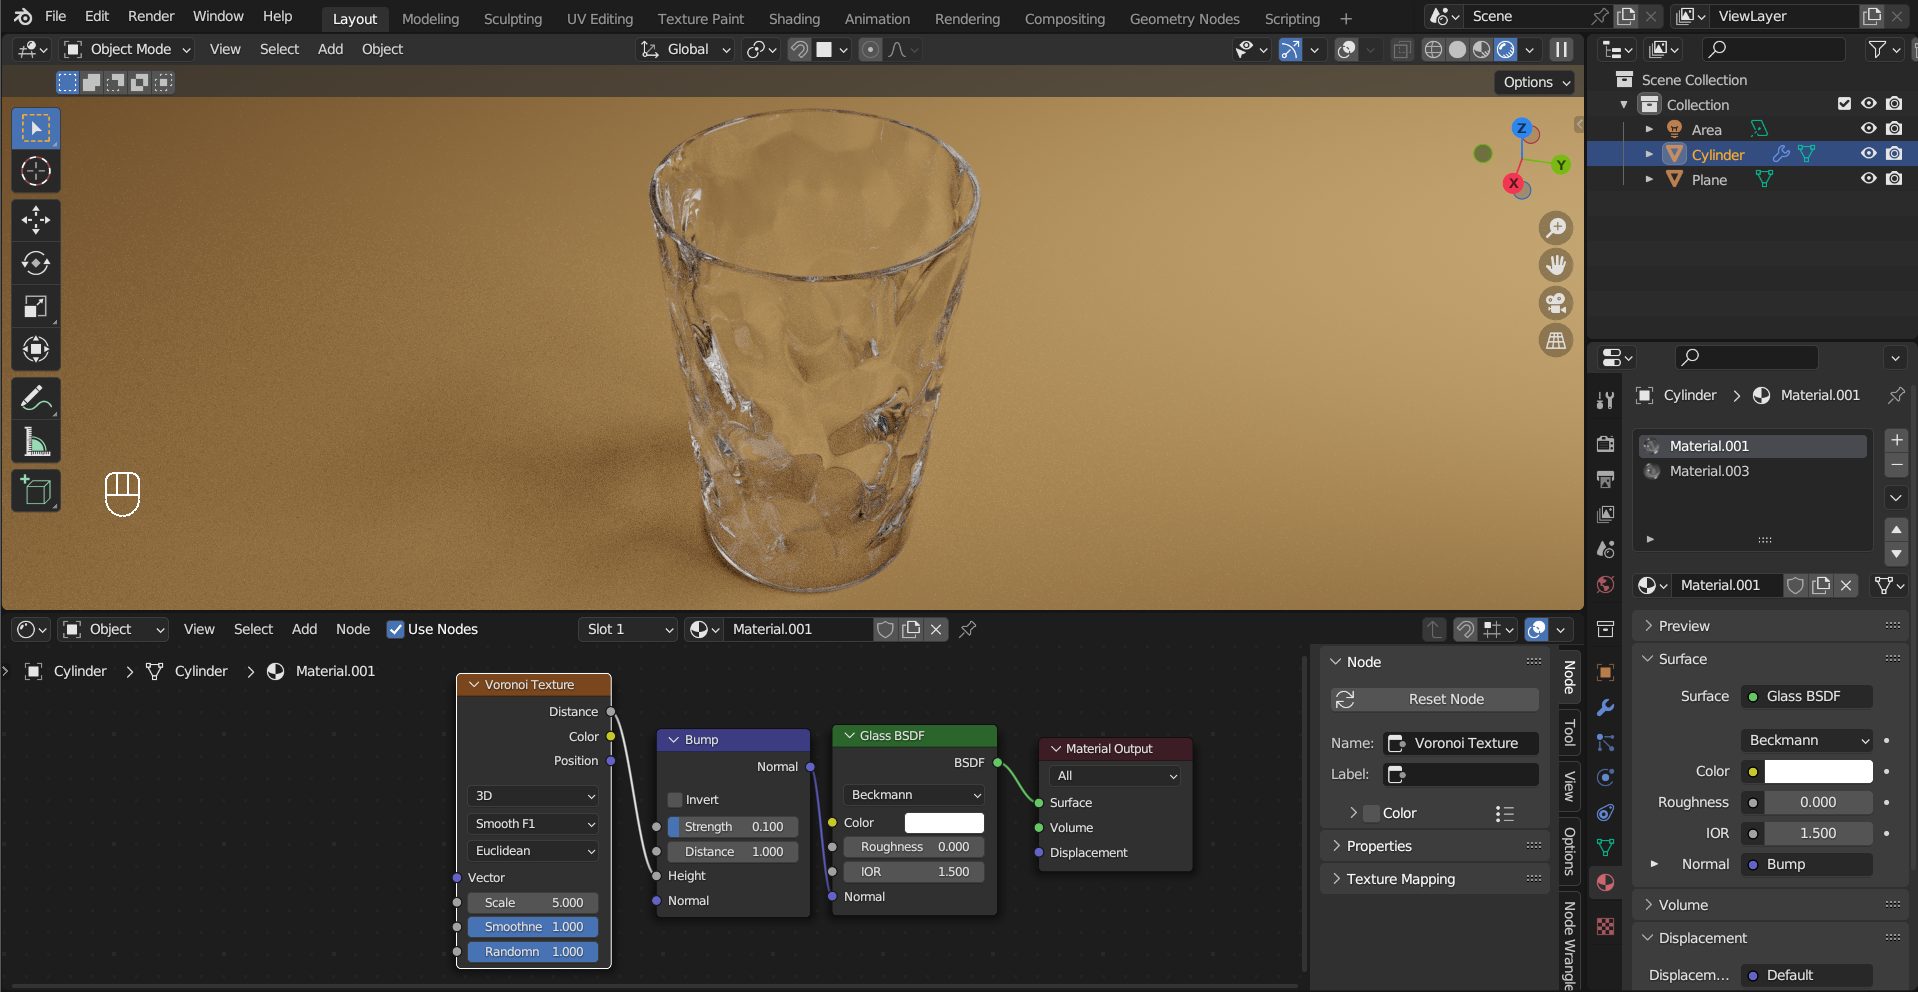
The Voronoi Texture is based on Worley noise, which is generated by evaluating distance to random points in space. Changing the defination of distance gives you different outputs. When the number of dimension is set to 4D, you can use W as a random seed or for animation.
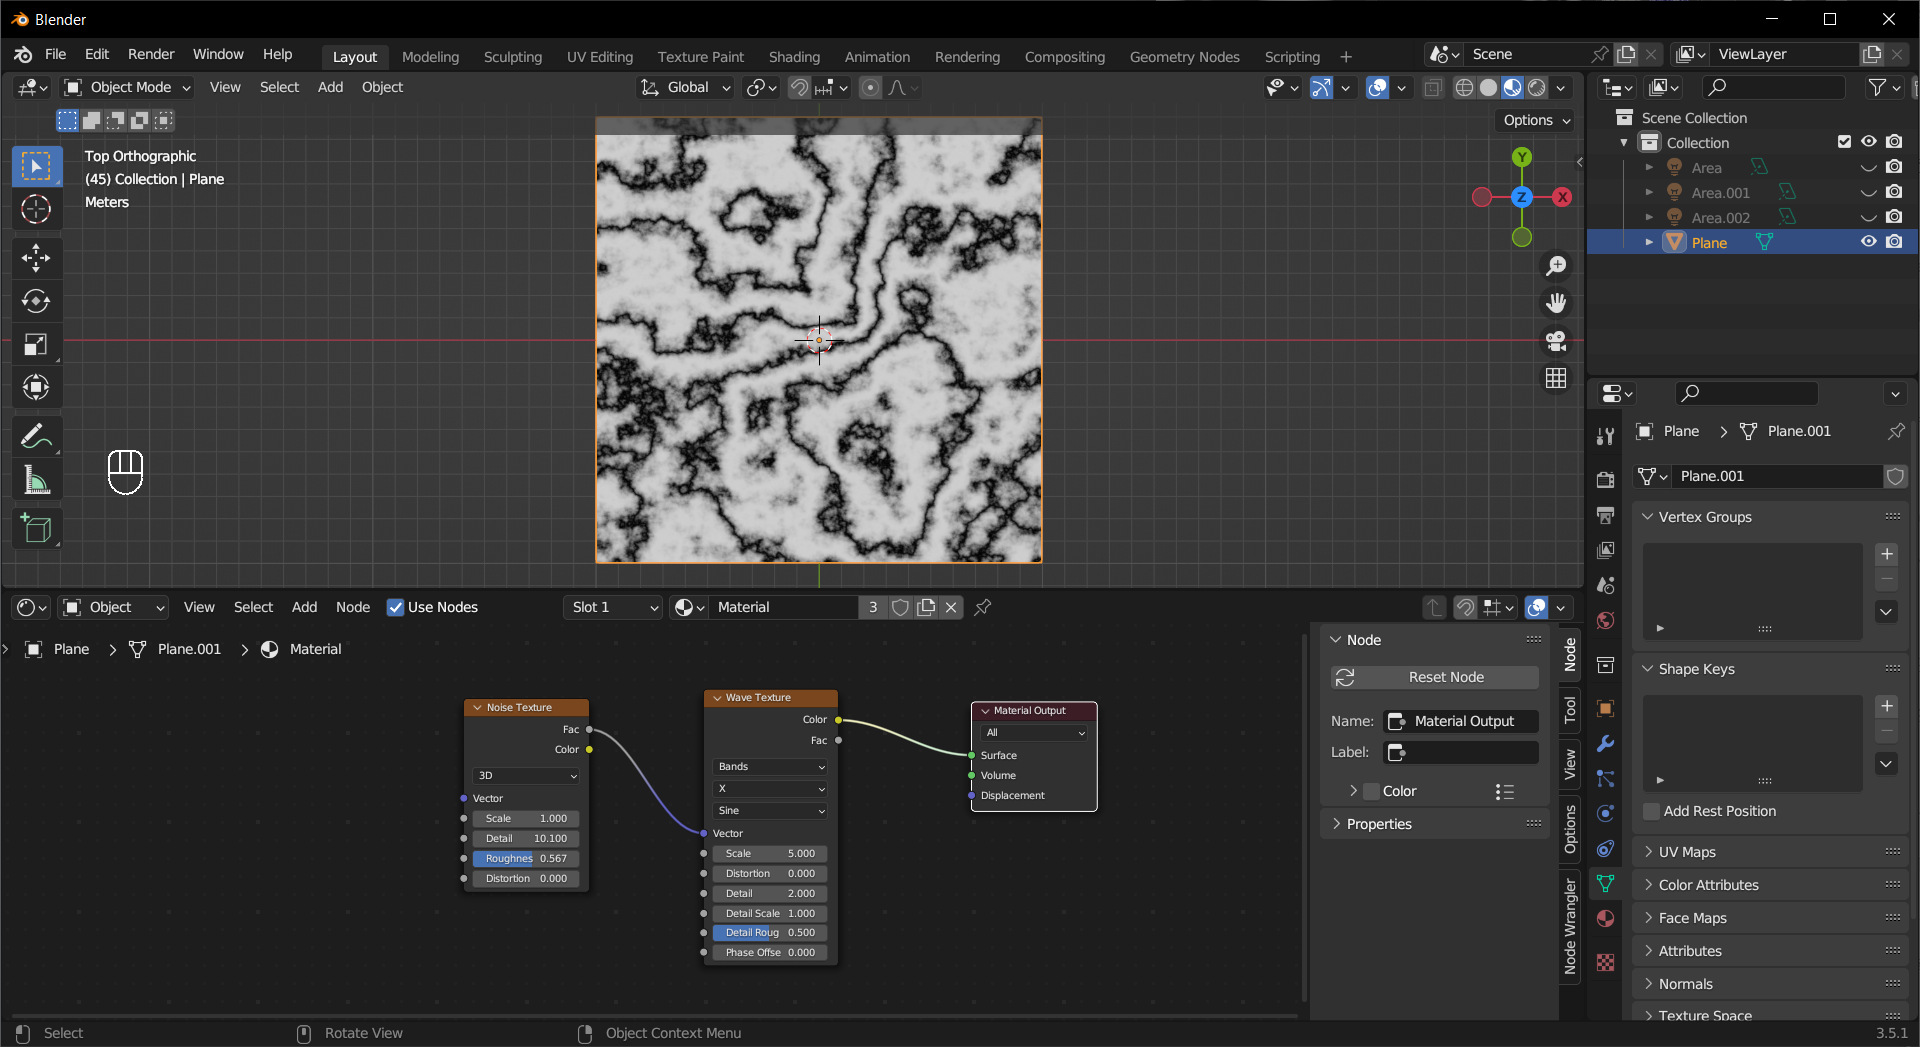
The Wave Texture gives you bands and rings. Putting it on a 3D object will give you a better understanding on how it works.
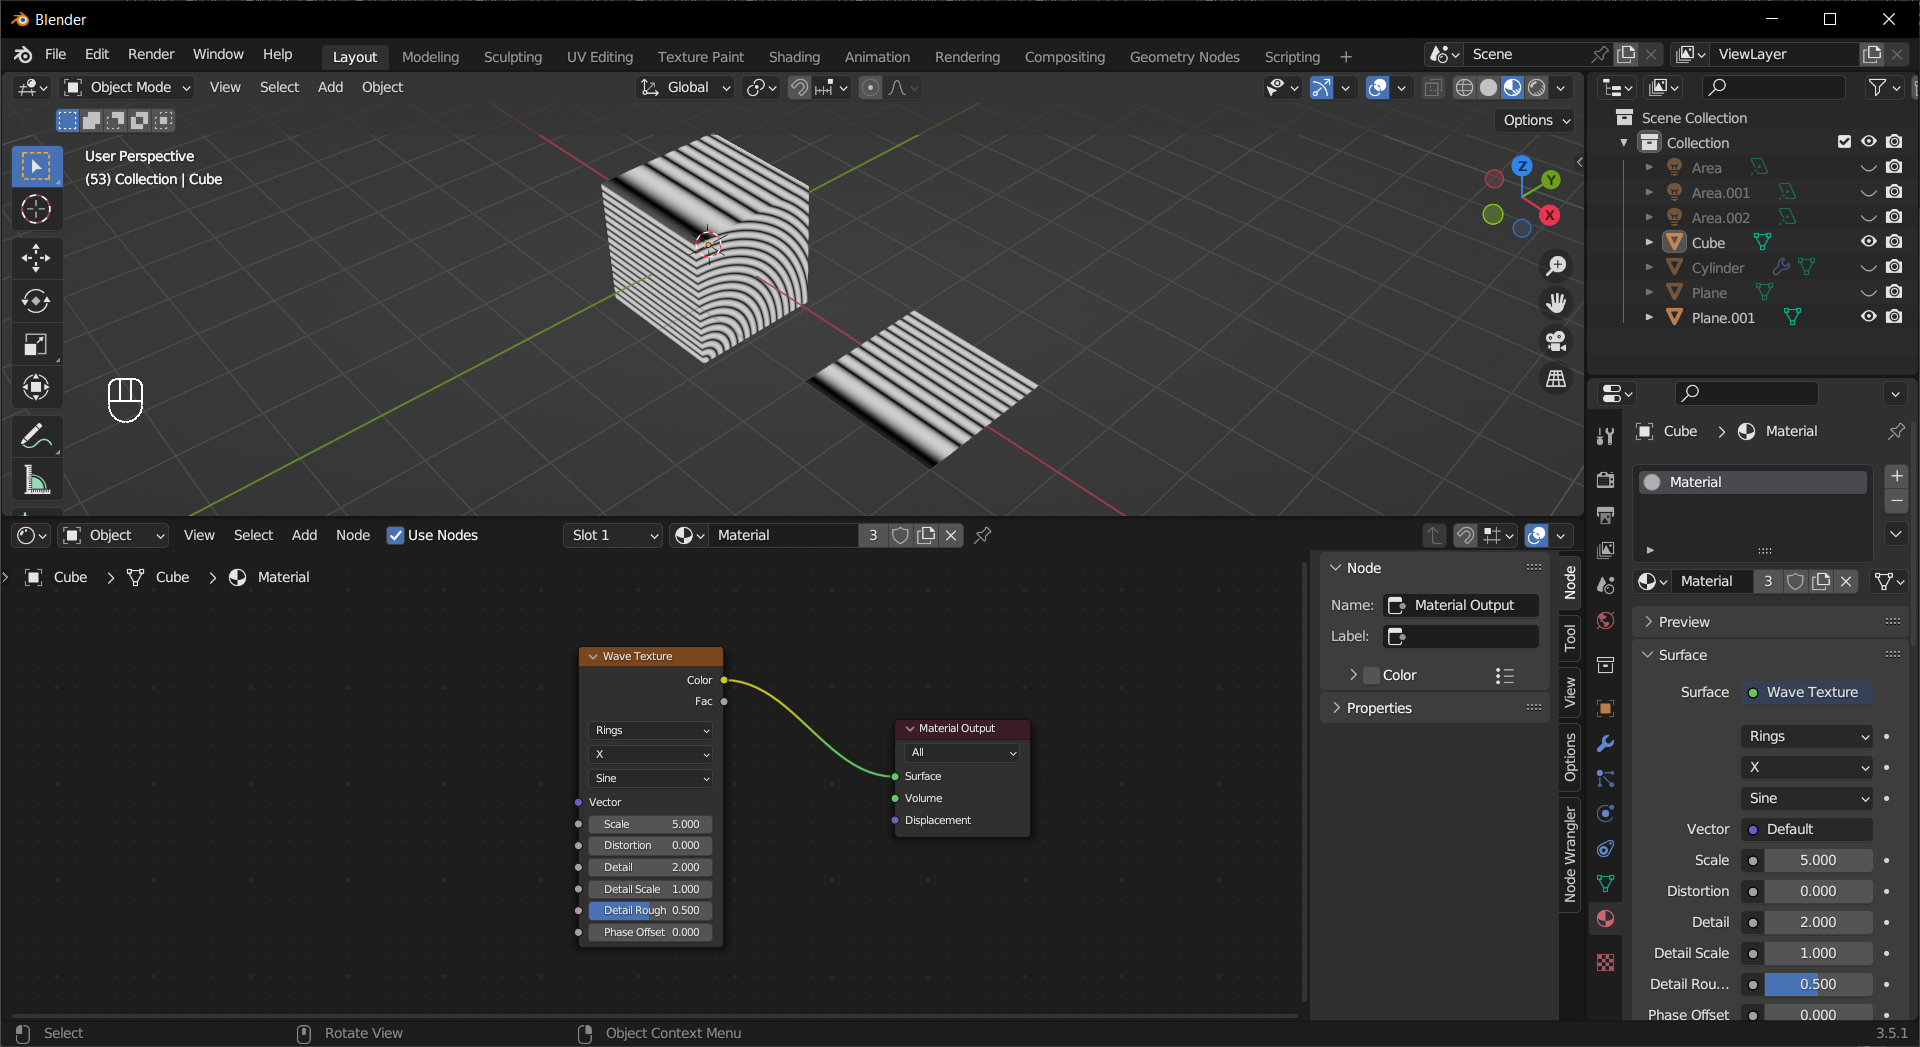
Combine it with other texture nodes to create interesting effects.
The Bump node takes a Height(float) input and outputs a normal map.
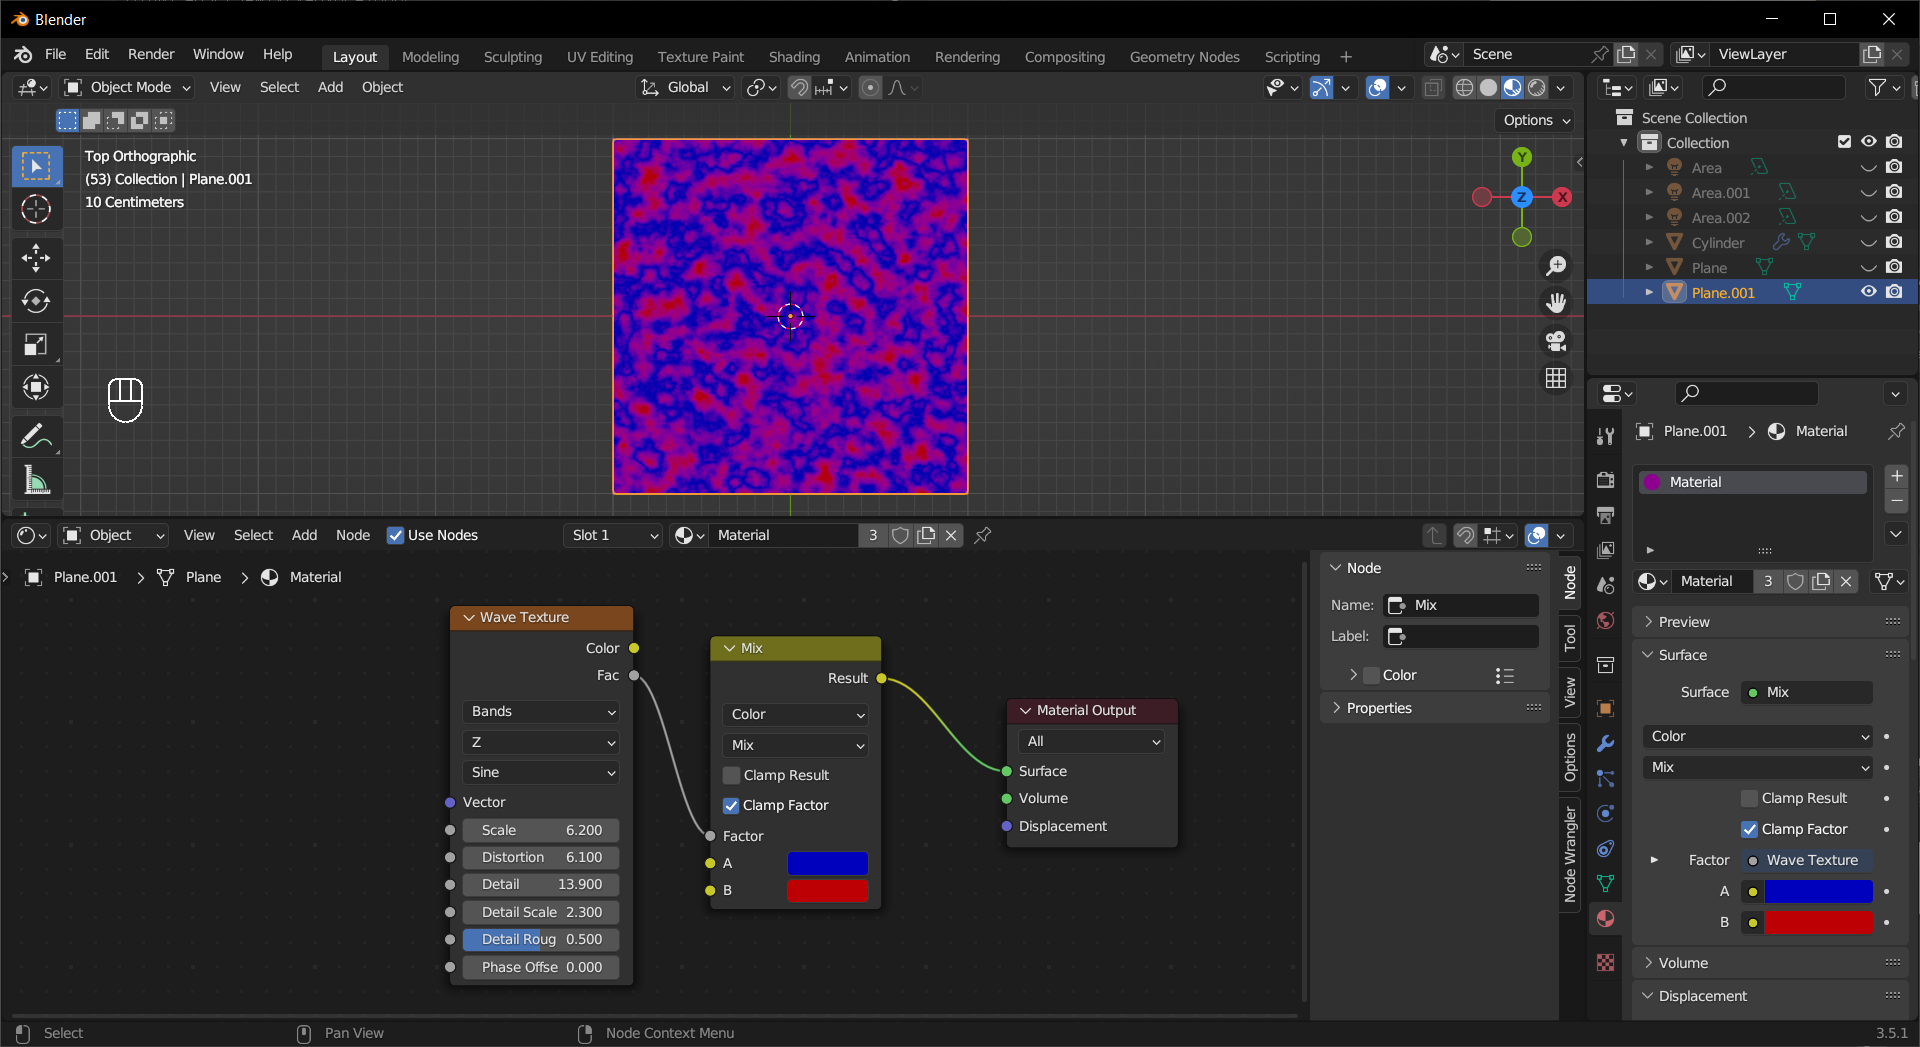
Not to be confused with the Mix Shader node in Shader, the Mix Color node offers various ways to mix two color inputs depeneding on the Blend Mode. With the help of Node Wrangler, this node can also be created by holding Ctrl + Shift + Right Mouse Button and dragging the cursor from one node with Color output socket to another.
Tip
The Mix node in Converter is actually the same as this node.
The Blackbody node converts Temperature(float) to a Color based on blackbody radiation.
Color Ramp maps values to colors. You can Left Mouse Click + to add a new Color Stop and - to delete. To change the color, select a Color Stop then Left Mouse Click the color bar.
Tip
You can use this node to map values too.
It can be used as a simple tool to adjust contrast.
You can also use it along with the Shader To RGB node to get a cel/toon shading effect.

The Map Range node map values from one range to another.
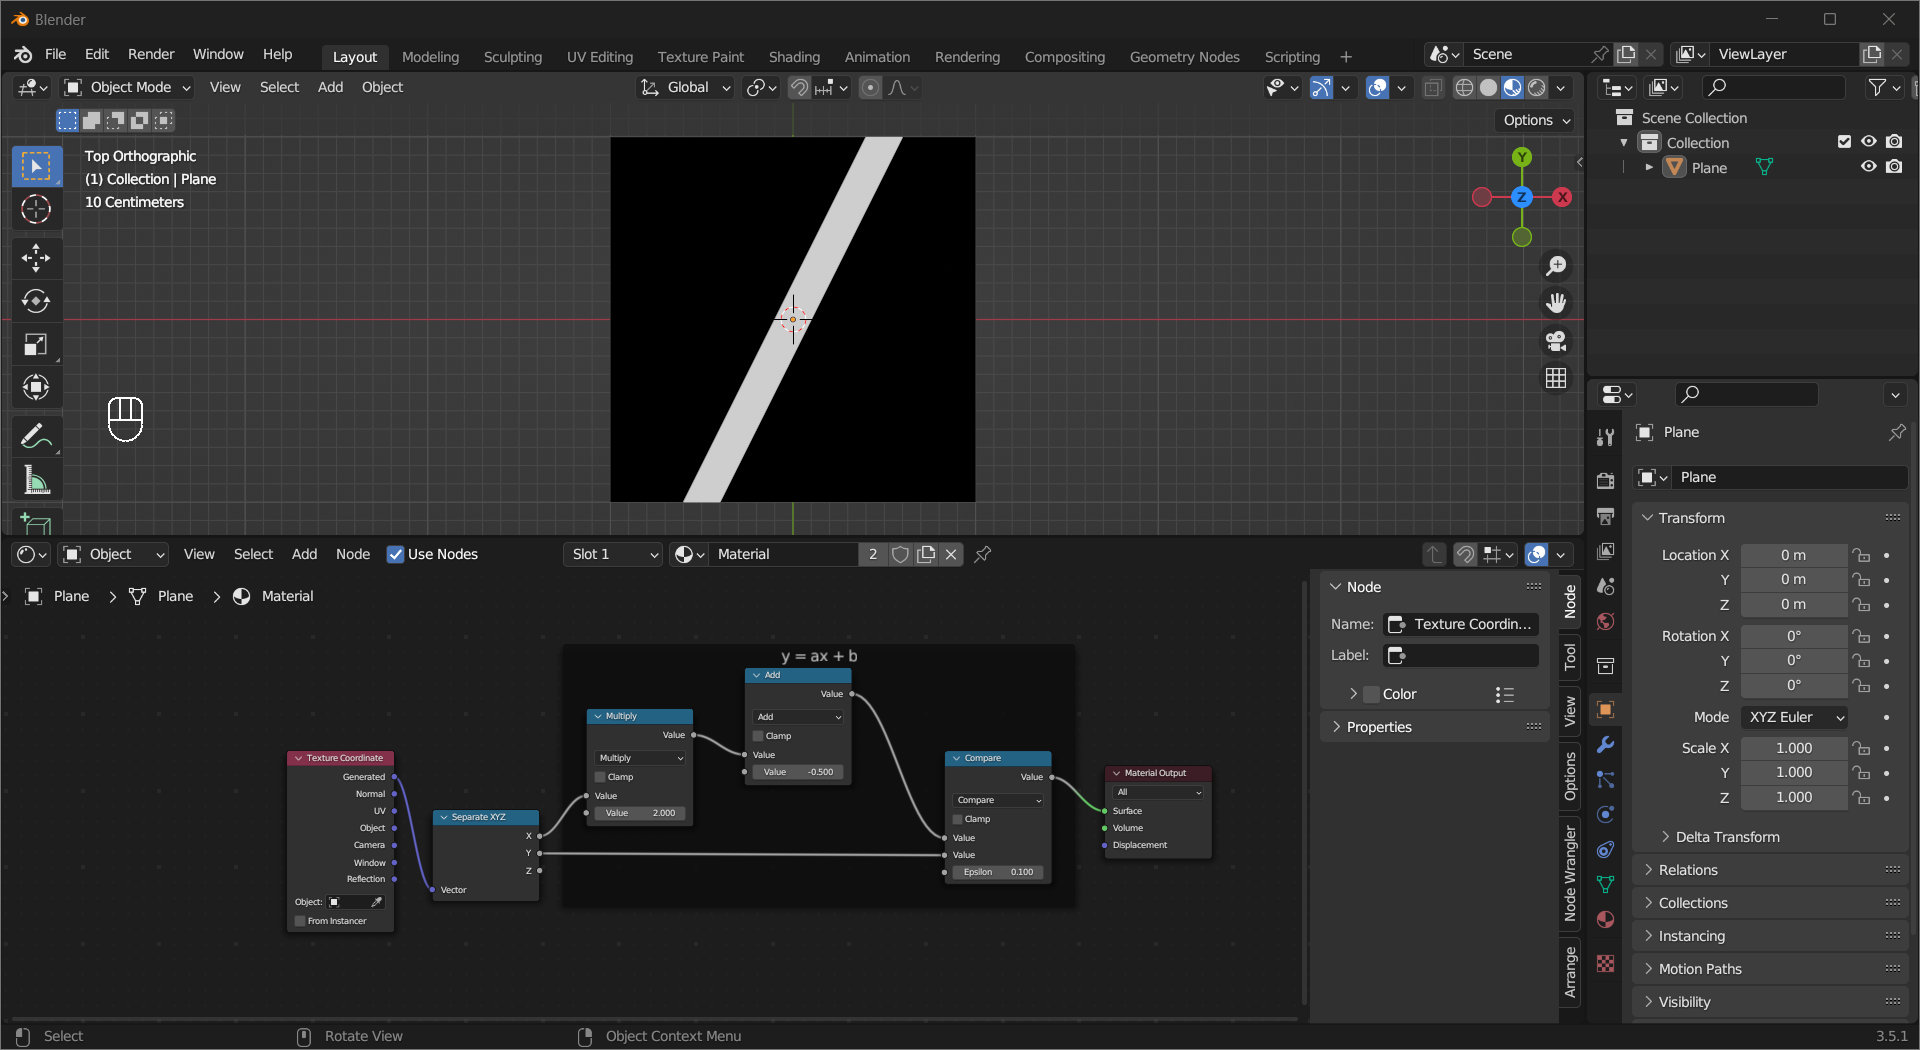
The Separate XYZ and Combine XYZ nodes allow you to separate/combine a vector into/from 3 float values. They are very useful when you are trying to read/manipulate coordinates on one axis.
The Shader To RGB node is used for stylized rendering, it allows you to manipulate the output of a shader. See Color Ramp for the example.
The Math and Vector Math nodes allow you to perform mathmatical operations. You can use them to adjust values, draw shapes, etc.
The Wavelength node convert a wavelength (float) to a color, it will produce pure black if the value is out of the range of visible light.