Sculpting#
Sculpting is the feature for making detailed organic-looking meshes. It is analogous to clay sculpting and requires more artistic skills compared to modeling.
Note
A pen tablet or display tablet is recommended, but you can try it out with your mouse.
Preparation#
First, you need to be sure the object you want to sculpt is a mesh object. If not, you need to convert it to a mesh first. To do that, select the object and Right Mouse Click then choose Convert to > Mesh.
A mesh object has a Sculpt Mode in the viewport, and all sculpting will be done there. But before that, a mesh needs enough polygons to be sculpted.
There are multiple ways to make a mesh more high-poly, and some of them you already know. You can Subdivide the mesh in edit mode
or give the object a Subdivide Surface modifier and apply it.
Another way is to use the Remesh modifier.
Tip
You can also remesh in sculpt mode, choose Remesh on the header, change Voxel Size (smaller value gives finer result) and Left Mouse Click the Remesh button.
You can also use the Dynatopo(Dynamic Topology) feature in the sculpt mode. By default, it automatically subdivides the surface when you sculpt based on how zoomed in you are.
For symmetrical objects, you can toggle on mesh symmetry on the desired axes.
To see the mesh better during sculpting, you may want to use MatCap(Material capture) instead of the default Studio Shading. To do that, open the Viewport Shading menu and switch Lighting to MatCap then choose the one you like.
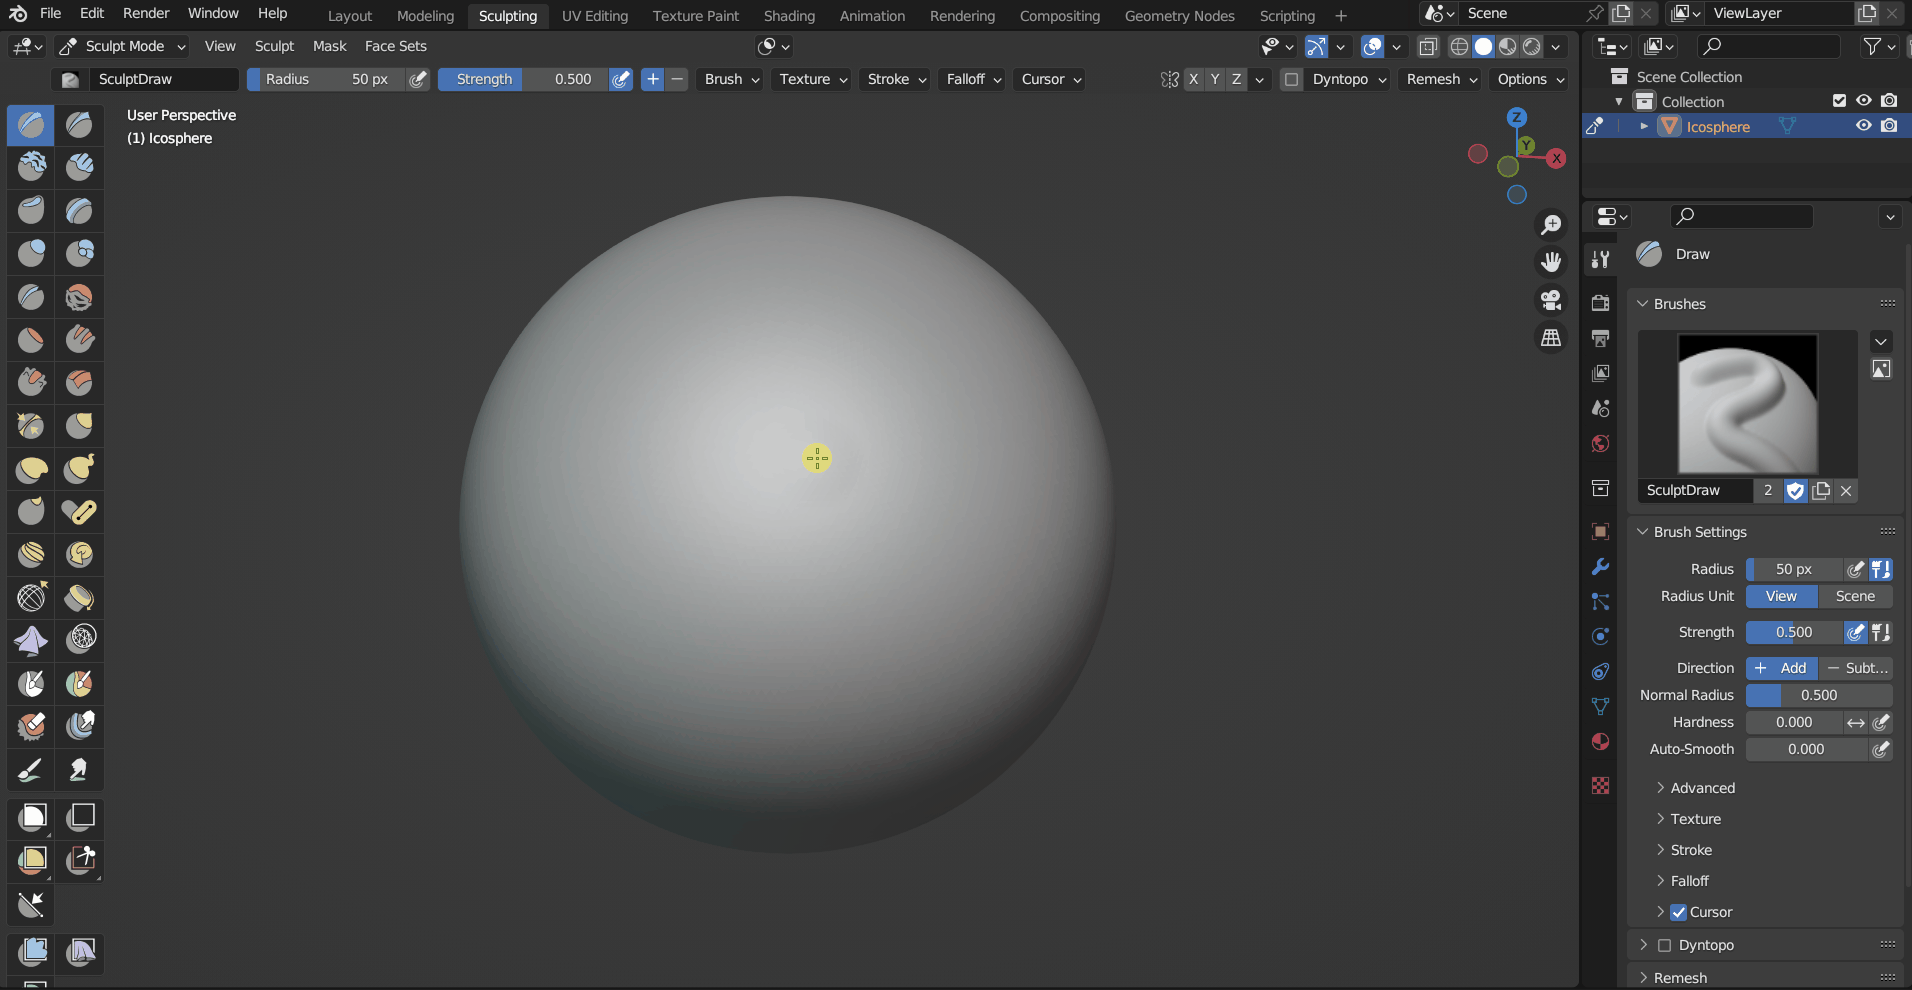
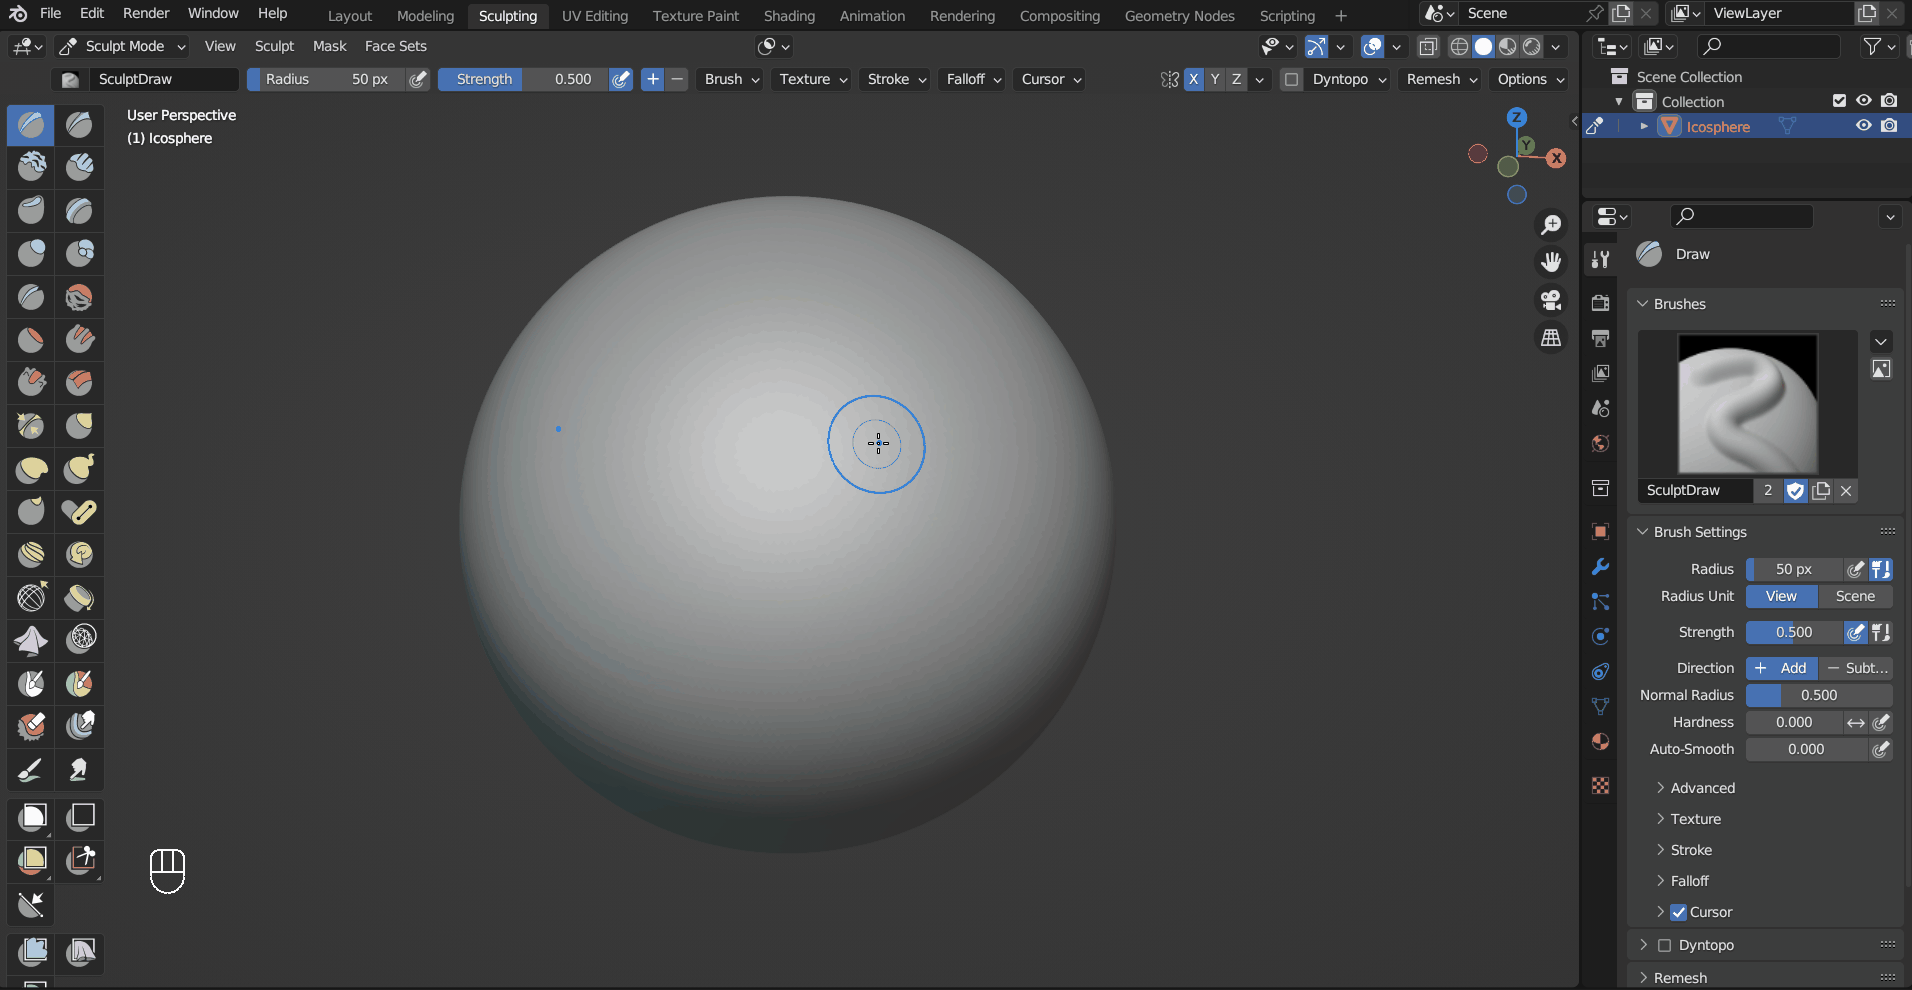
Basic Sculpting Tools#
Tip
when using a tablet, the toggles on the right of the Radius and Strength controls whether the pressure influence the respective property of the brush.
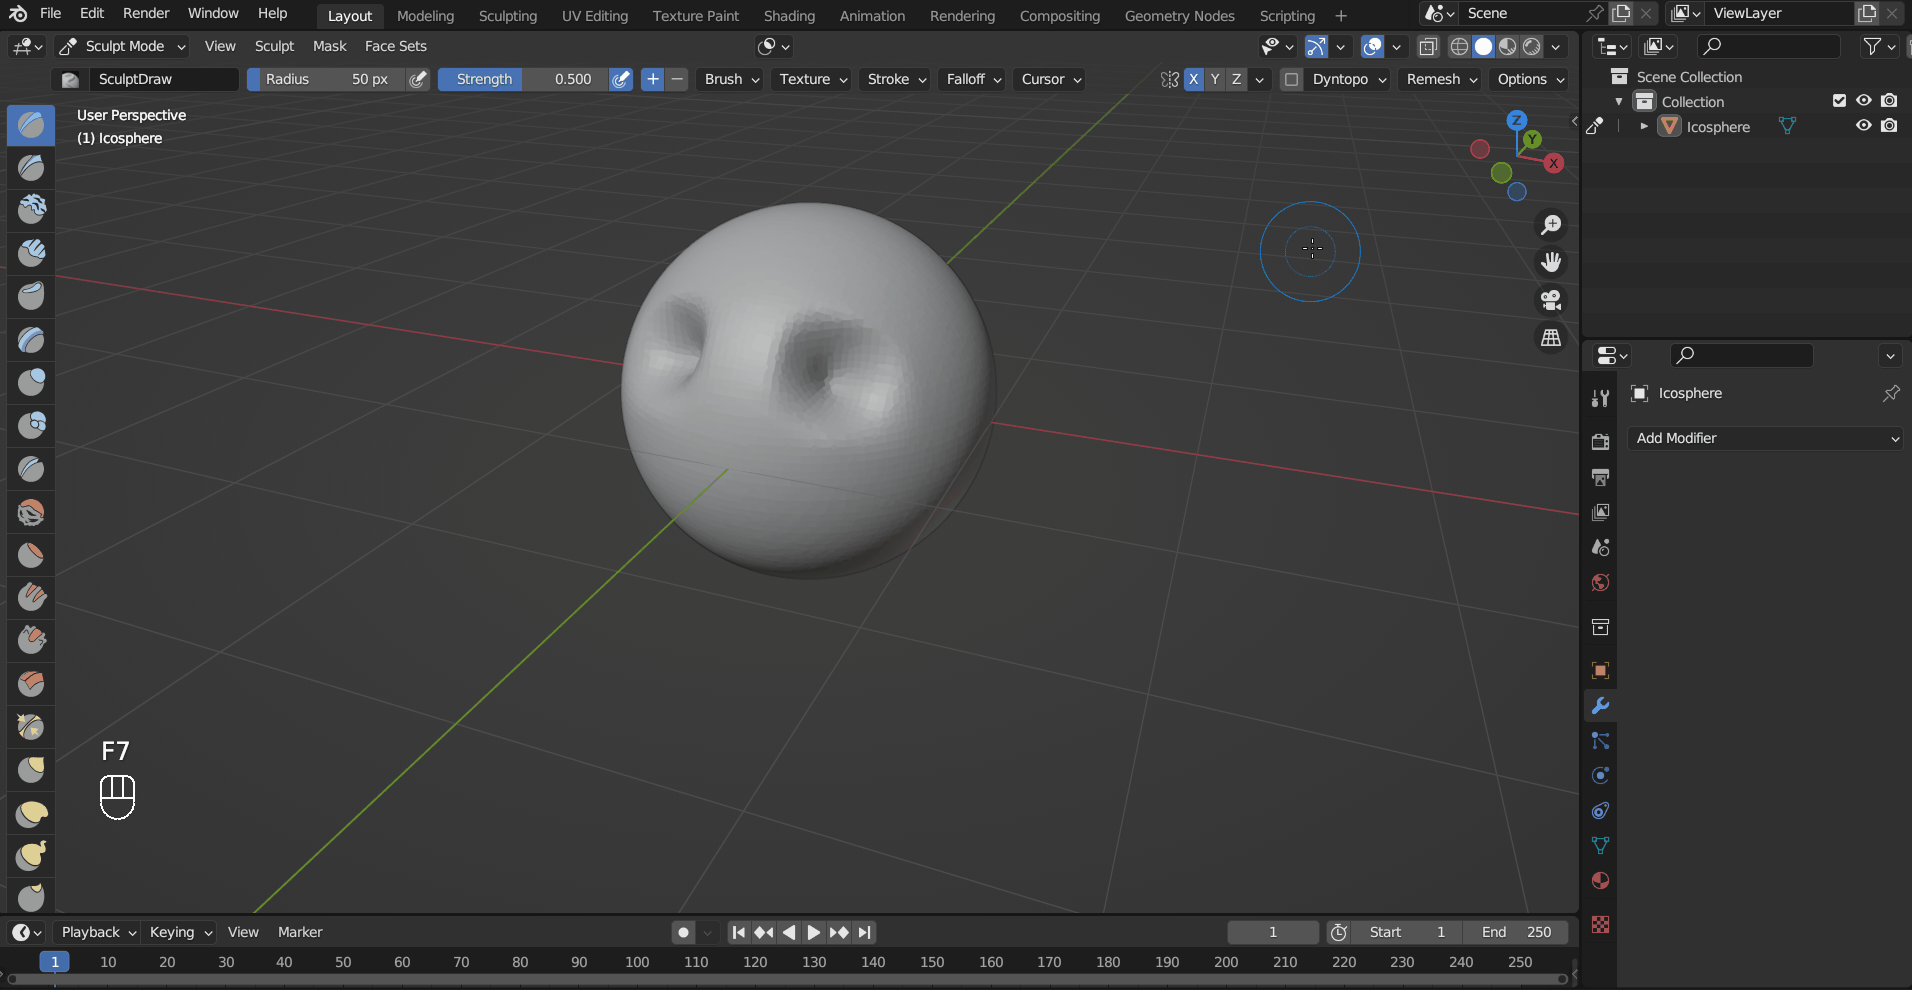
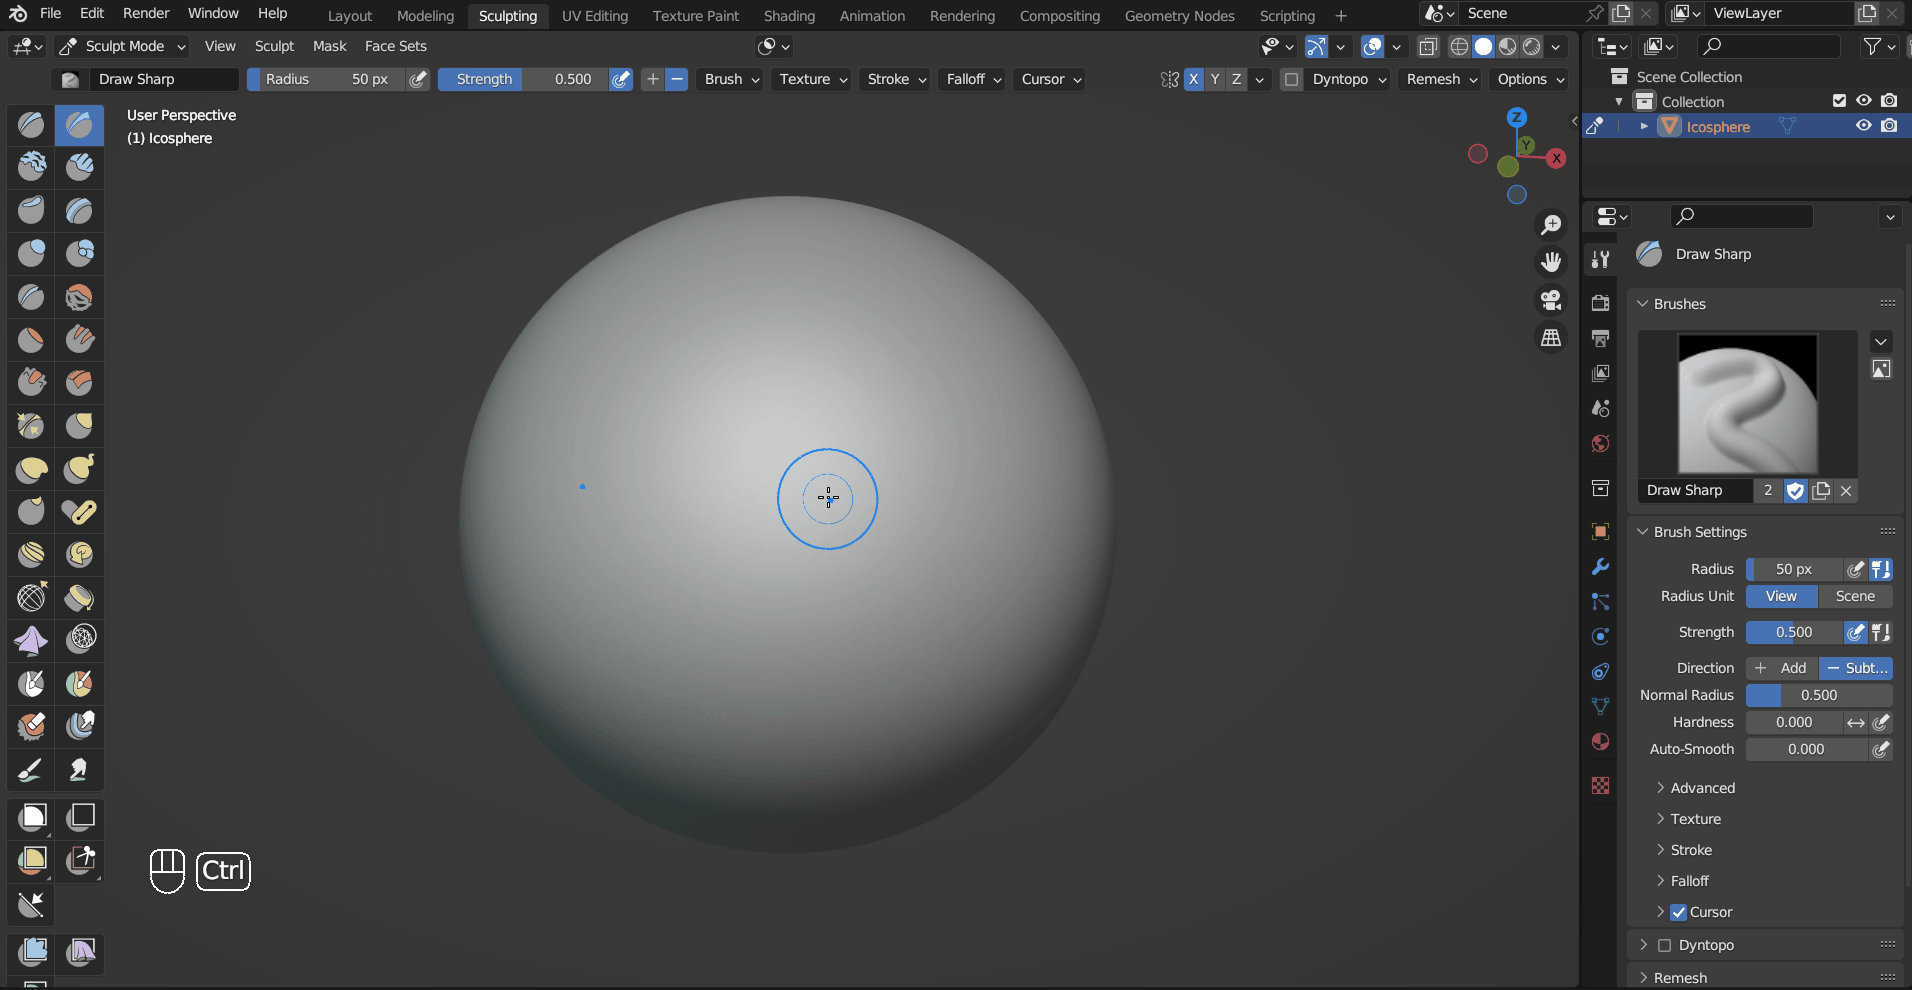
In sculpt mode, the new icons in the toolbar are Brushes. The brushes are the main tool for us to interact with meshes, and they have some common properties. Press F to adjust the Radius of a brush and Shift + F for the Strength, or use the sliders on the header.
For the brushes that have a direction, you can use the +/- button on the header to switch between them, or hold Control to temporarily inverse the effect.
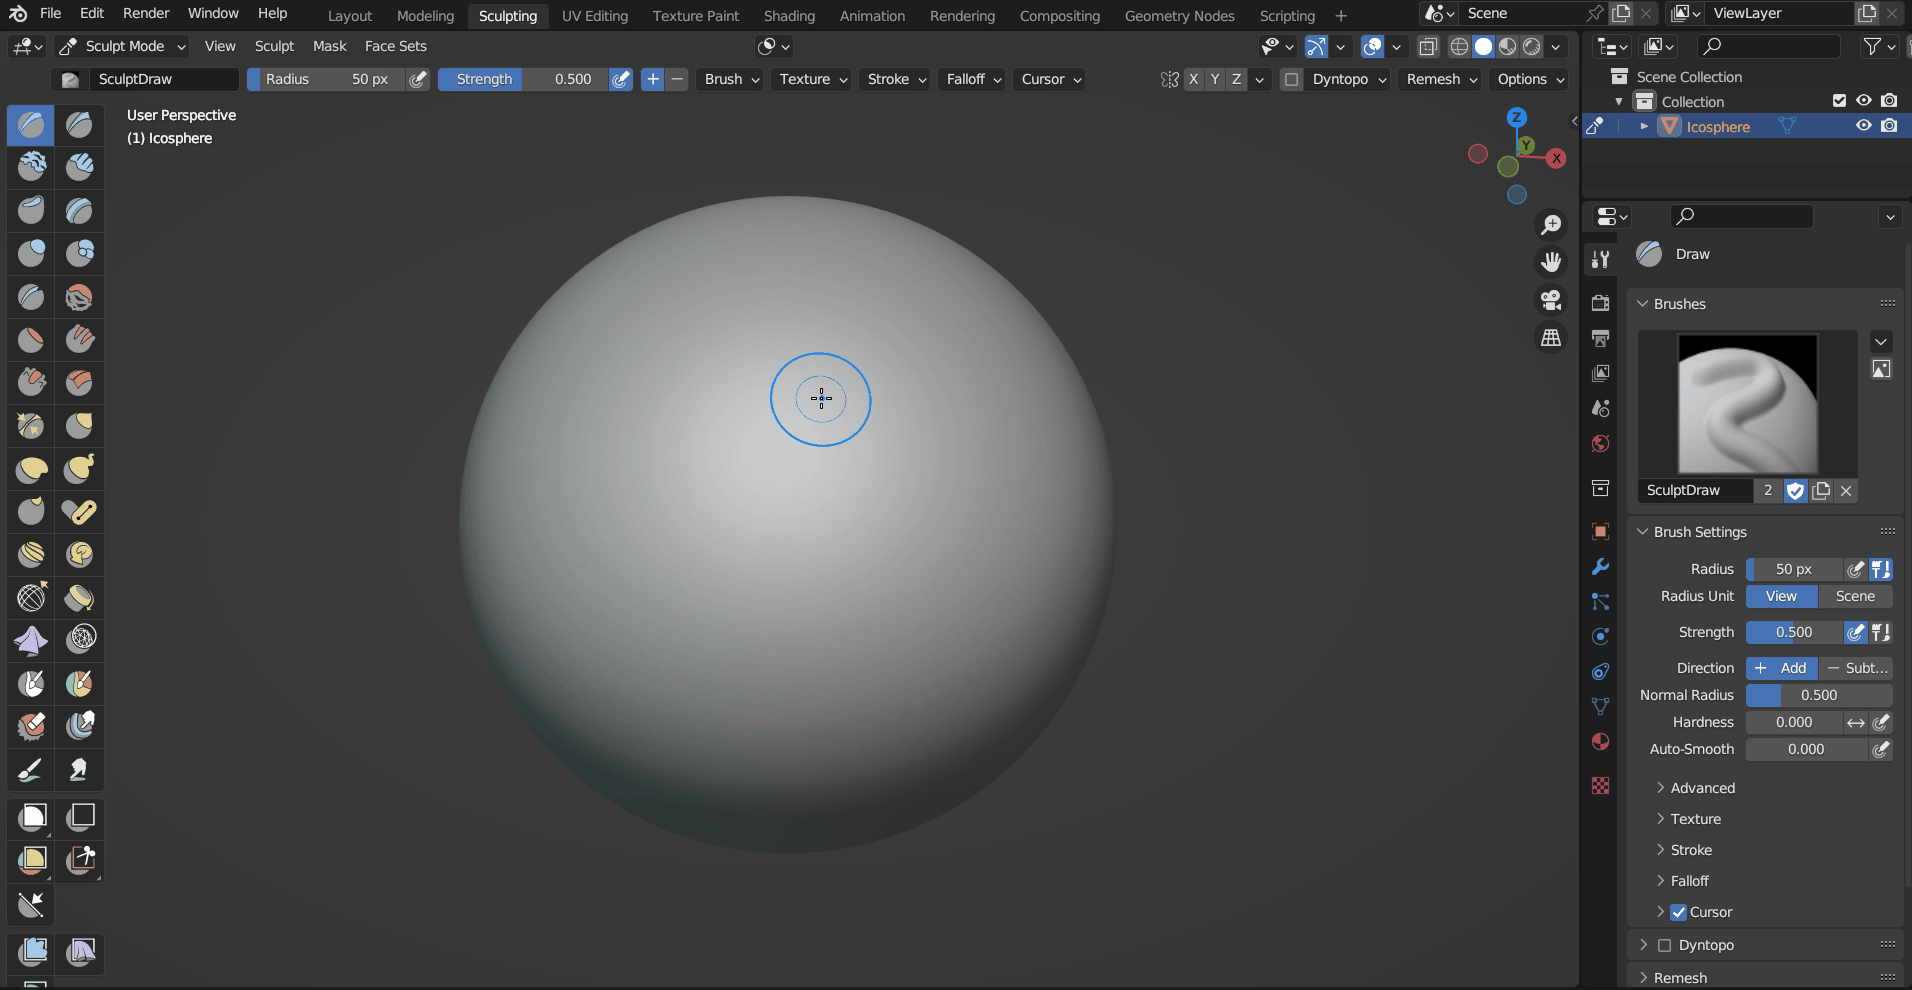
Draw is the most basic sculpting brush, it moves vertices inwards/outwards.
Draw Sharp is very similar to Draw, but with a sharp falloff.
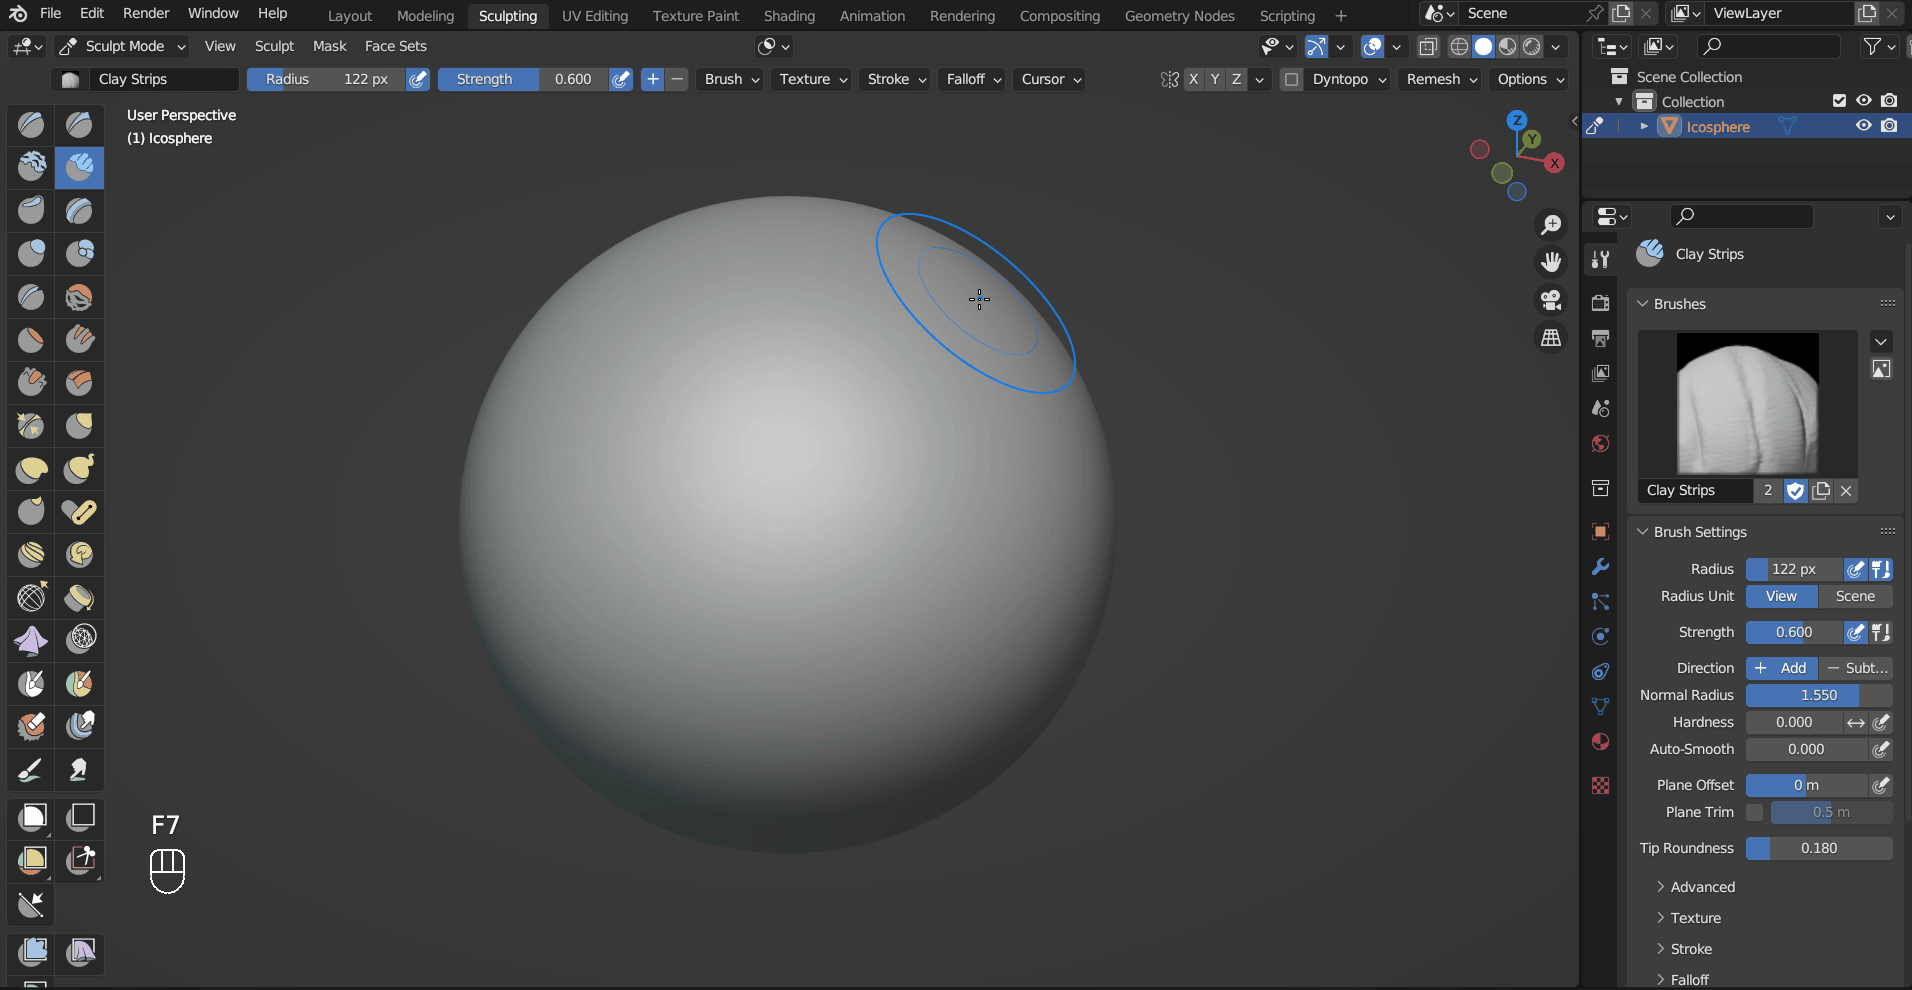
Clay Strip is useful for building/removing volume, and usually you need to use Smooth afterward.
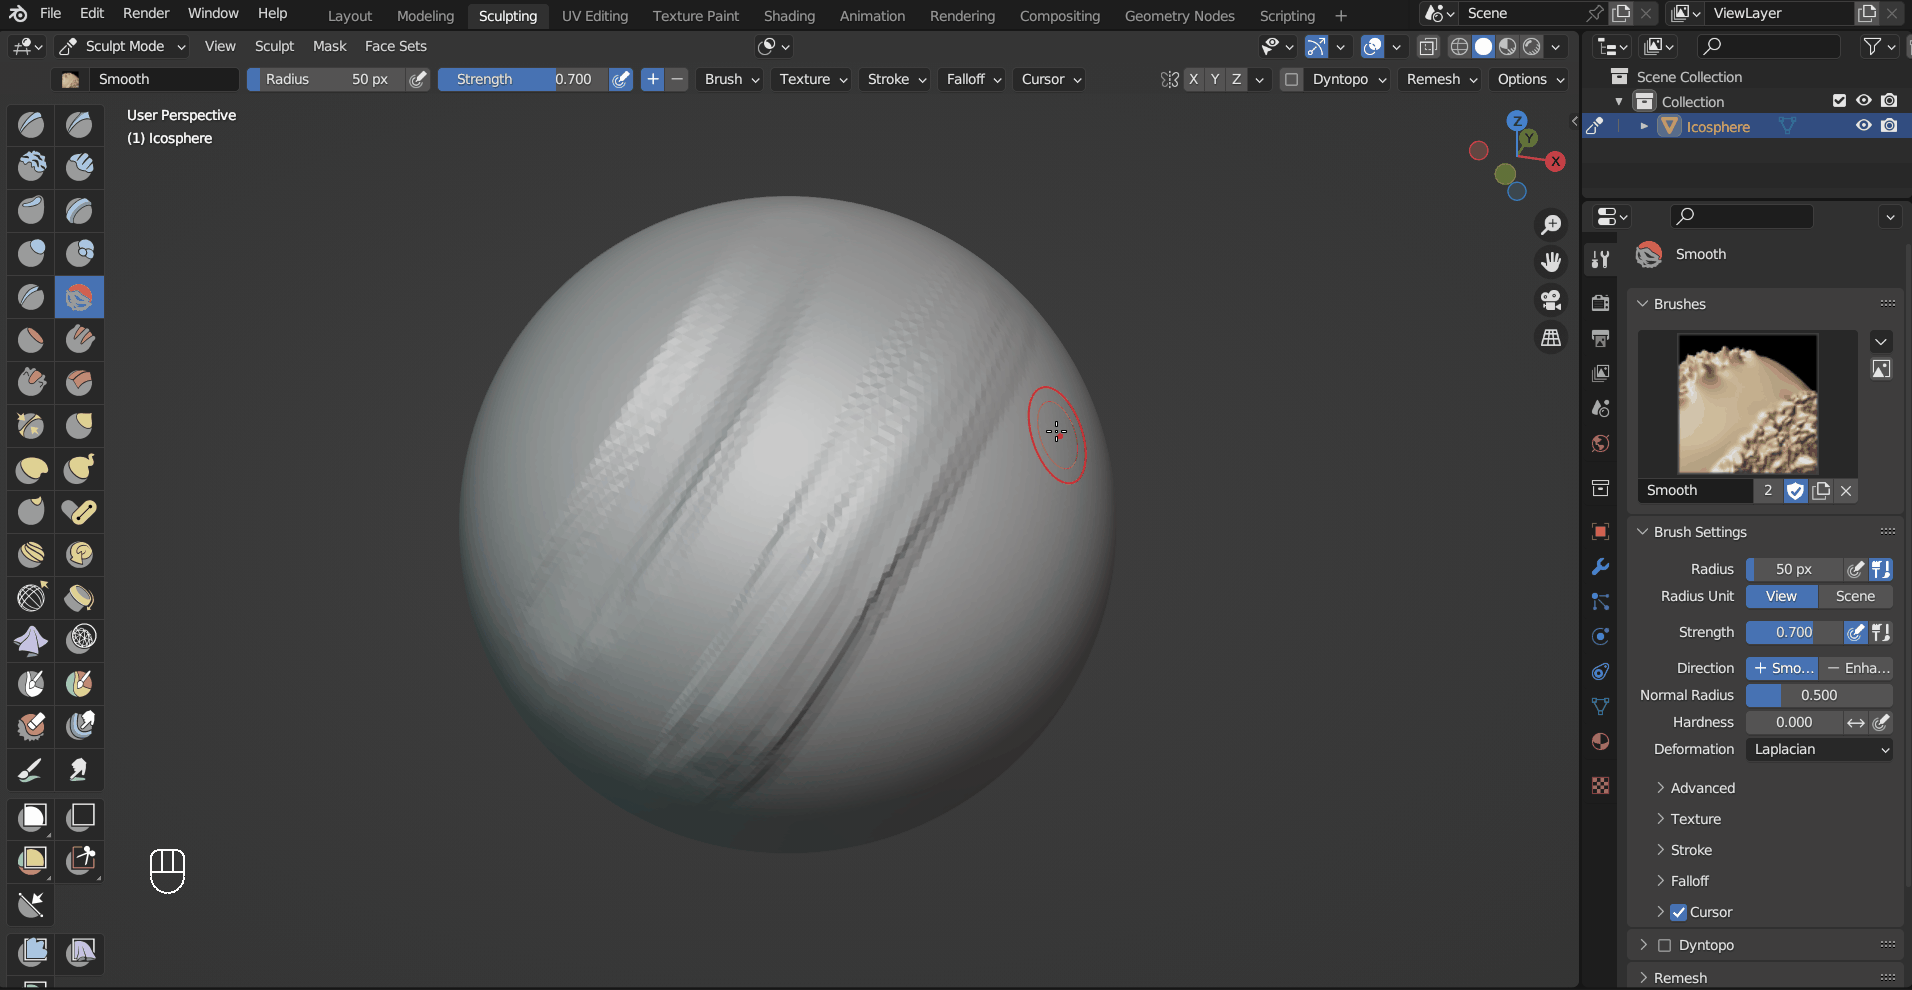
The Smooth brush smooths the surface. Because this brush is used so often, you can hold Shift while using other brushes to temporarily access it.
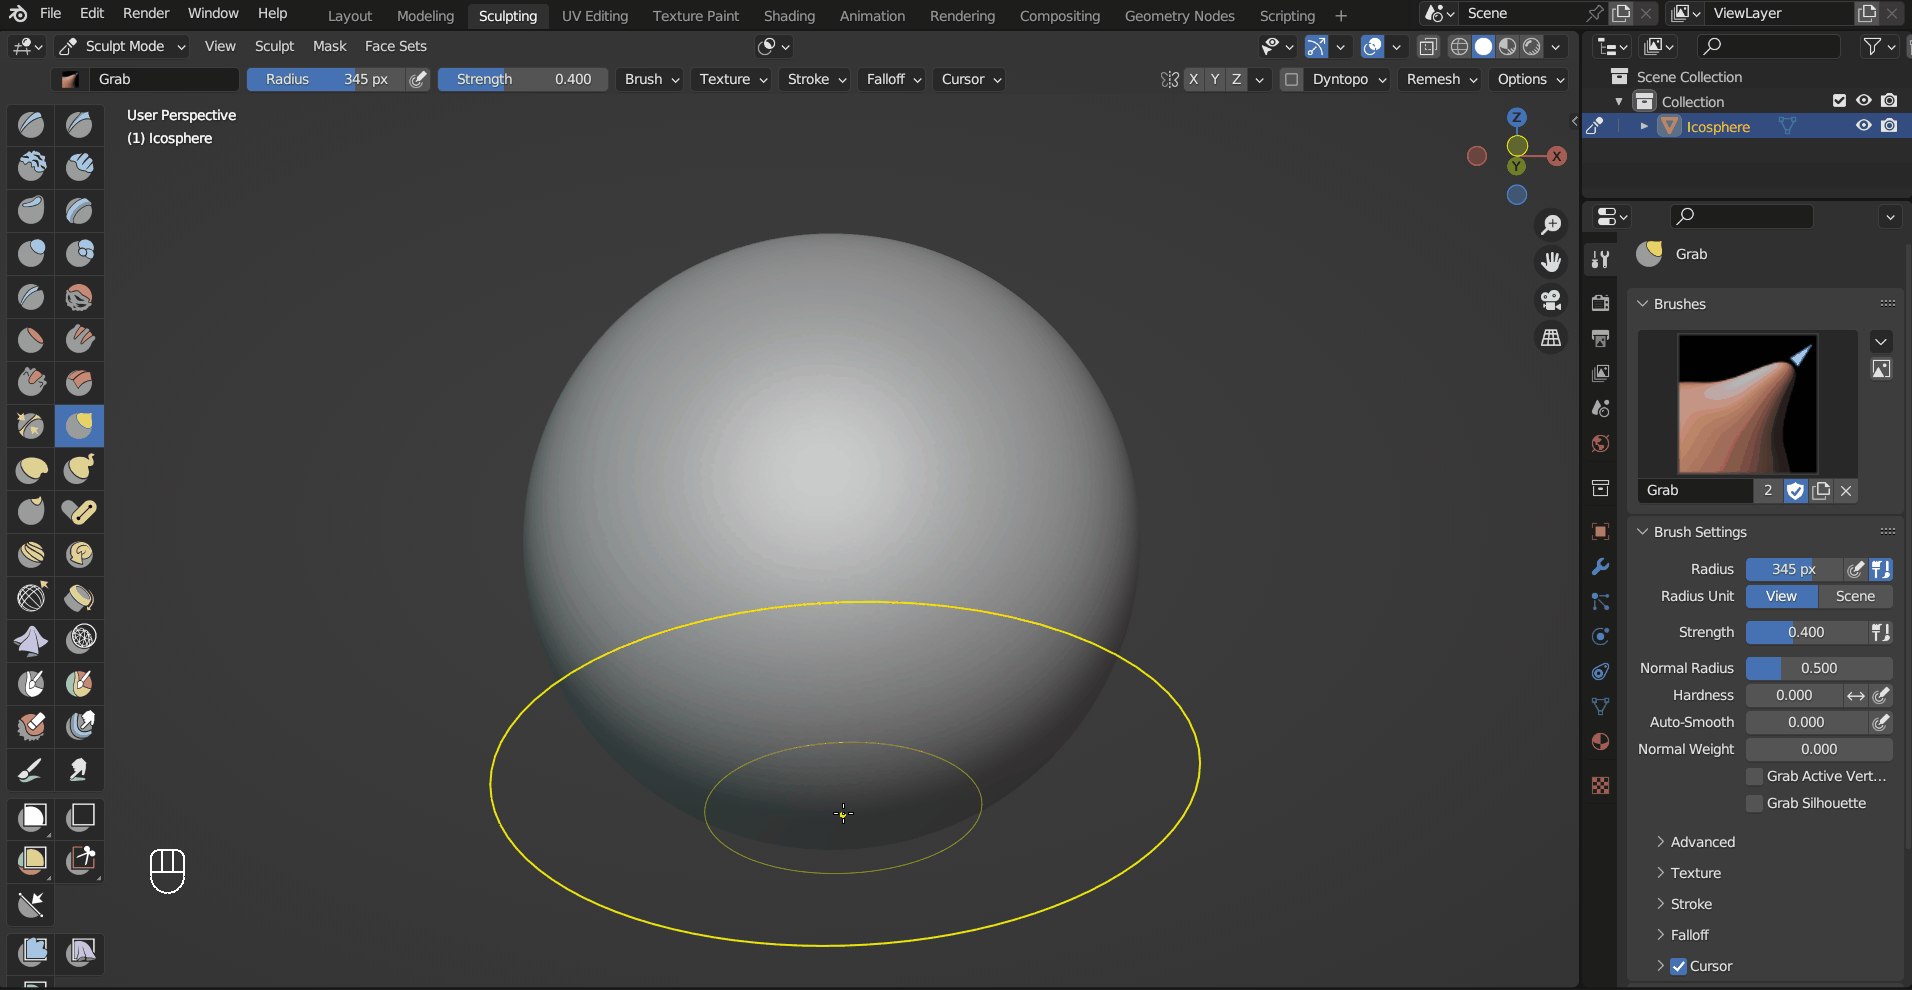
Grab is useful for creating the general shape of an object.
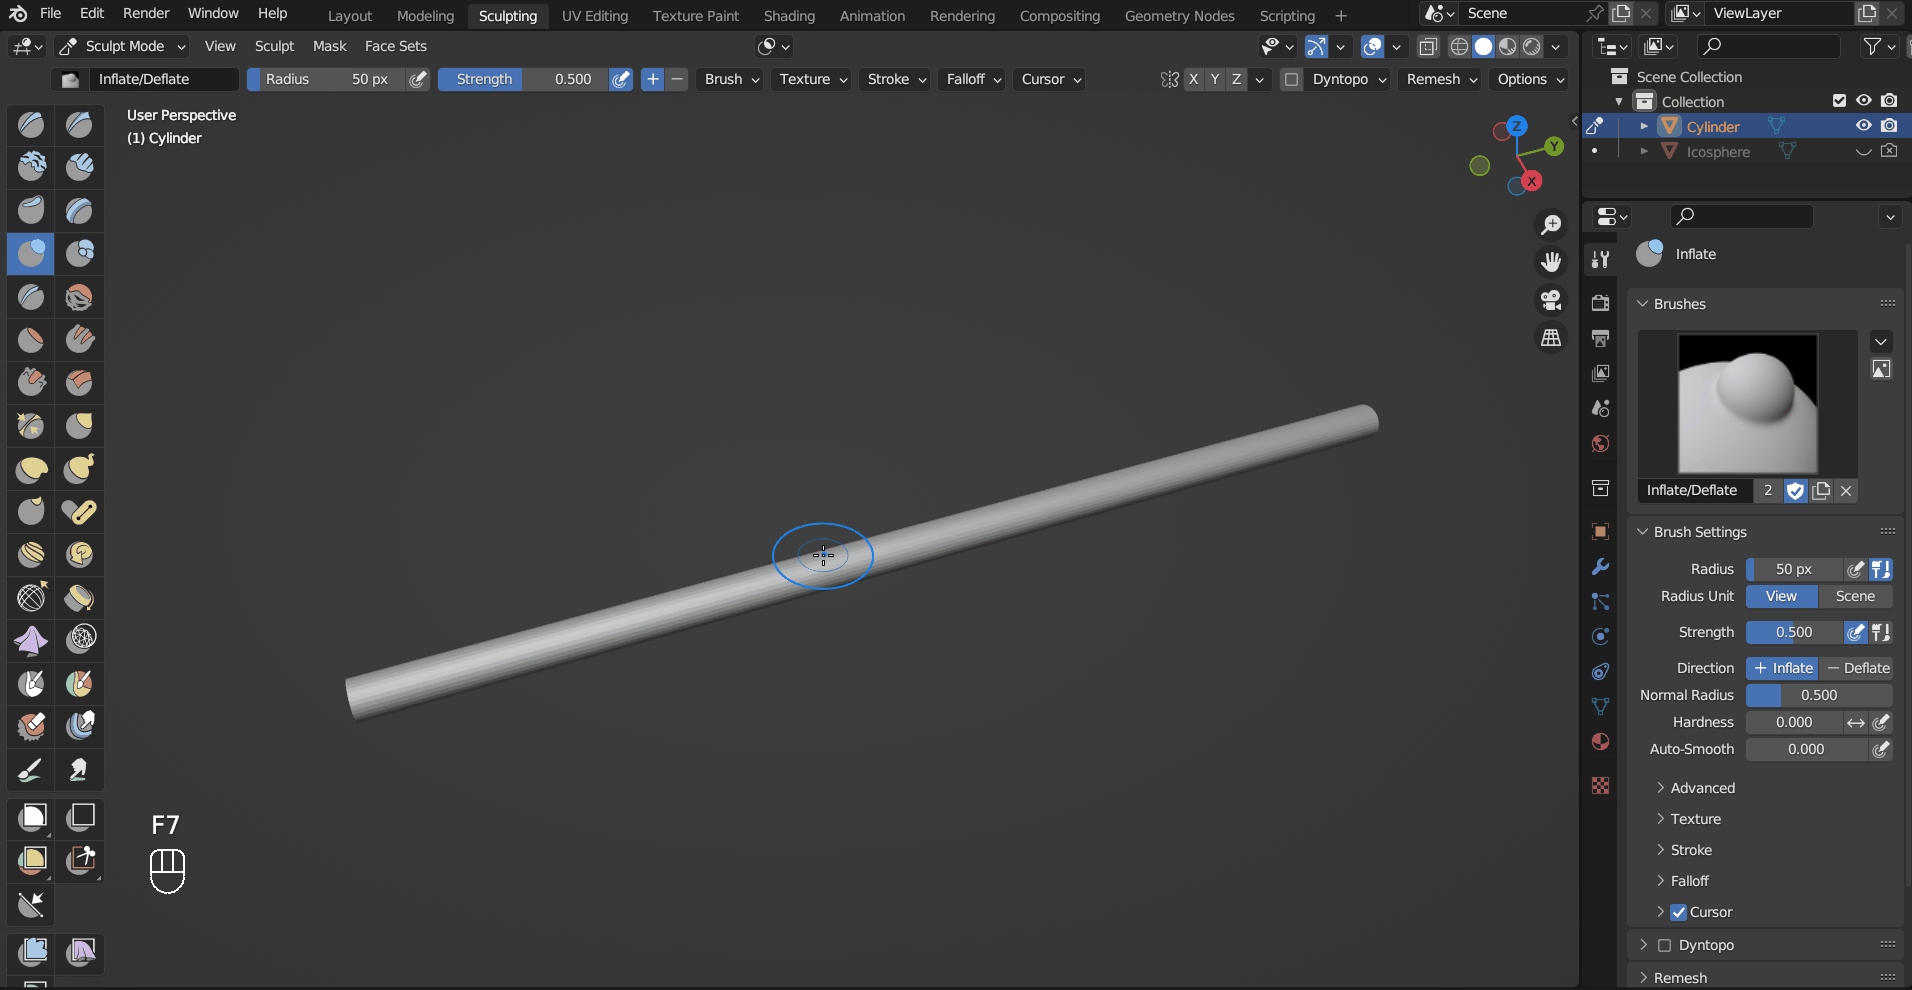
Inflate is similar to Draw, but it makes vertices move along their normals.
Snake Hook pulls vertices along with the movement of the brush.

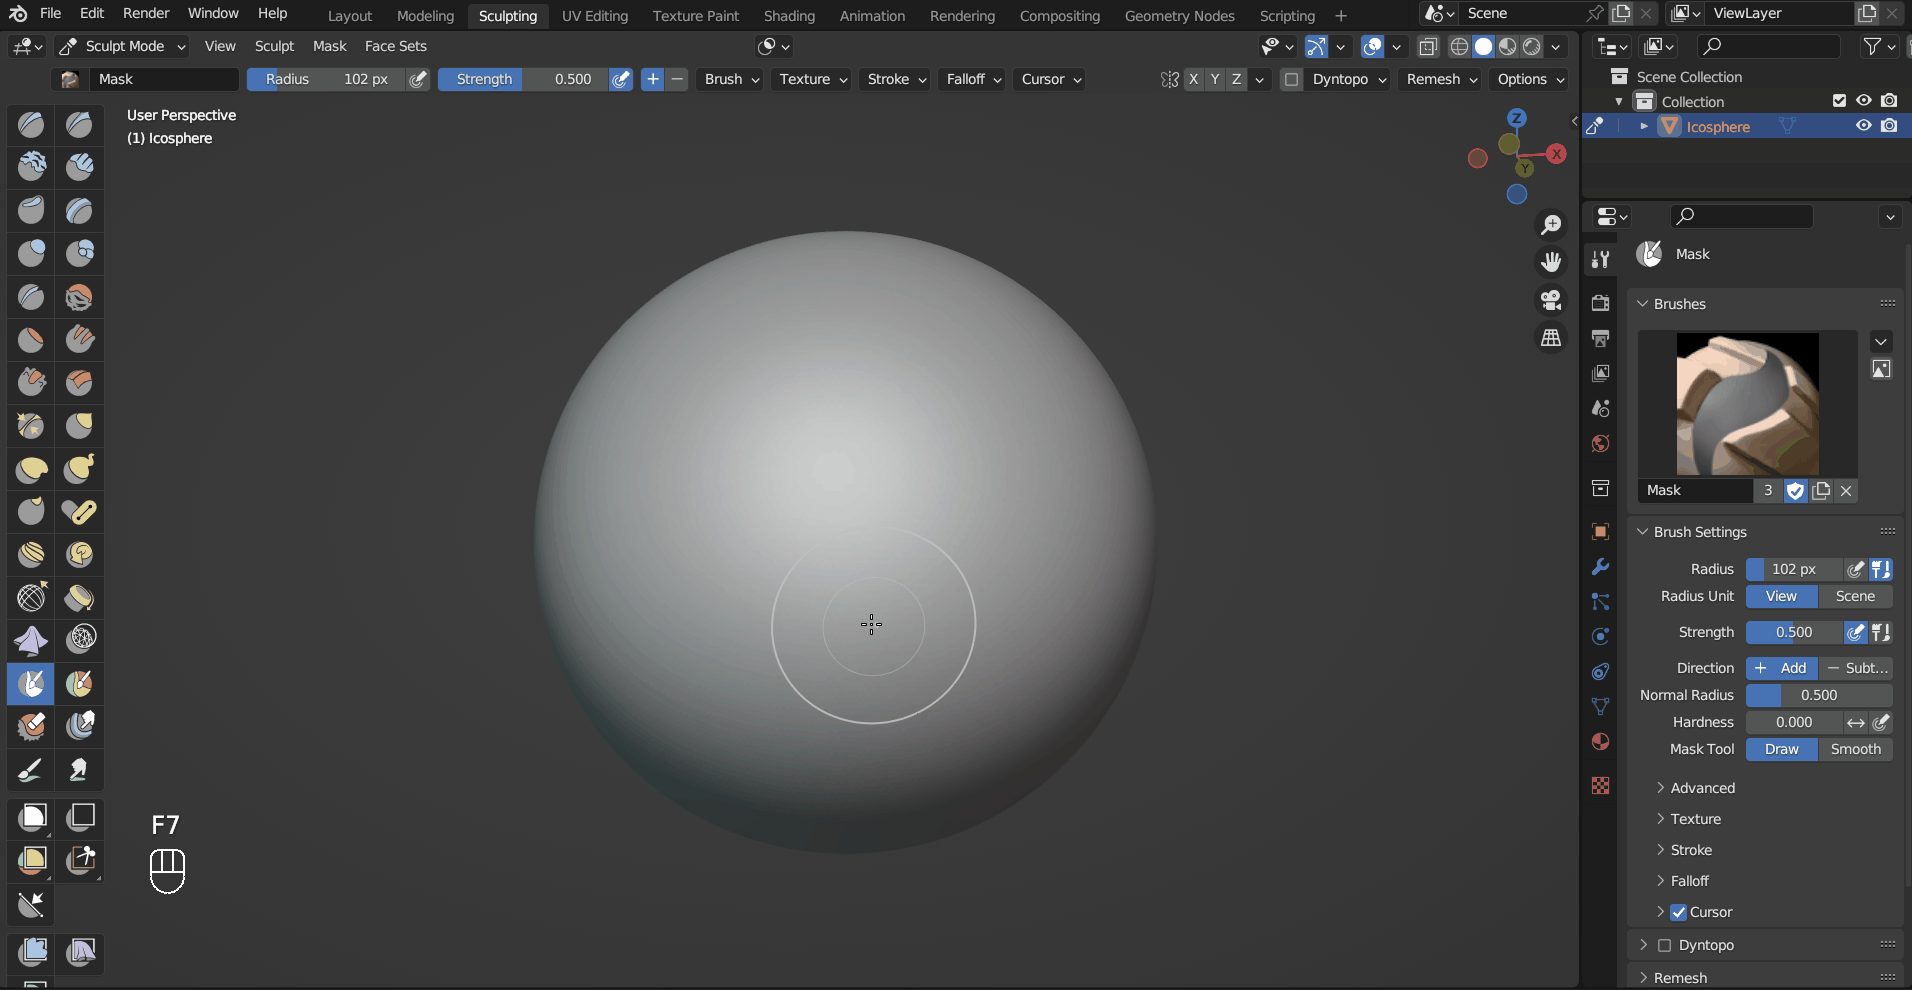
Mask creates a mask that prevents the area from being modified by other sculpting tools.