Rendering#
At last, with all the objects, cameras, and lights put in place, we are ready to turn our 3D scene into a 2D image, and this process is called Rendering.
Render Image#
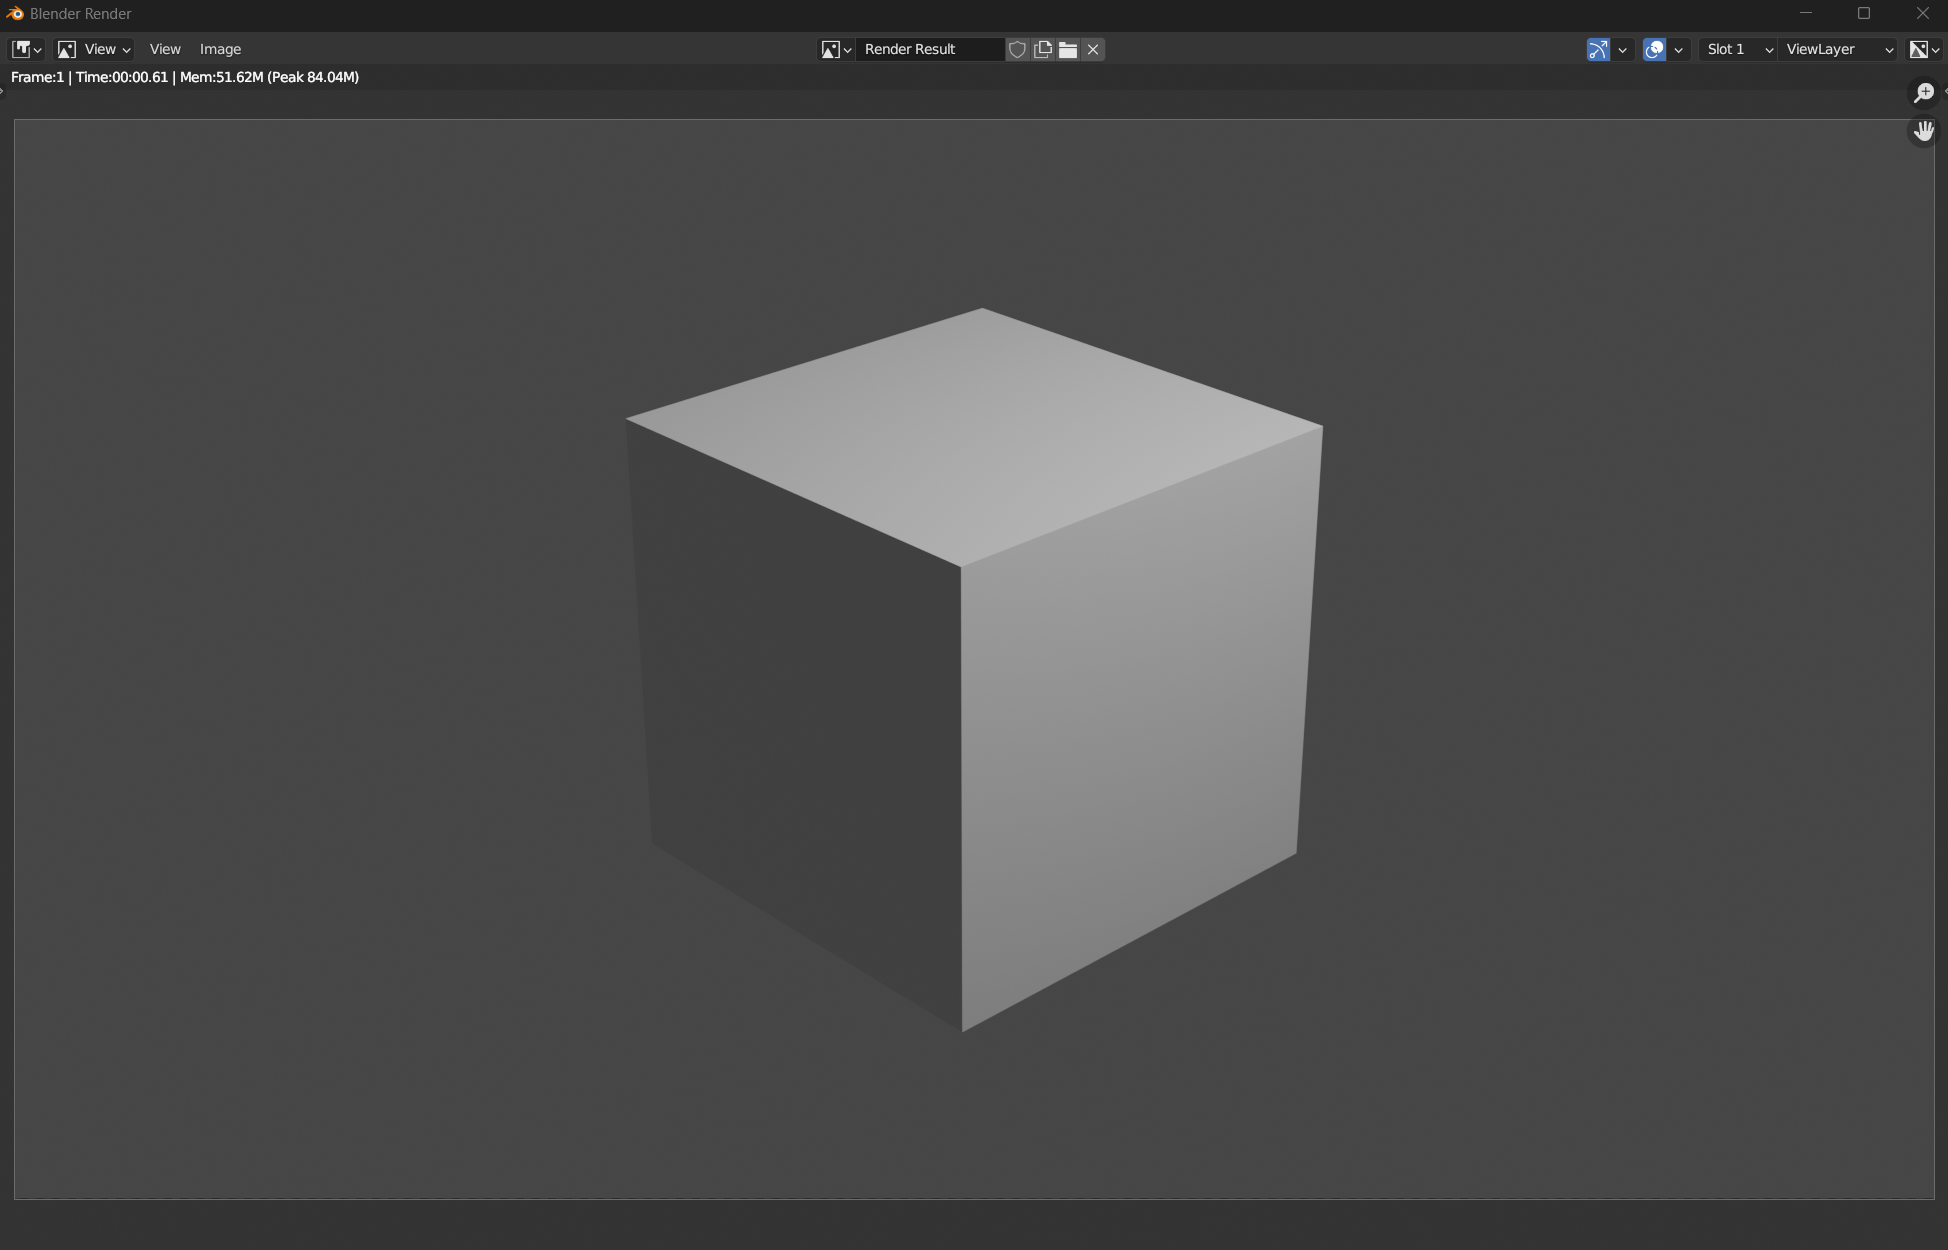
To Render an image, make sure you have the render engine configured in Render Properties, and render resolution and output format set in Output Properties, then press F12 or choose Render > Render Image in the menu and a Blender Render window will pop up. After the rendering finishes, you can save the image by pressing Alt + S or choosing Image > Save.
Color Management#
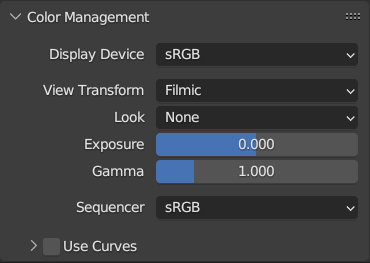
Color Management is where you can tune the color to make the rendering look more realistic/stylized, and you can find it in Render Properties. Changing the contrast in Look is a fast and dirty way to make your final result more appealing.
Render Animation#
Tip
The total file size of a image sequence can get quite large.
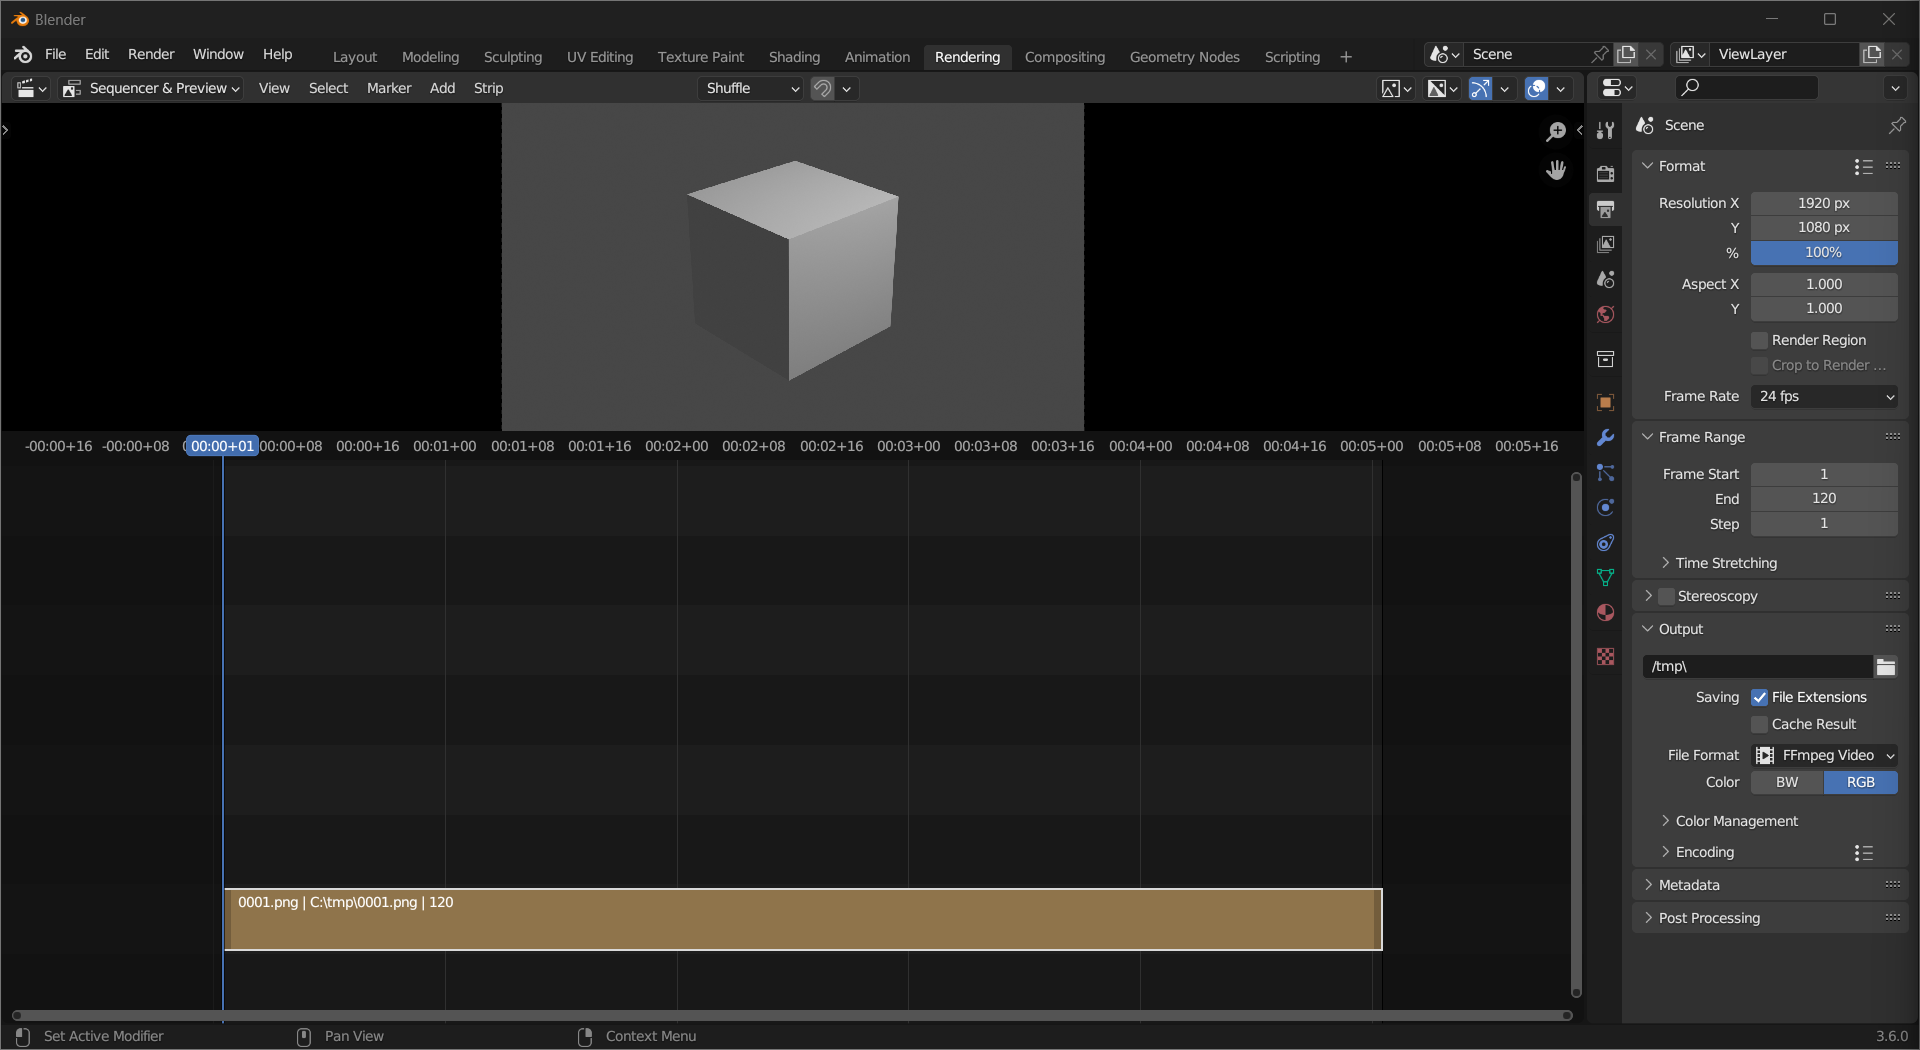
When rendering animation, it is preferable to save every frame as an image, then combine them later. Set the Frame Range and Output Path in Output Properties, then press Ctrl + F12 or choose Render > Render Animation. You can find all rendered images in Output Path. To combine the images into a video, make a Video Sequencer area, then choose Add > Image/Sequence. Set the correct Start/End Frame on the right side of the window, then select all image files and Left Mouse Click Add Image Strip. In Output Properties, change Output > File Format to one under Movie, then press Ctrl + F12 or choose Render > Render Animation again. The video file will be saved in the Output Path too.