Projects#
Here are some examples made using the tools introduced in this chapter. Feel free to put your own spin on them if you want to try them out, and don’t forget to save because you will need them again next chapter.
Add a UV Sphere for the body, and turn down the number of segments for cleaner topology.
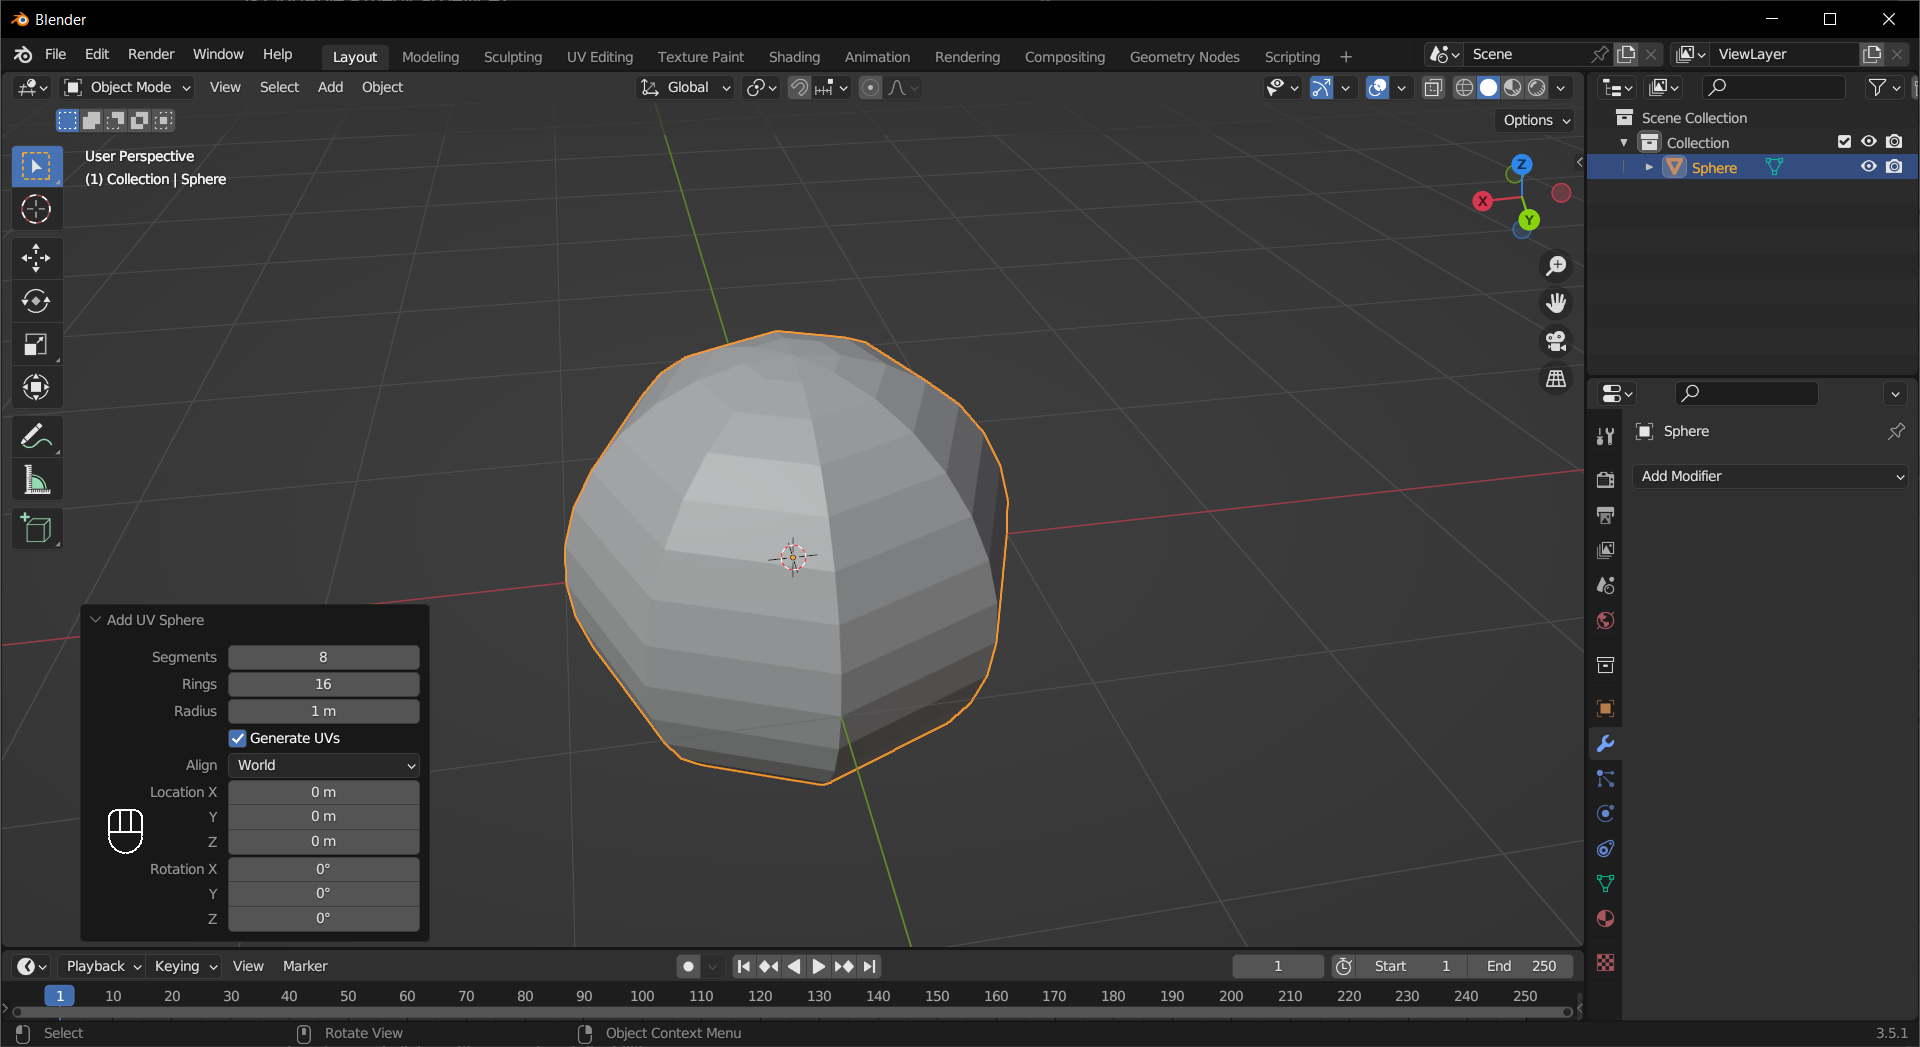
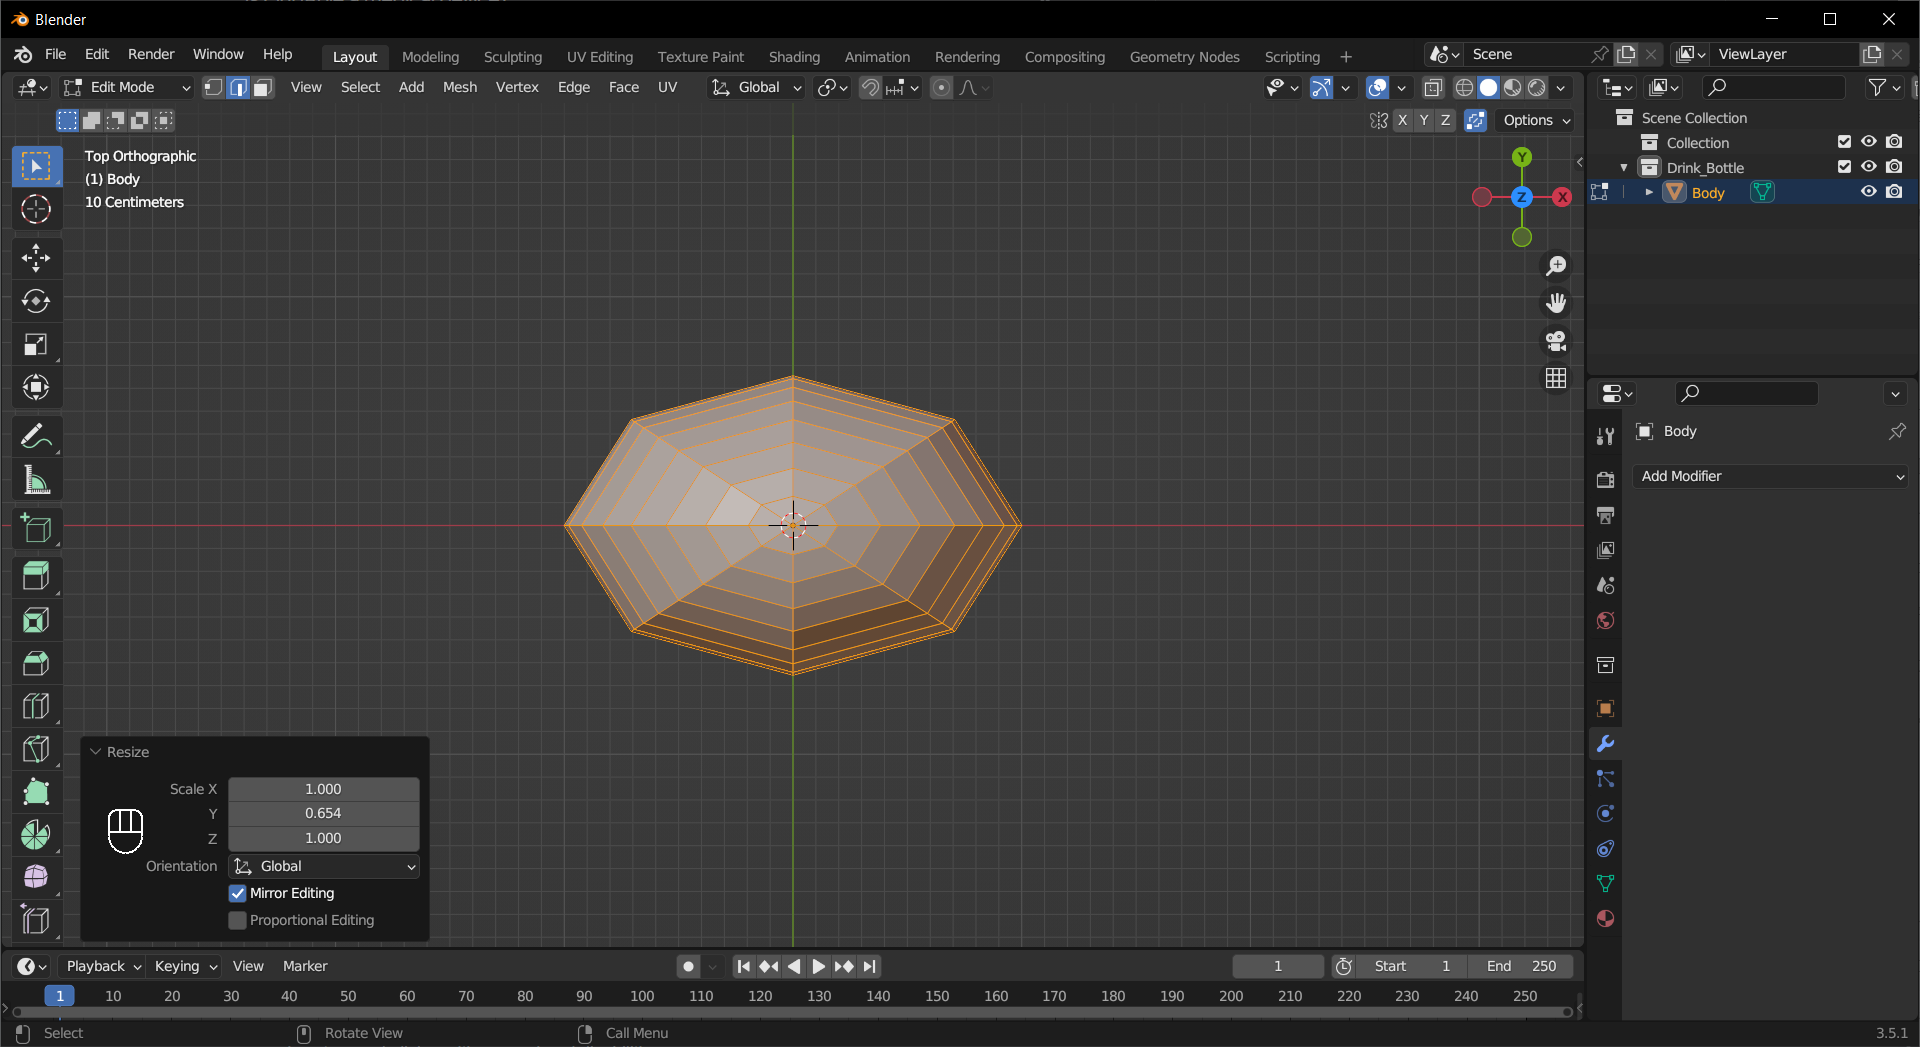
Flatten it on the X/Y axis to make the shape easier to grip on.
Tip
If you find the shape too boring, feel free to put your own spin on it.
Add a
Cylinderfor the neck, and also turn down the number of segments to match the body.
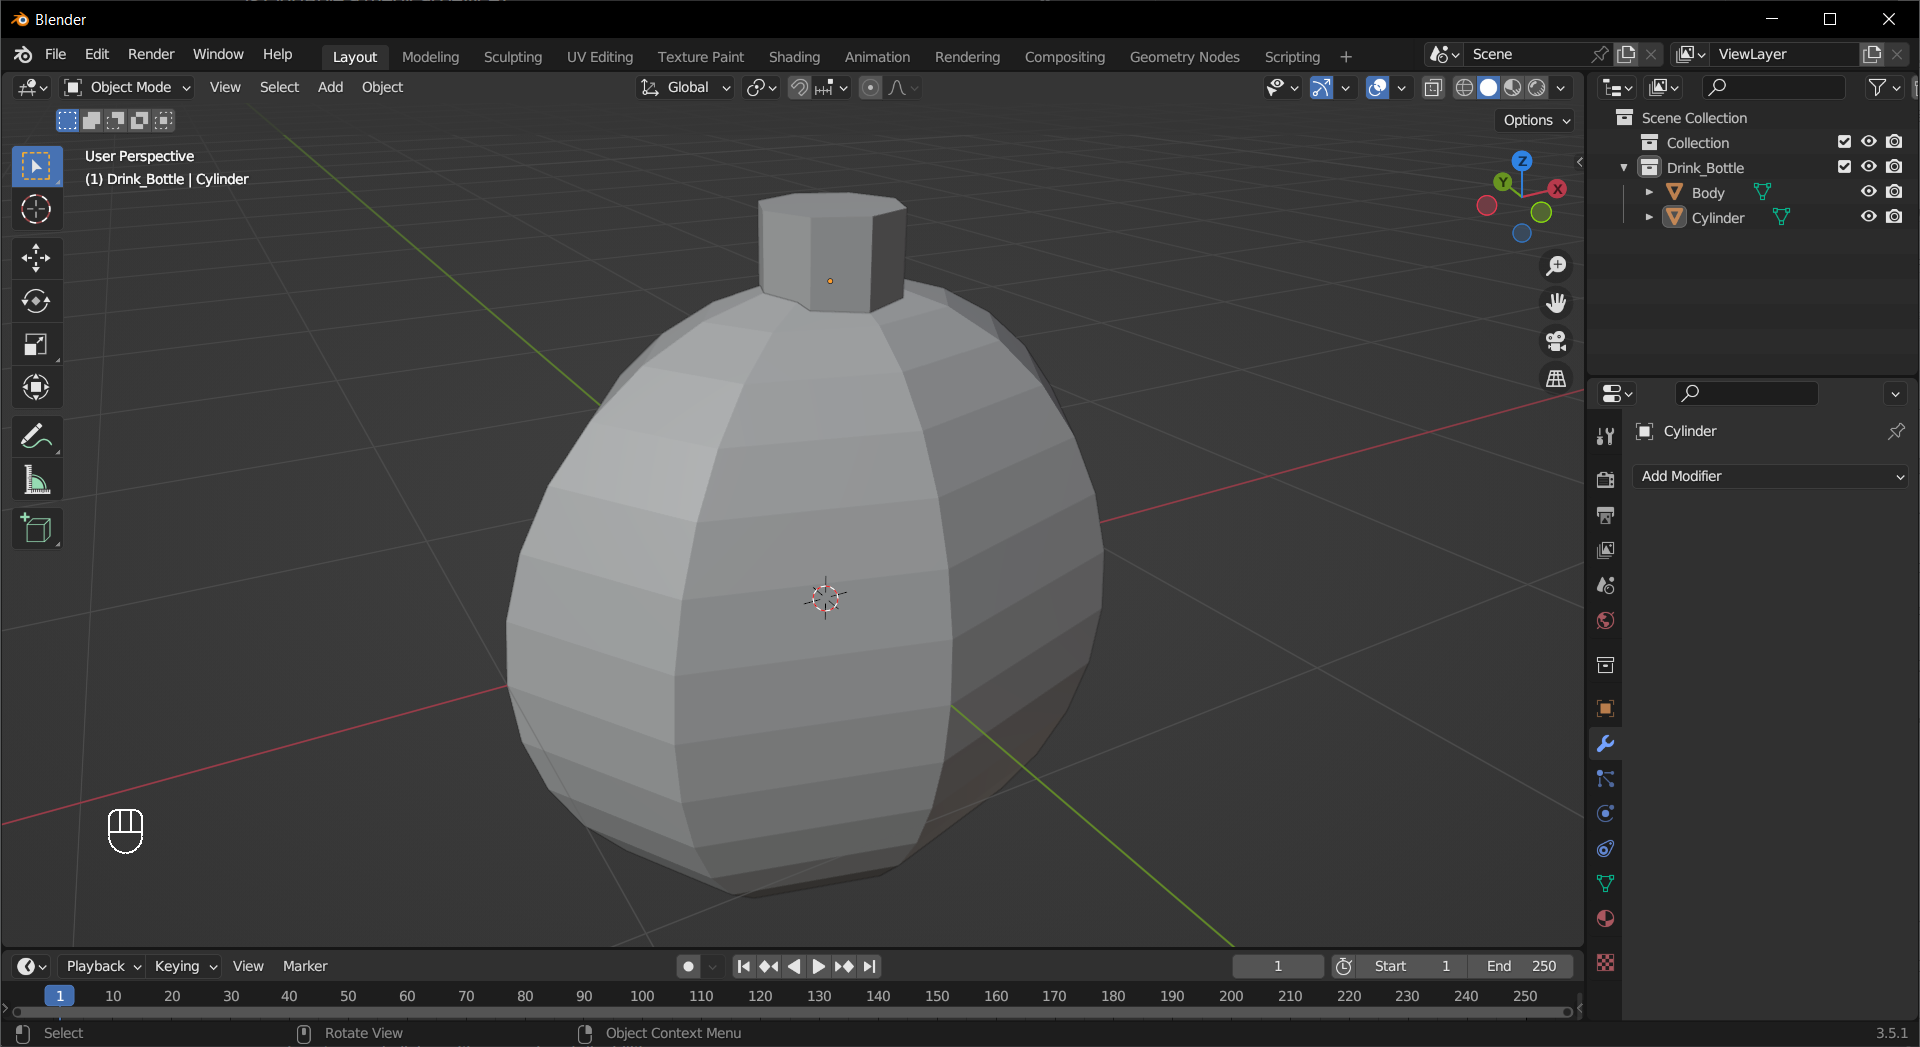
Use a Boolean modifier to combine the two and apply, then delete the cylinder object.

Clean up the topology using Edge Slide and Merge.
Tip
Turn on
Auto Merge Verticesin theOptionsdropdown menu on the top right corner (or the icon to its left) beforeEdge Slideto make this easier.Select the entire mesh by pressing A, then press M to bring up the
Mergemenu and chooseBy Distanceto clean up some hard-to-spot vertices.
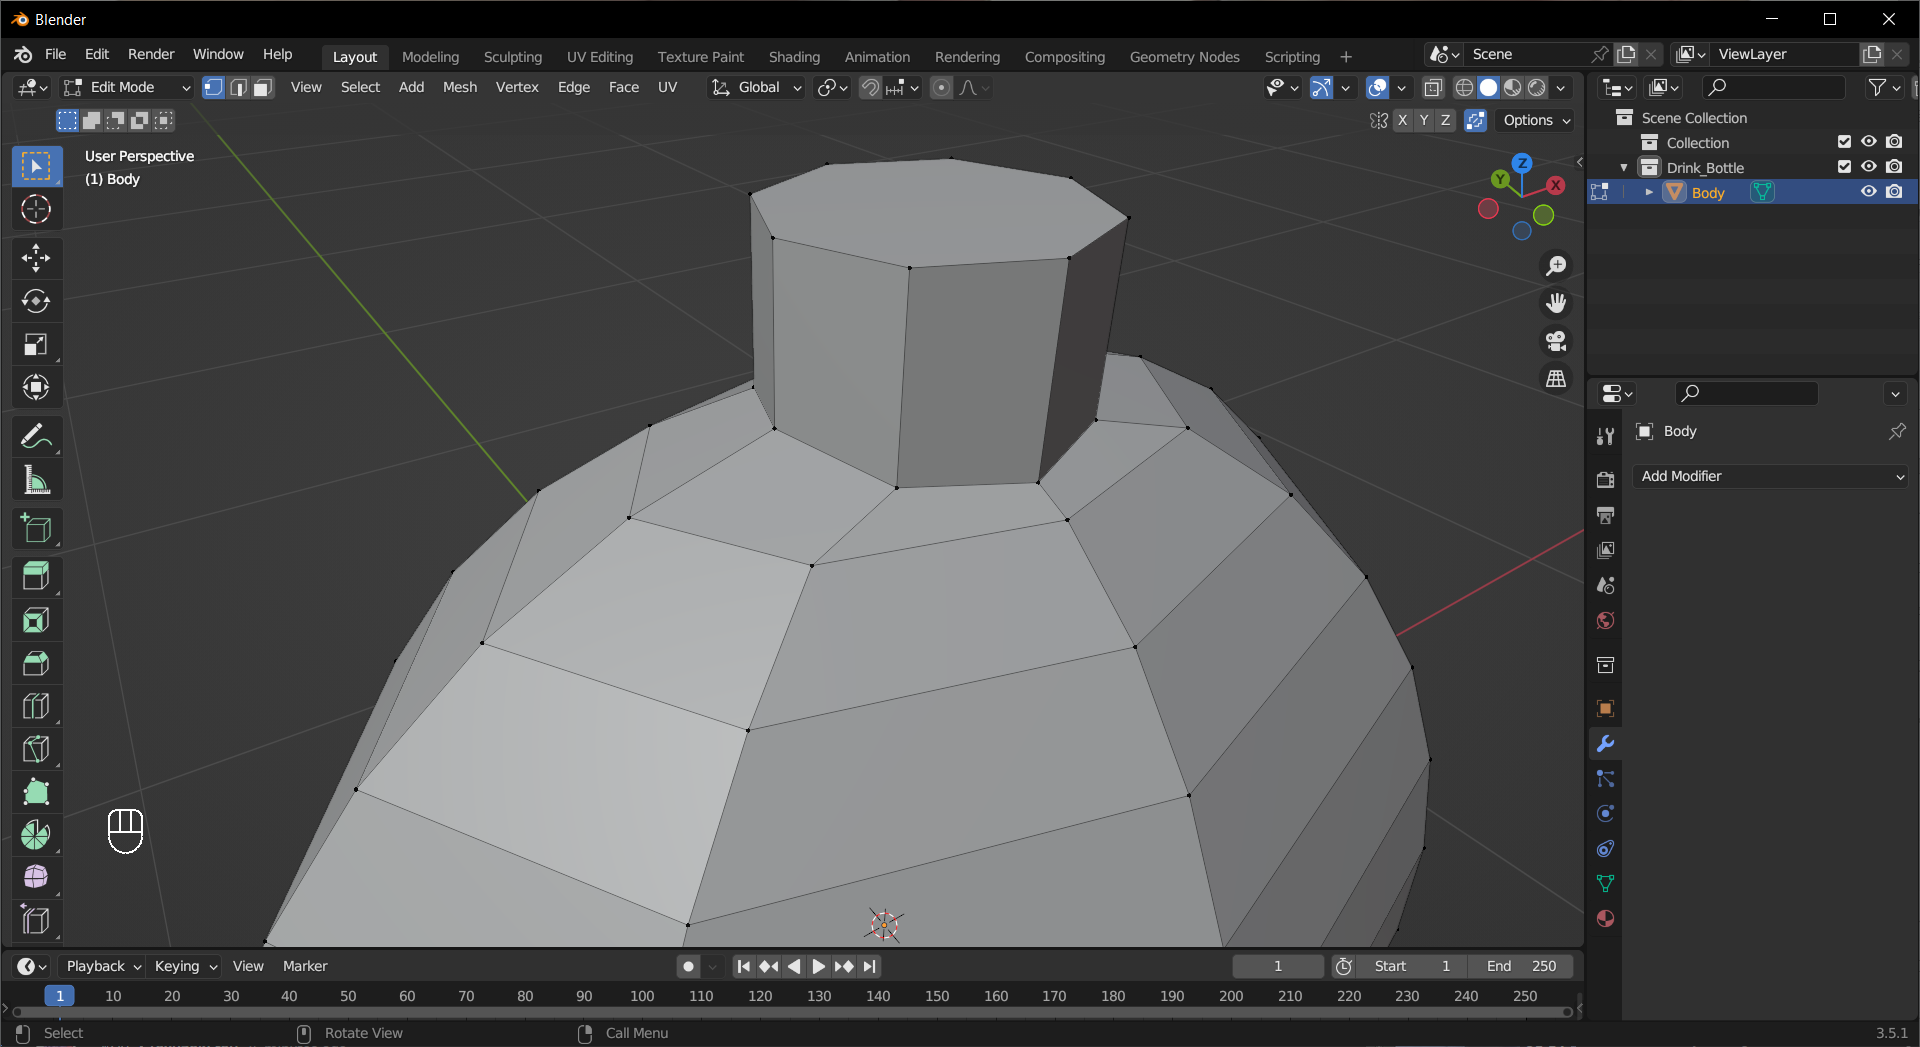
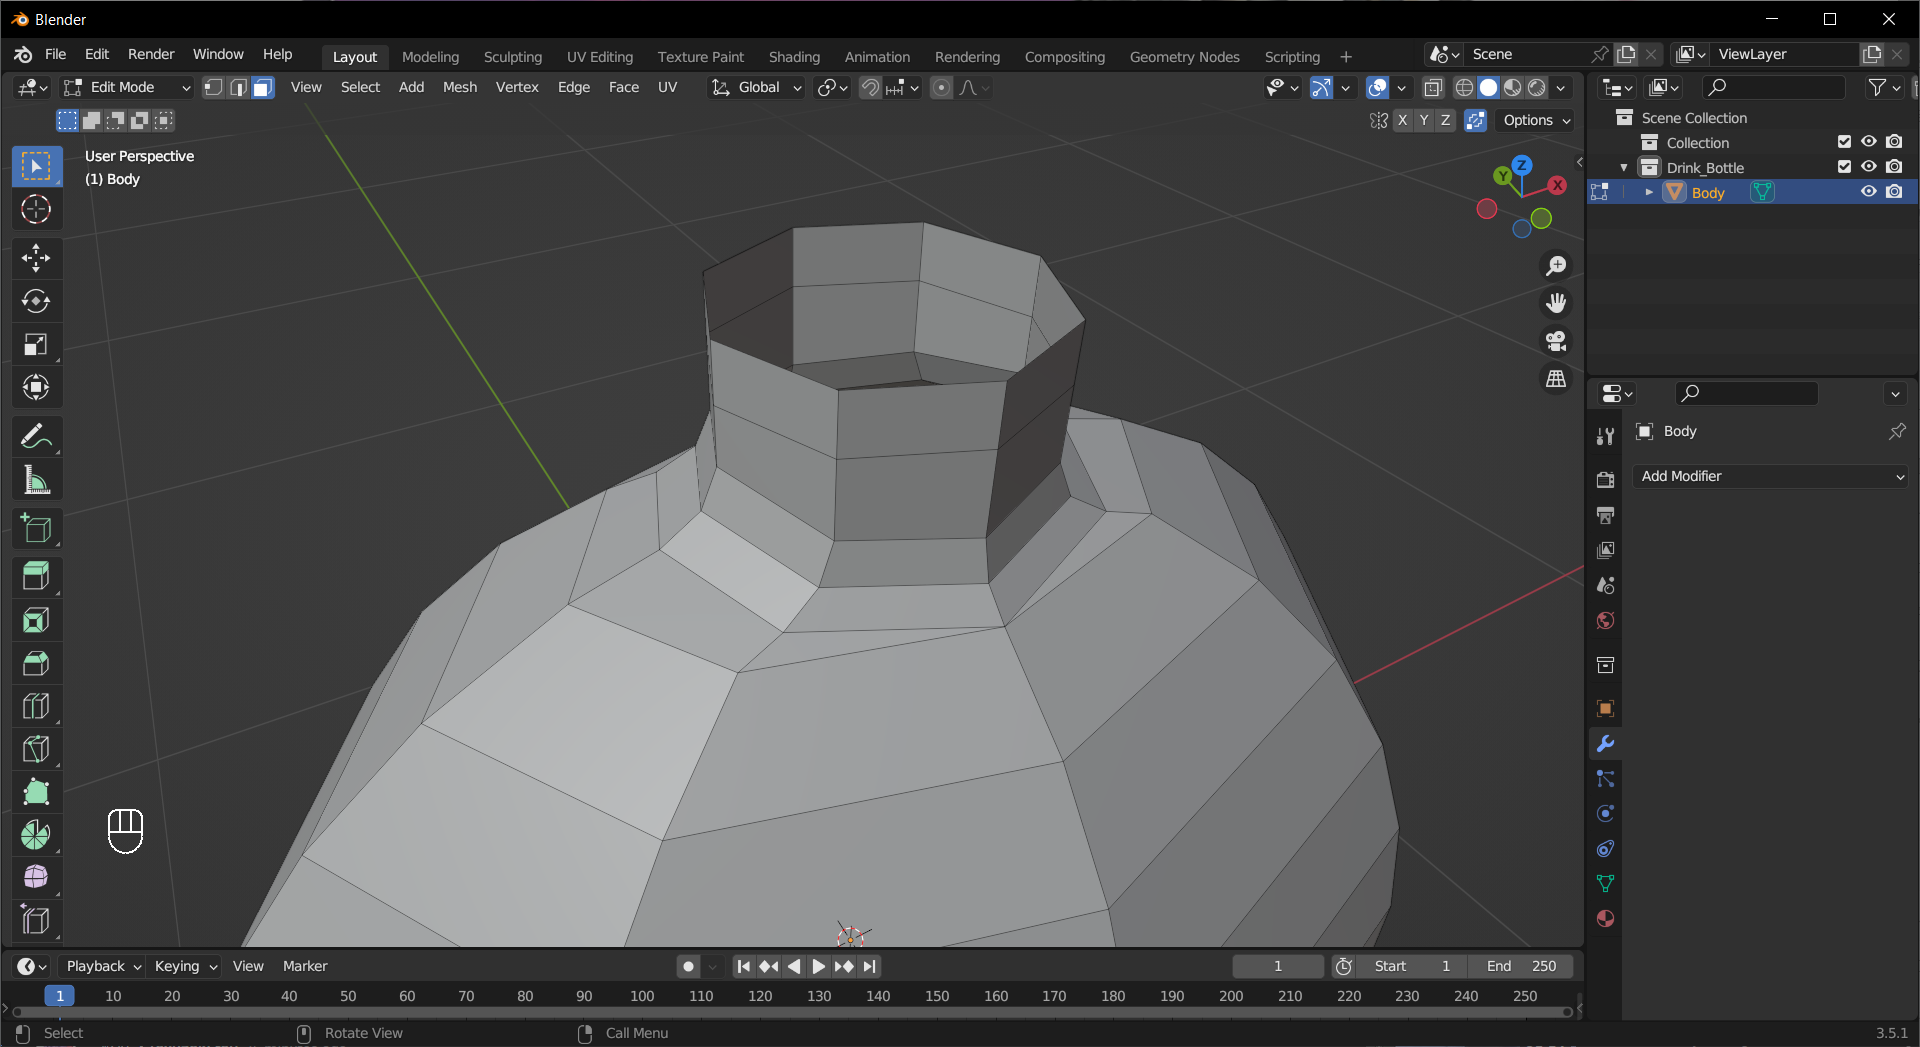
Add edge loops and bevel the edges of the neck, then delete the top face.
Make a flat bottom with Fill, Grid Fill, and Inset.

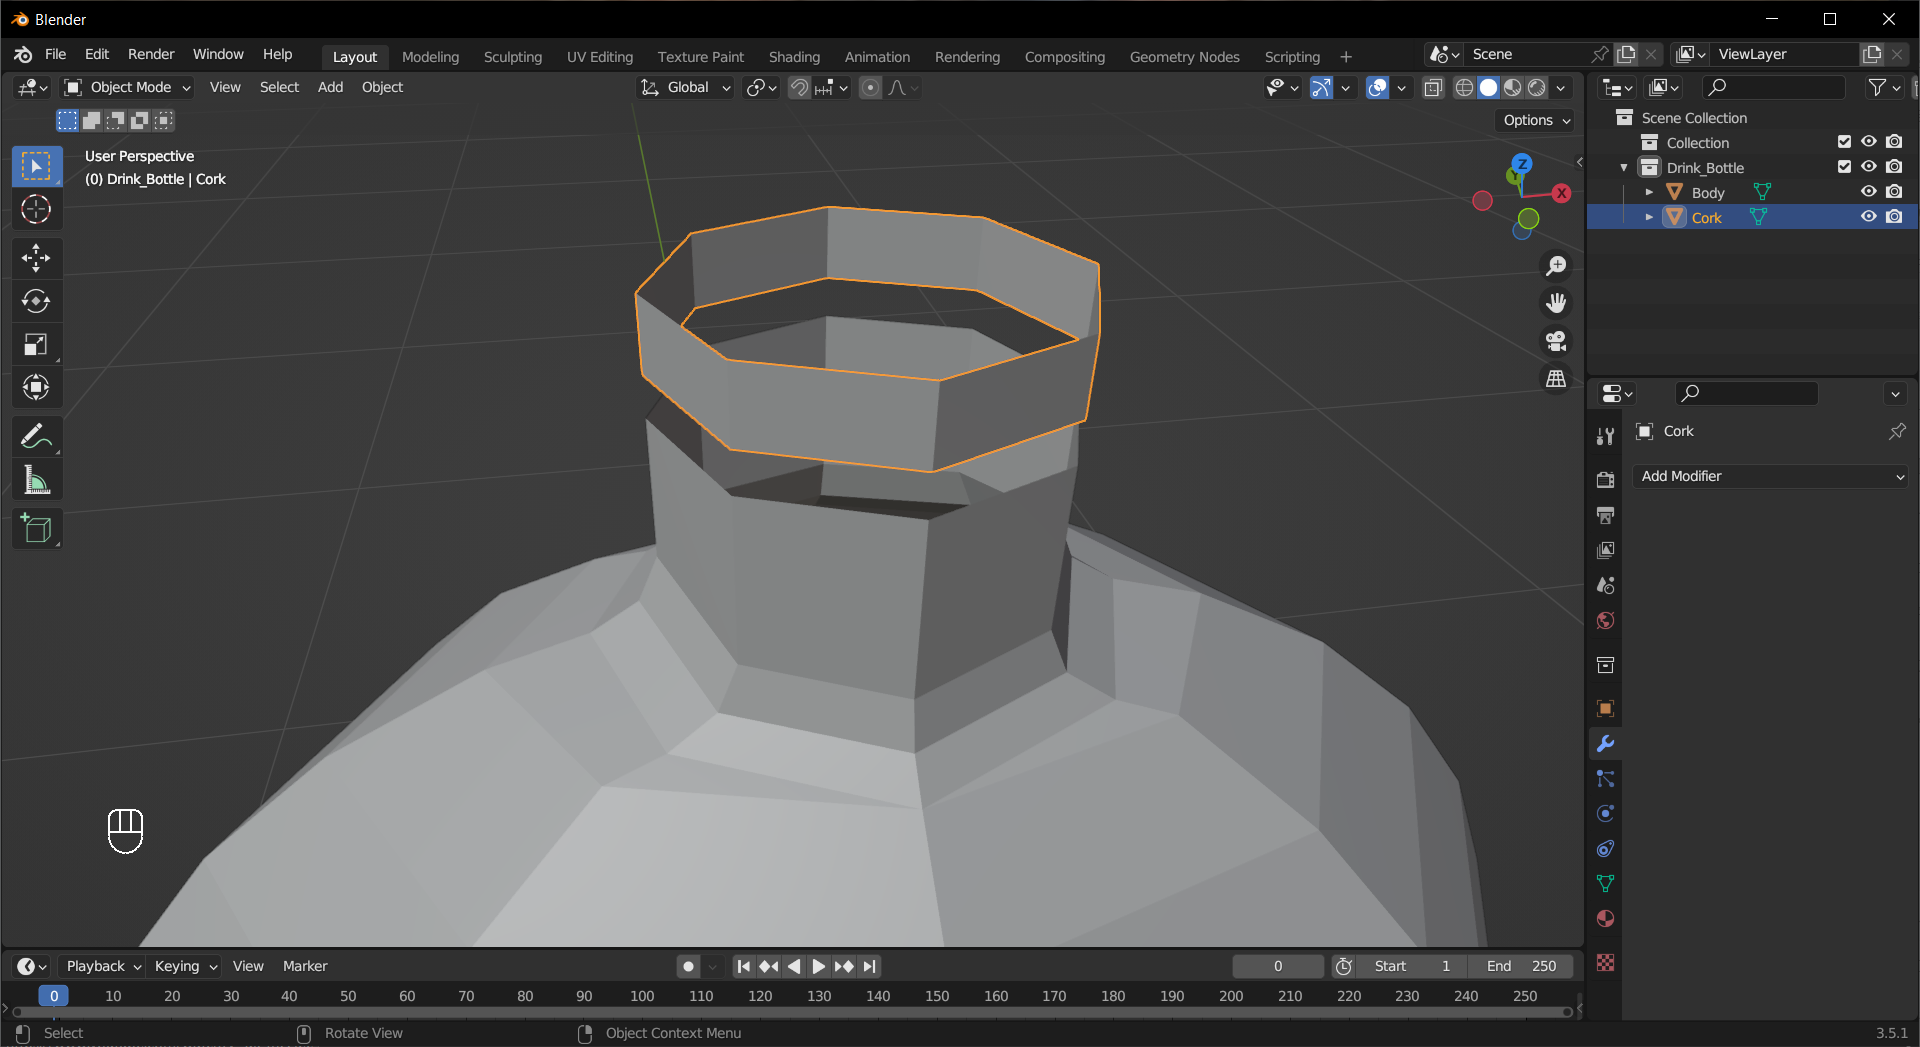
Copy and separate the top ring of faces for later use.
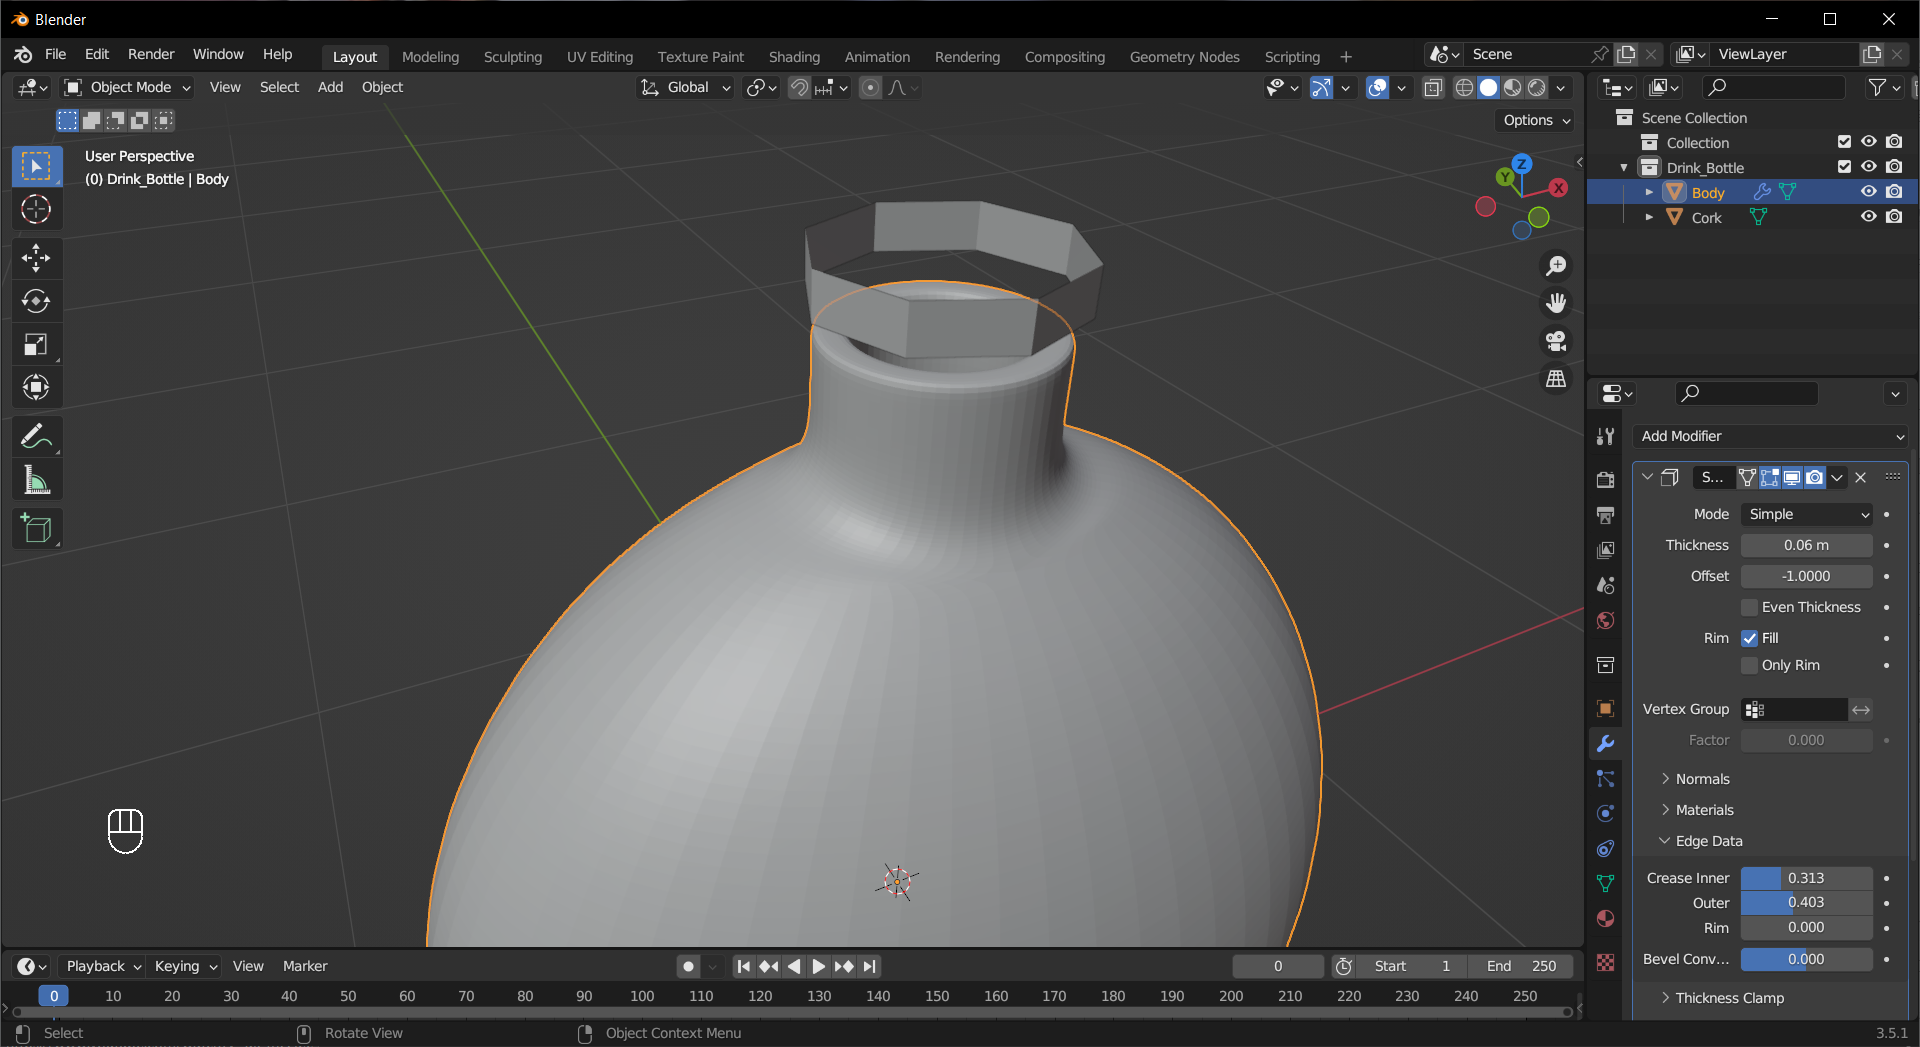
Add Solidify and Subdivide Surface modifiers to the body.
Tip
In the Solidify modifier, you can adjust Edge Data > Crease Inner/Outer to make edge sharper. Alternatively, apply the modifier and edit the mesh directly.
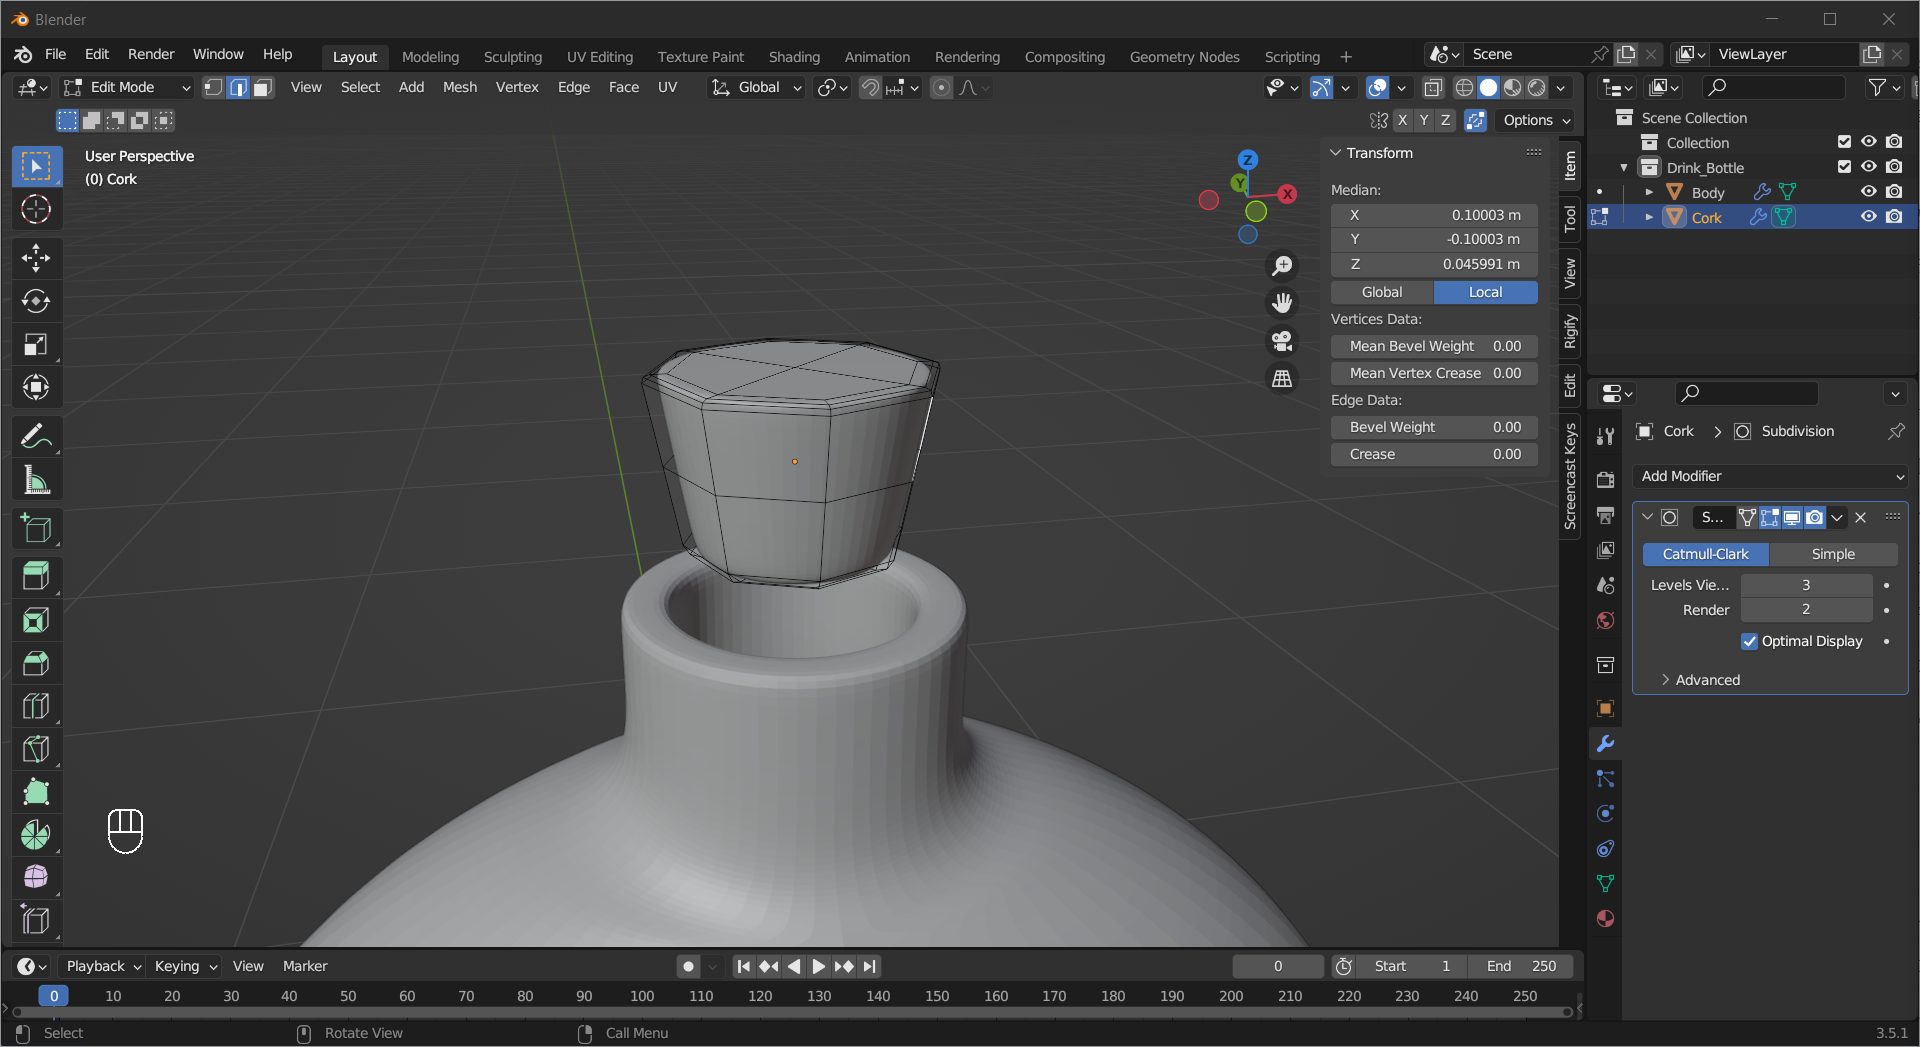
Use Scale, Loop Cut, Bevel, Fill, Grid Fill, etc. to make the object created in 8 into the shape of a cork.
Tip
Before you edit the mesh, reset its origin by Right Mouse Click then choose Set Origin > Origin to Geometry
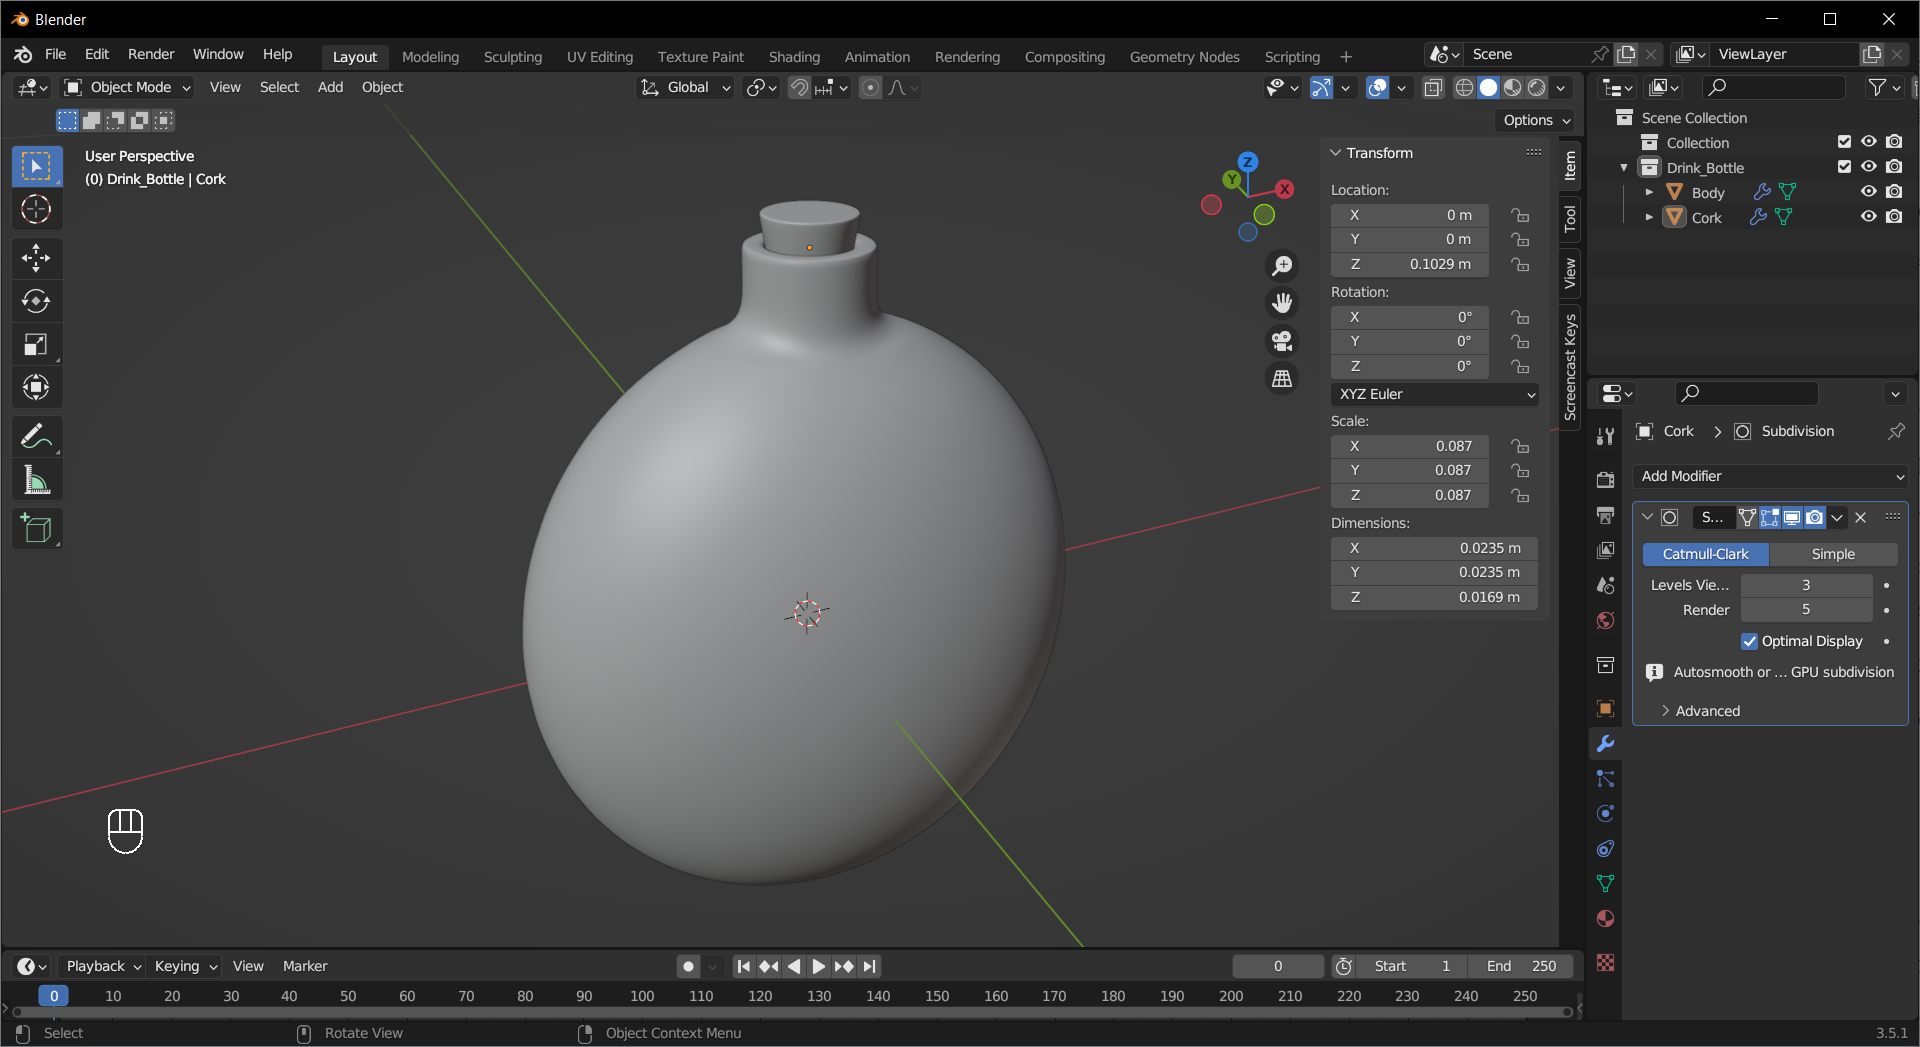
Adjust the position and size of the objects and apply Shade Auto Smooth.
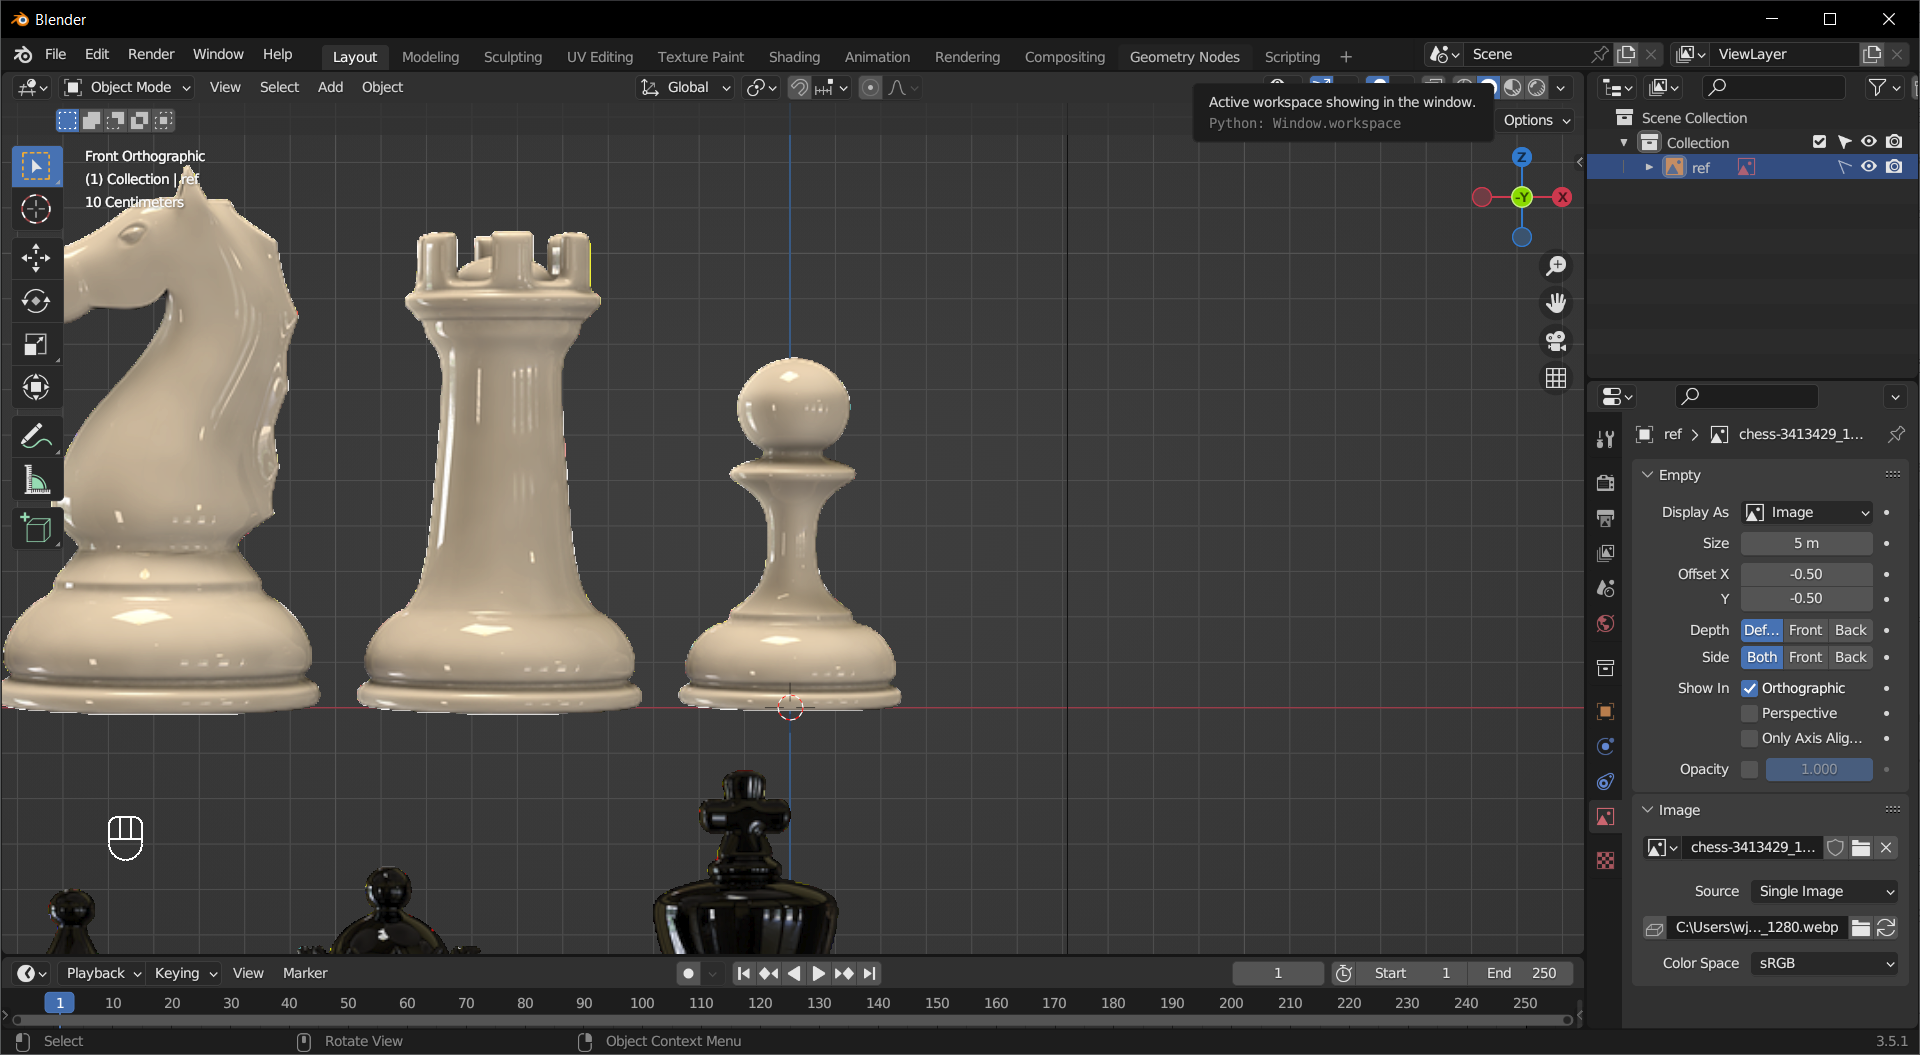
In 3D modeling, you will often find multiple solutions to achieve the same goal. Here we are going to make a pawn piece in 3 different ways.
Note
The referece used in this project is obtained from Pixabay.
Add the reference image and adjust its position.
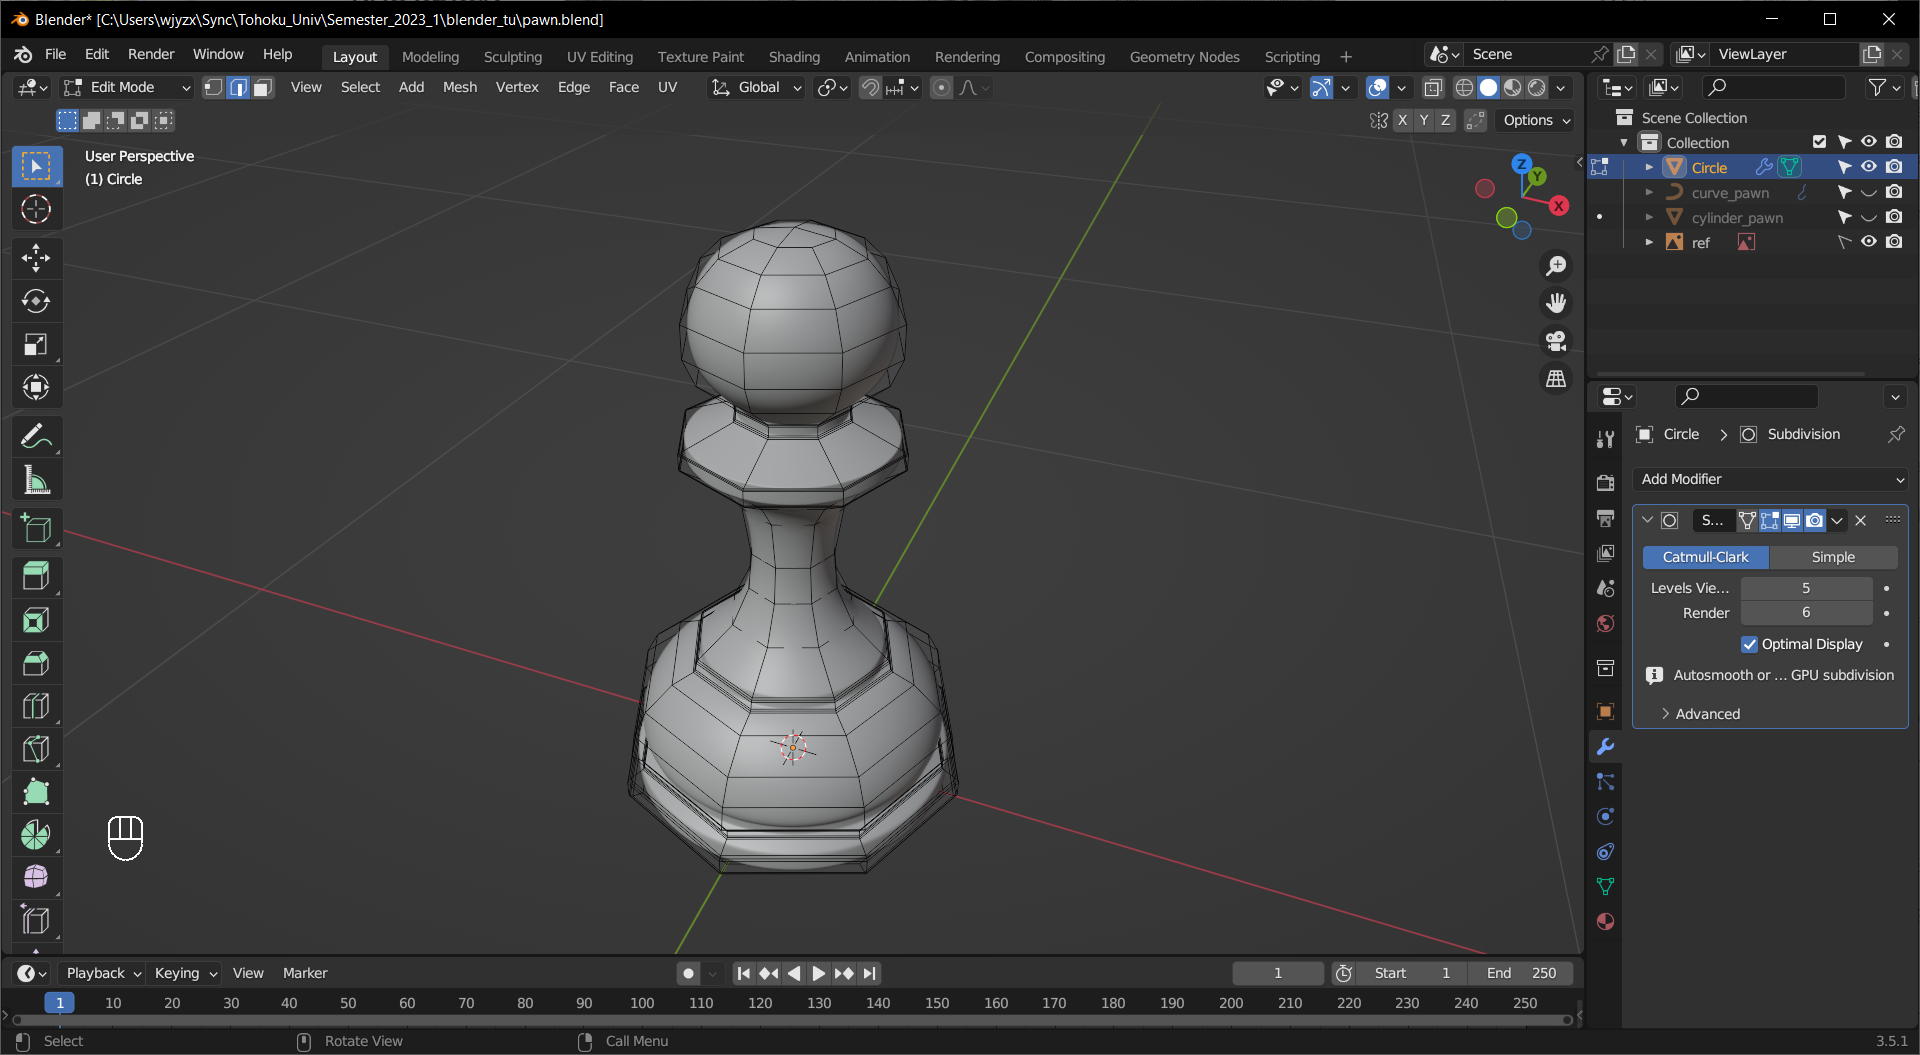
Starting with a Mesh Circle
Add a Circle and use Extrude and Scale to trace the reference.
Fill the top and bottom.
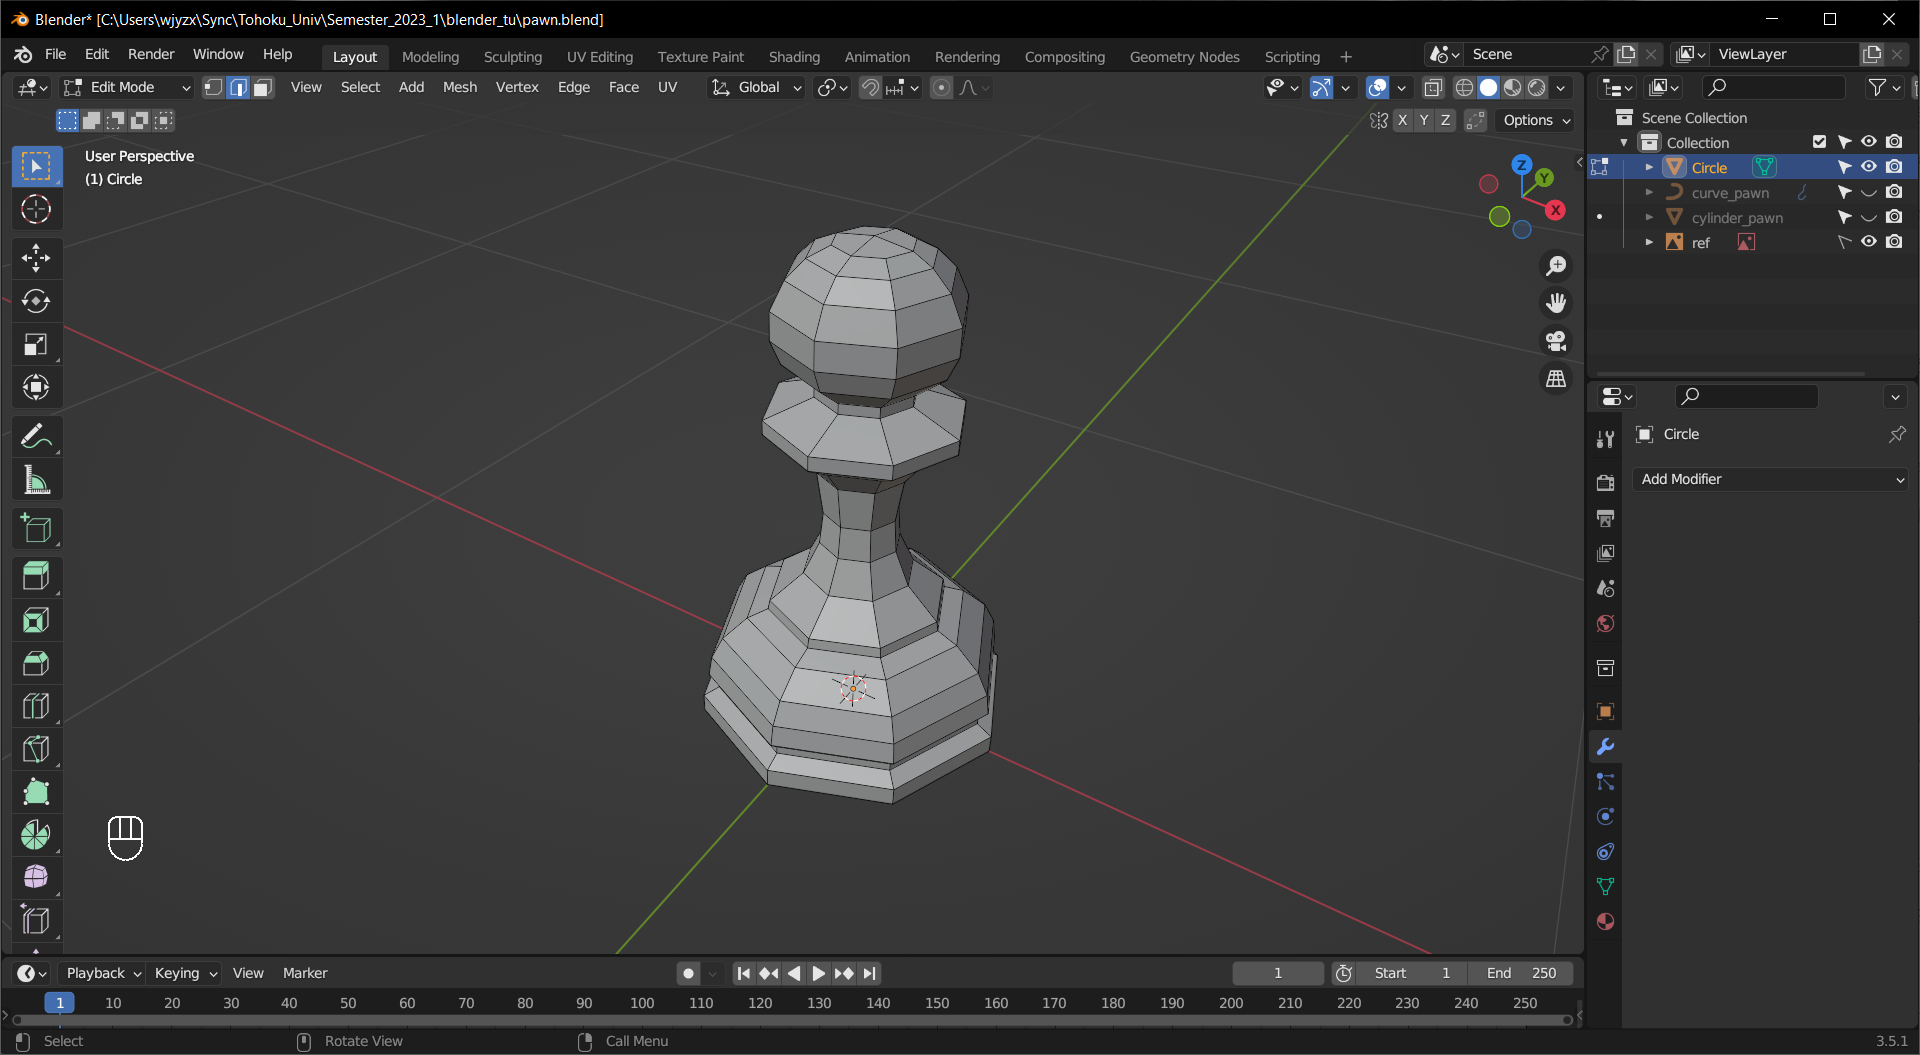
Add a Subdivision Surface modifier, and make adjustments to finalize the model.
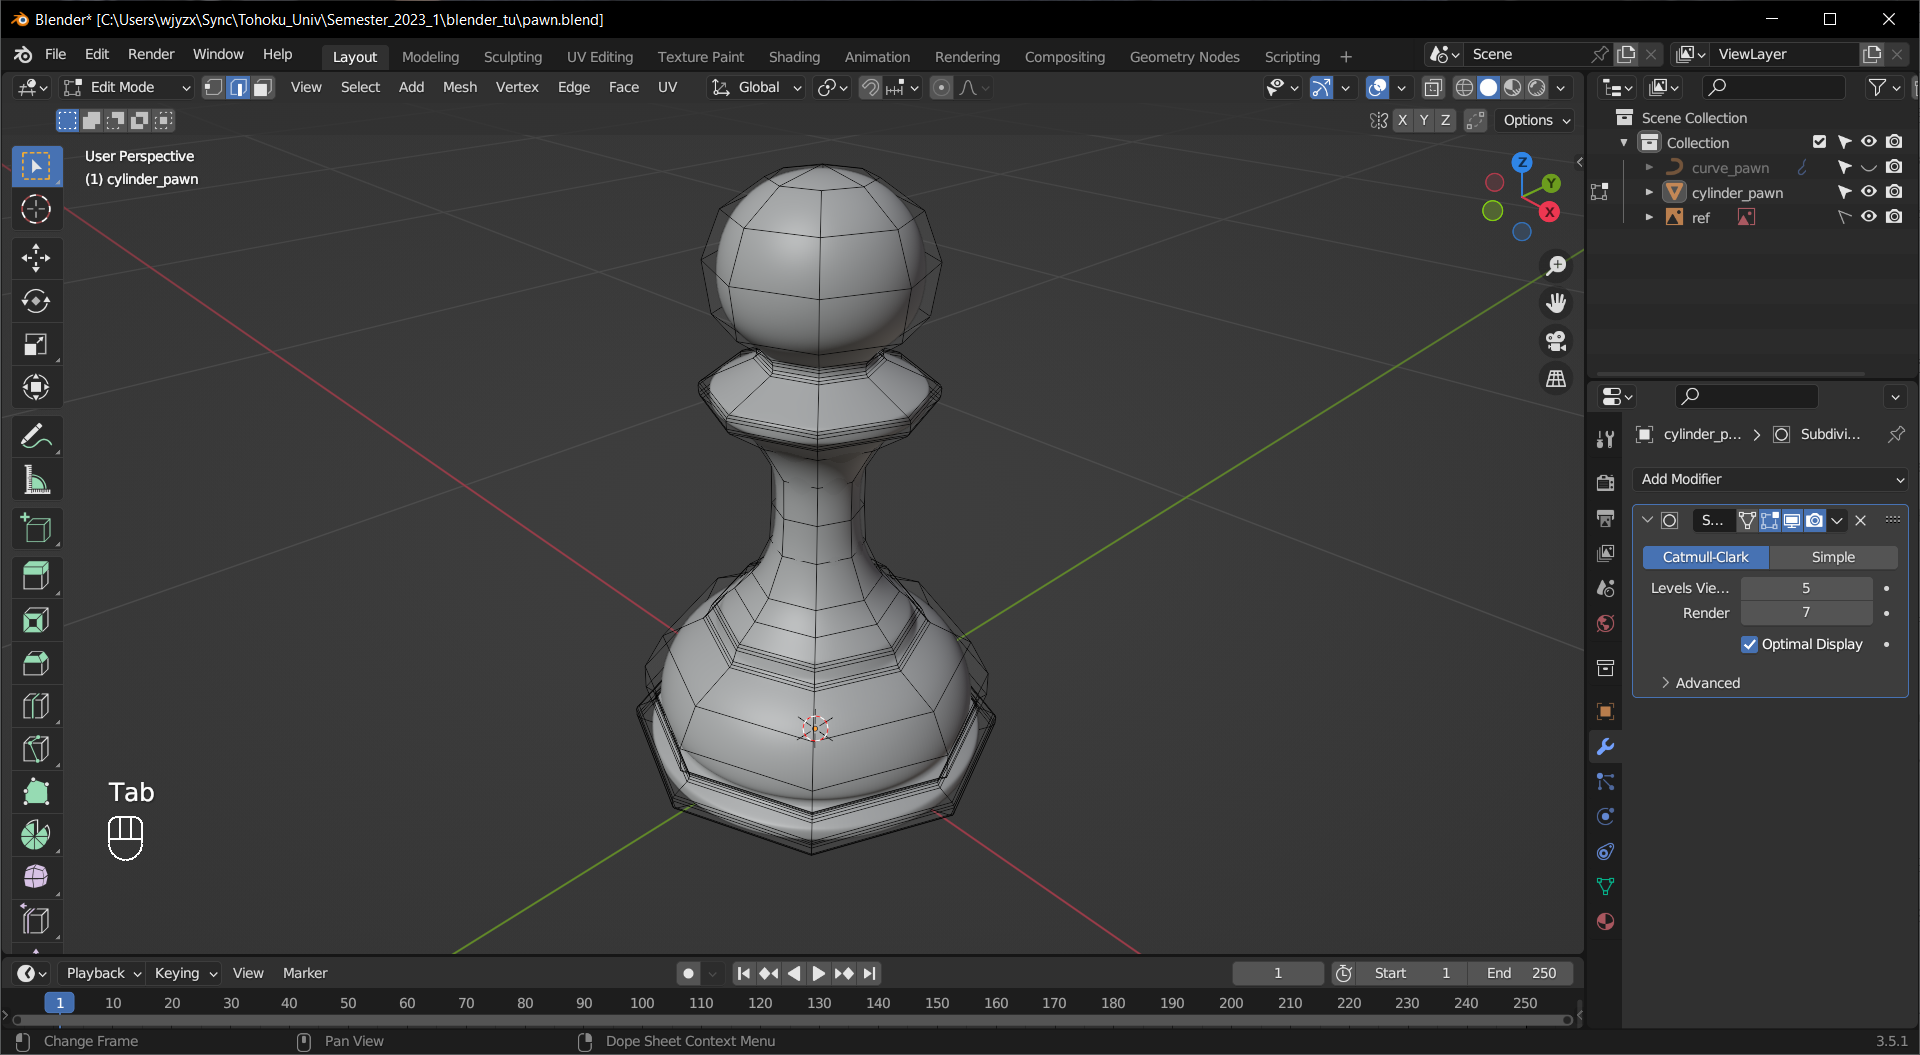
Starting with a Cylinder
Add a Cylinder and use Scale to fit the size of the reference.
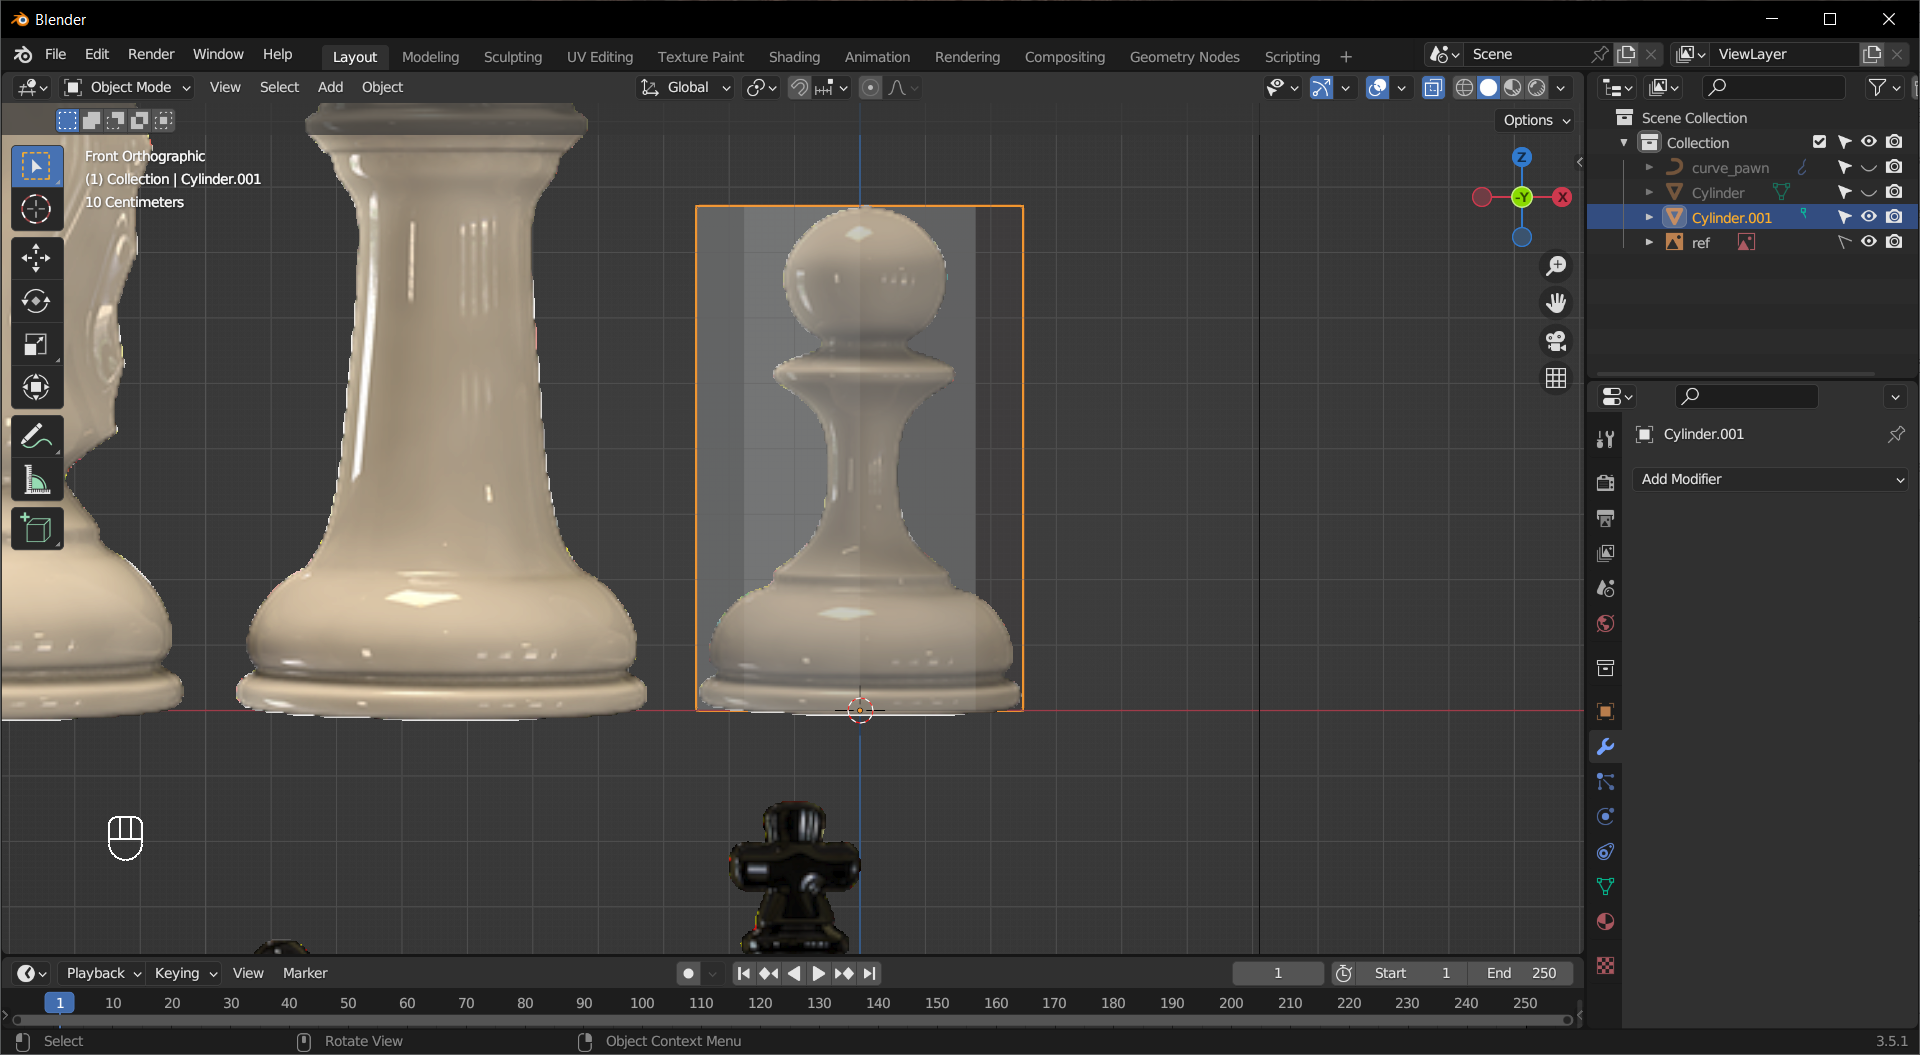
Use Loop Cut, Scale, Edge Slide, Move, etc. to make the general shape.

Add a Subdivision Surface modifier, and make adjustments to finalize the model.
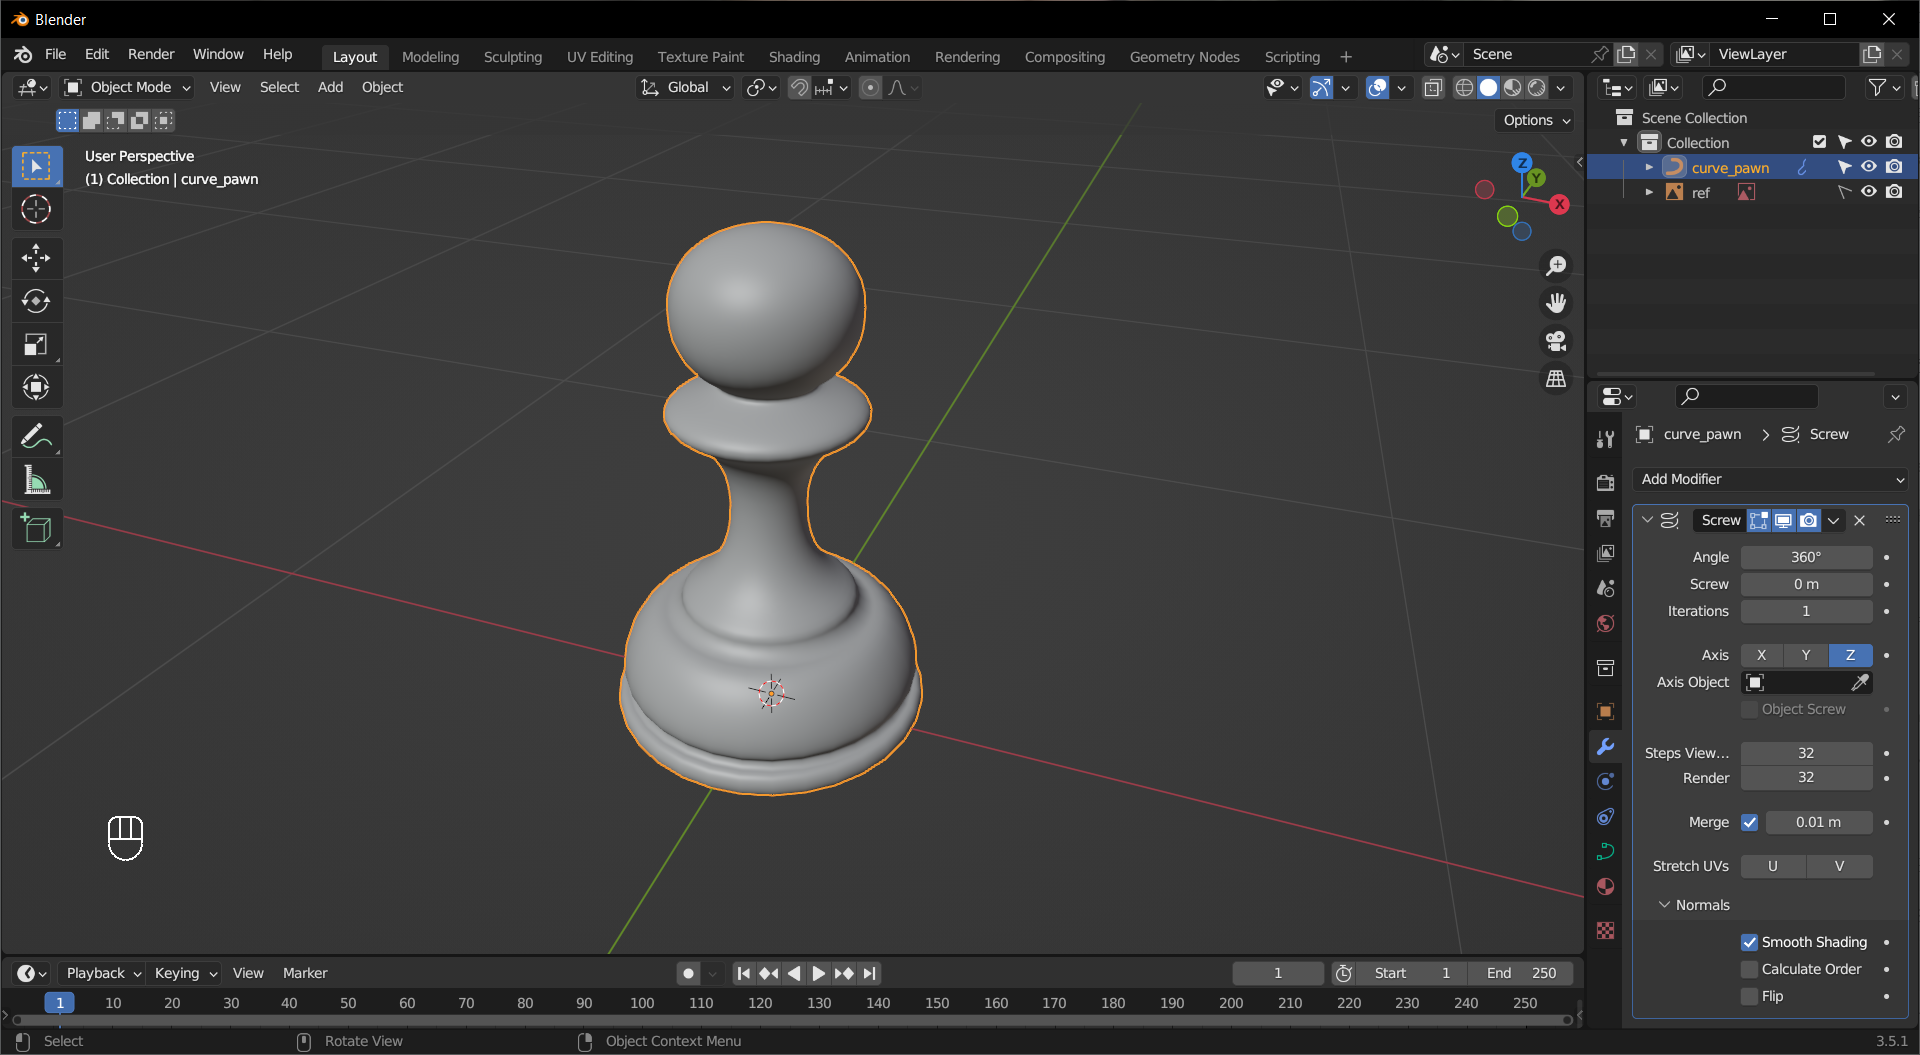
Using Curve
Add a curve (
Bezierin this example) and edit it to trace half of the reference image.
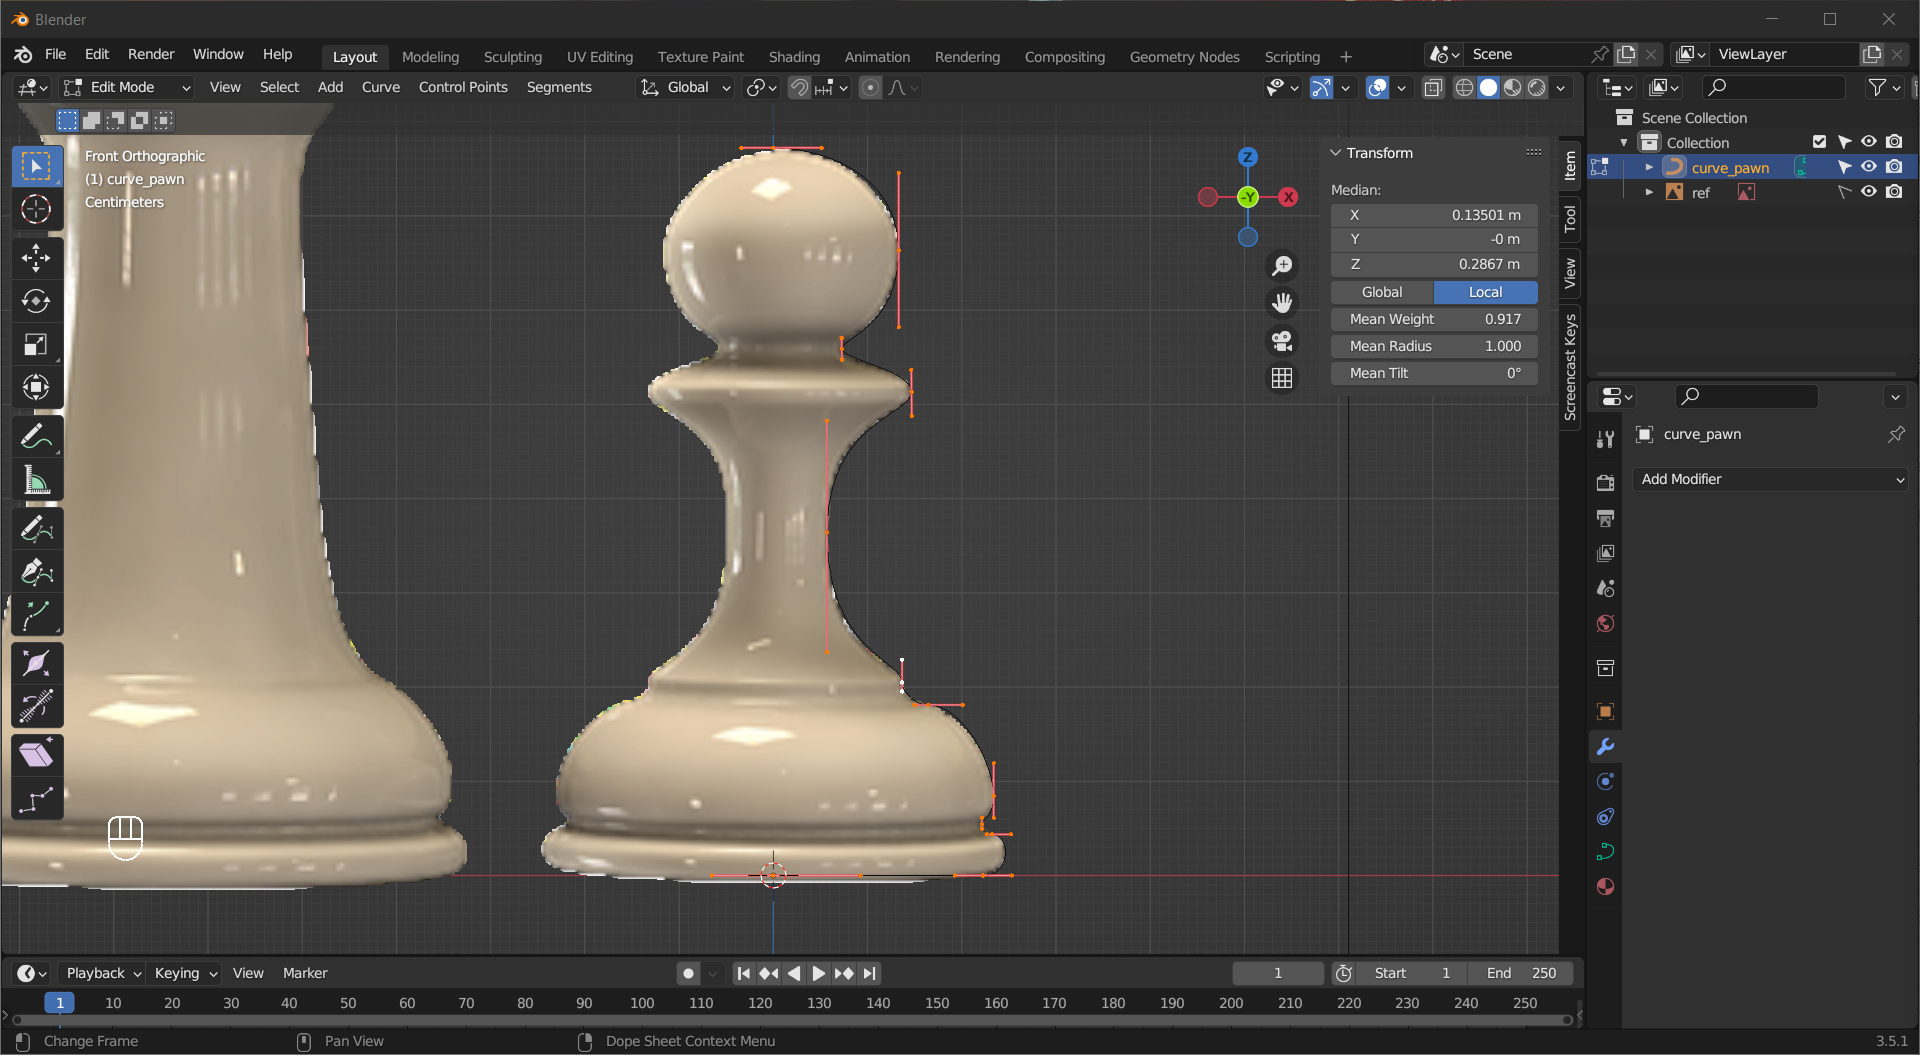
Add a Screw modifier and tweak the options to make it look better.
Use your imagination and put together a low-poly space fighter or any cool-looking flying object. Make the main body the parent of all other parts.
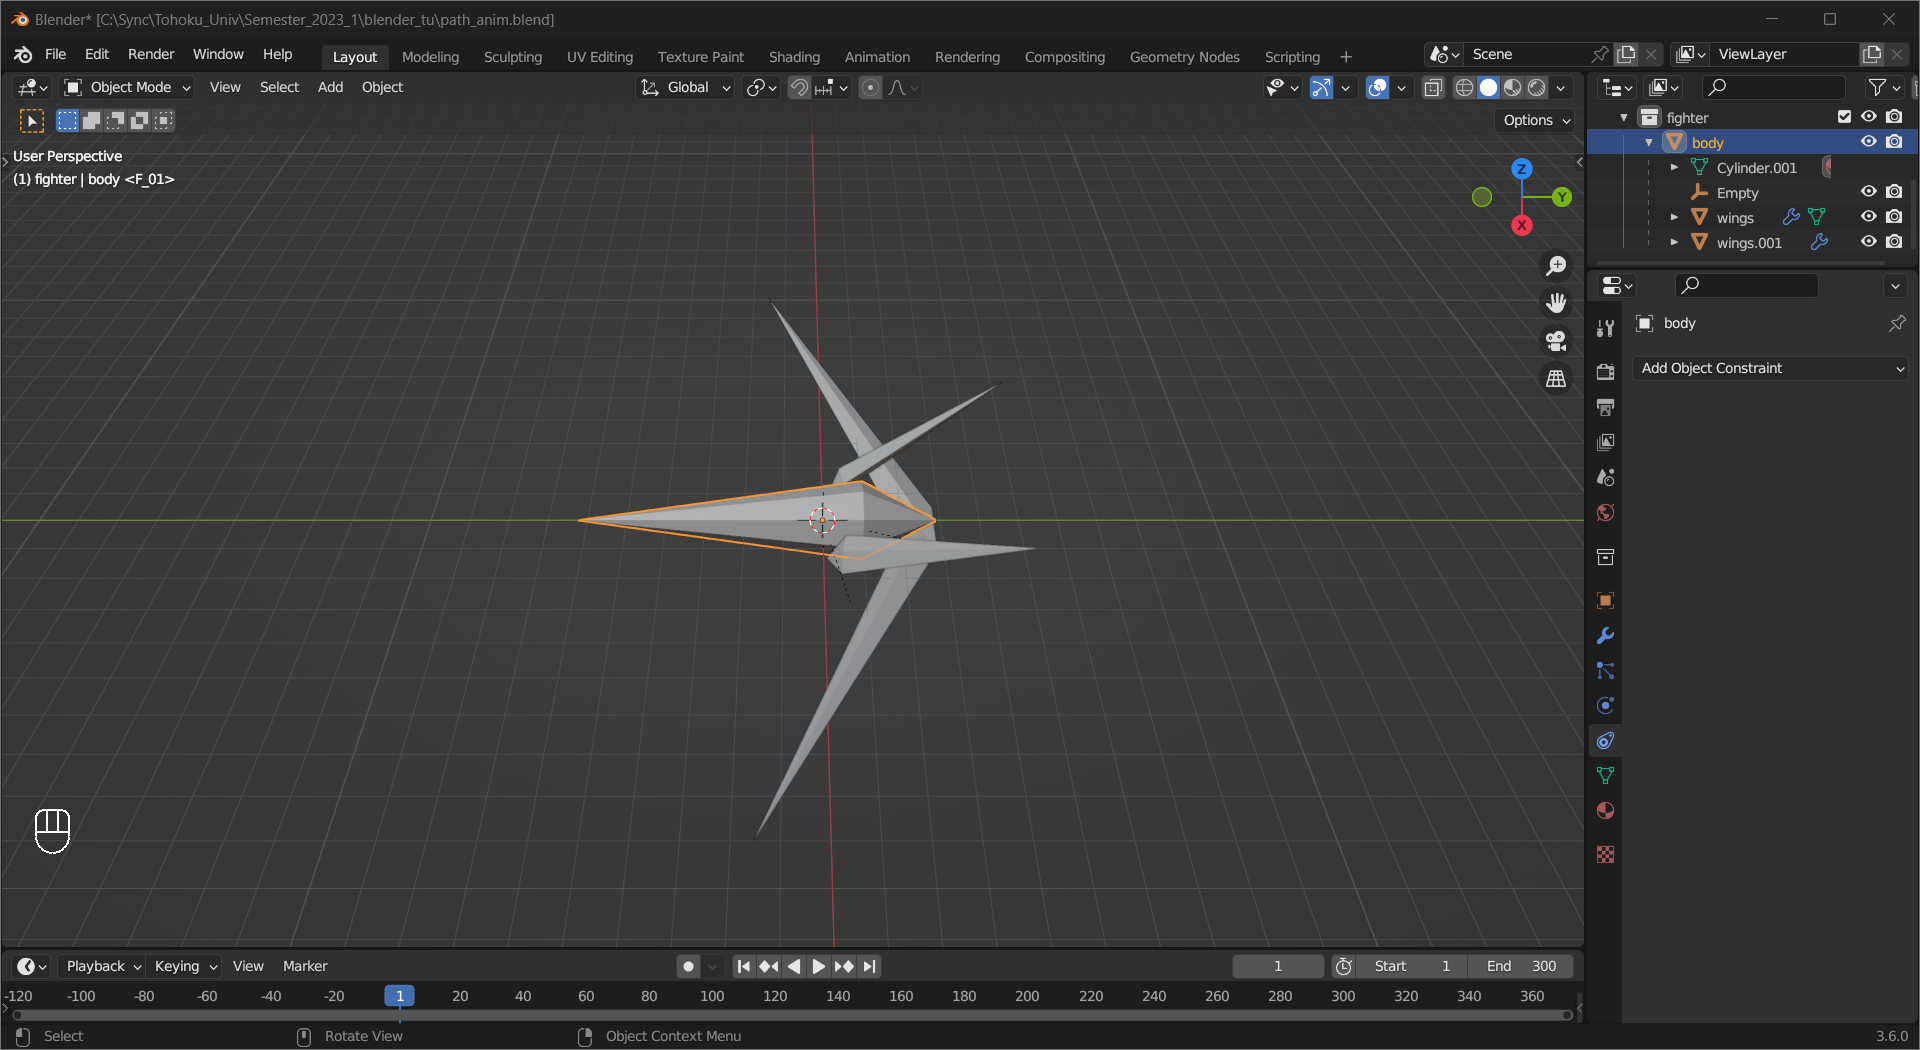
Add a curve and edit it by making/adjusting control points/handles to construct a flying path.

Add a Follow Path constraint to the main body, and tweak the properties to make the animation look right.