Lighting#
Without light, you are not able to see anything, and so is the camera. Lighting can drastically change the look of a 3D scene, just like in real life.
Types of Light#
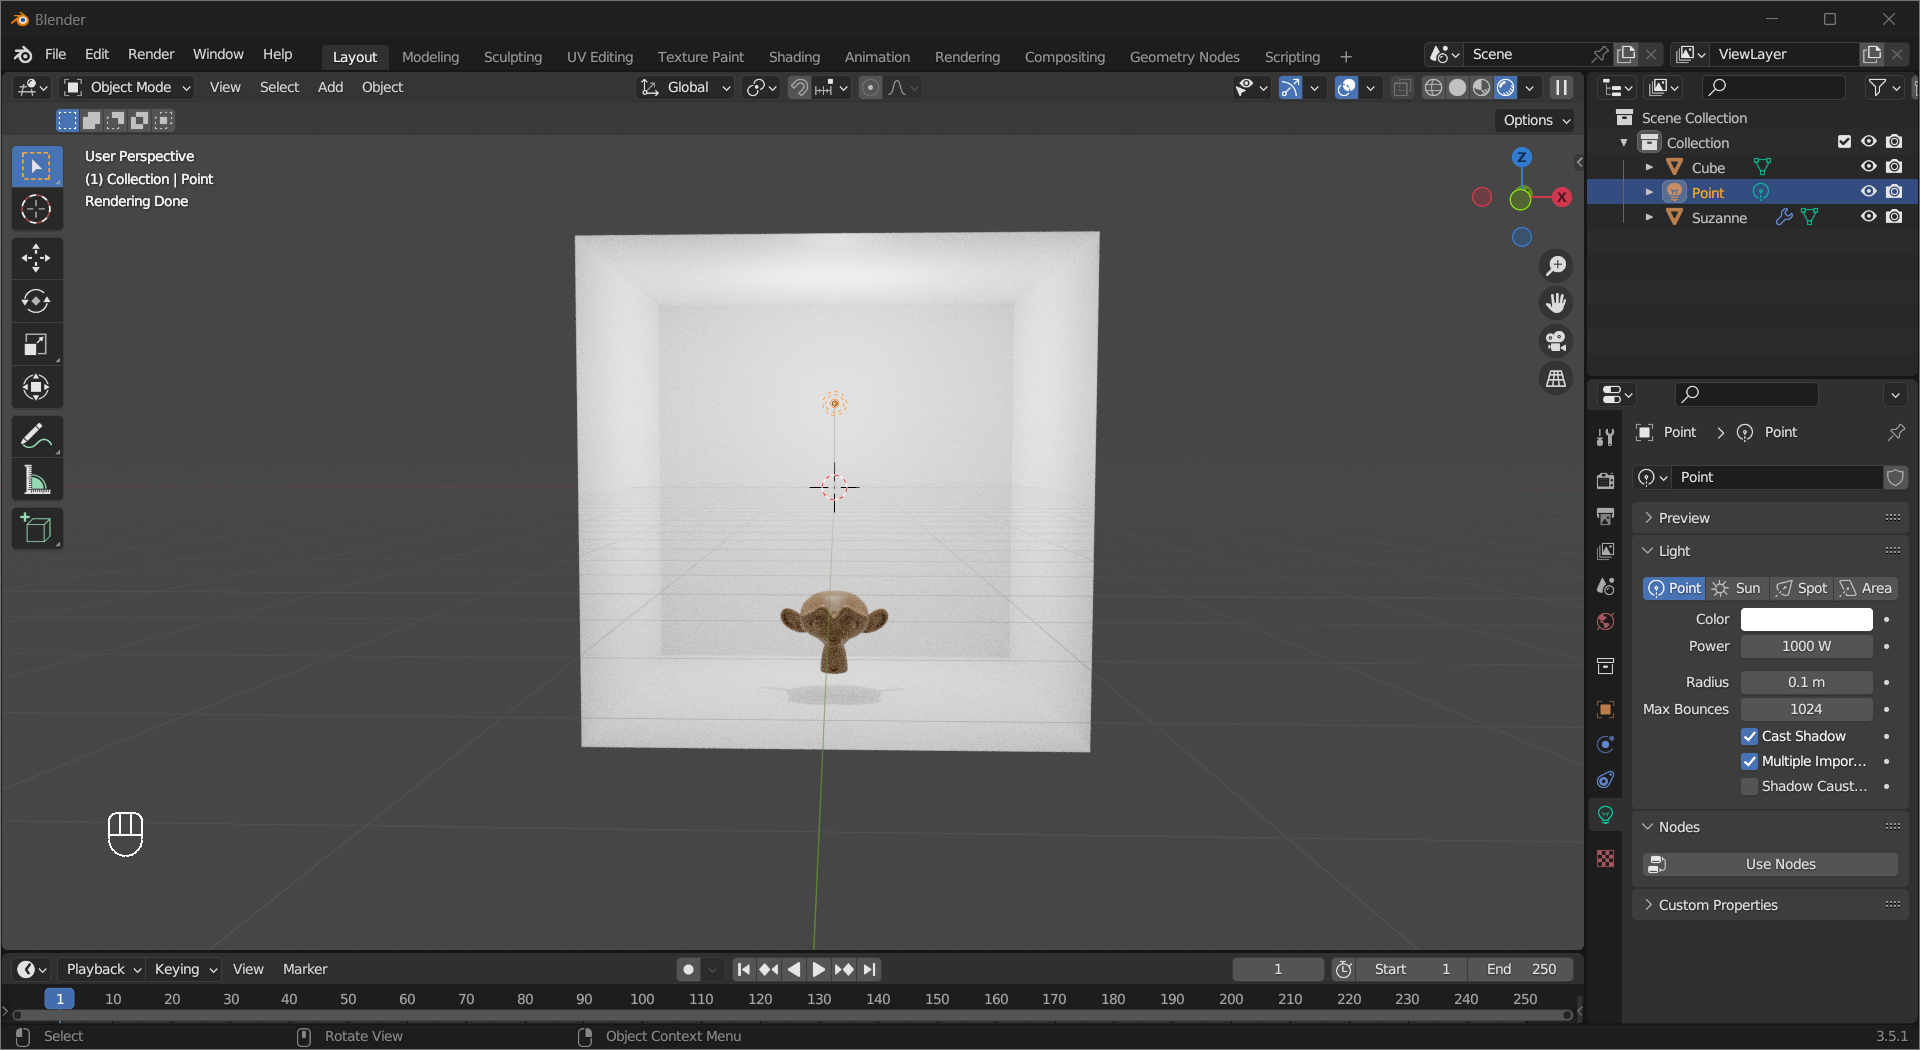
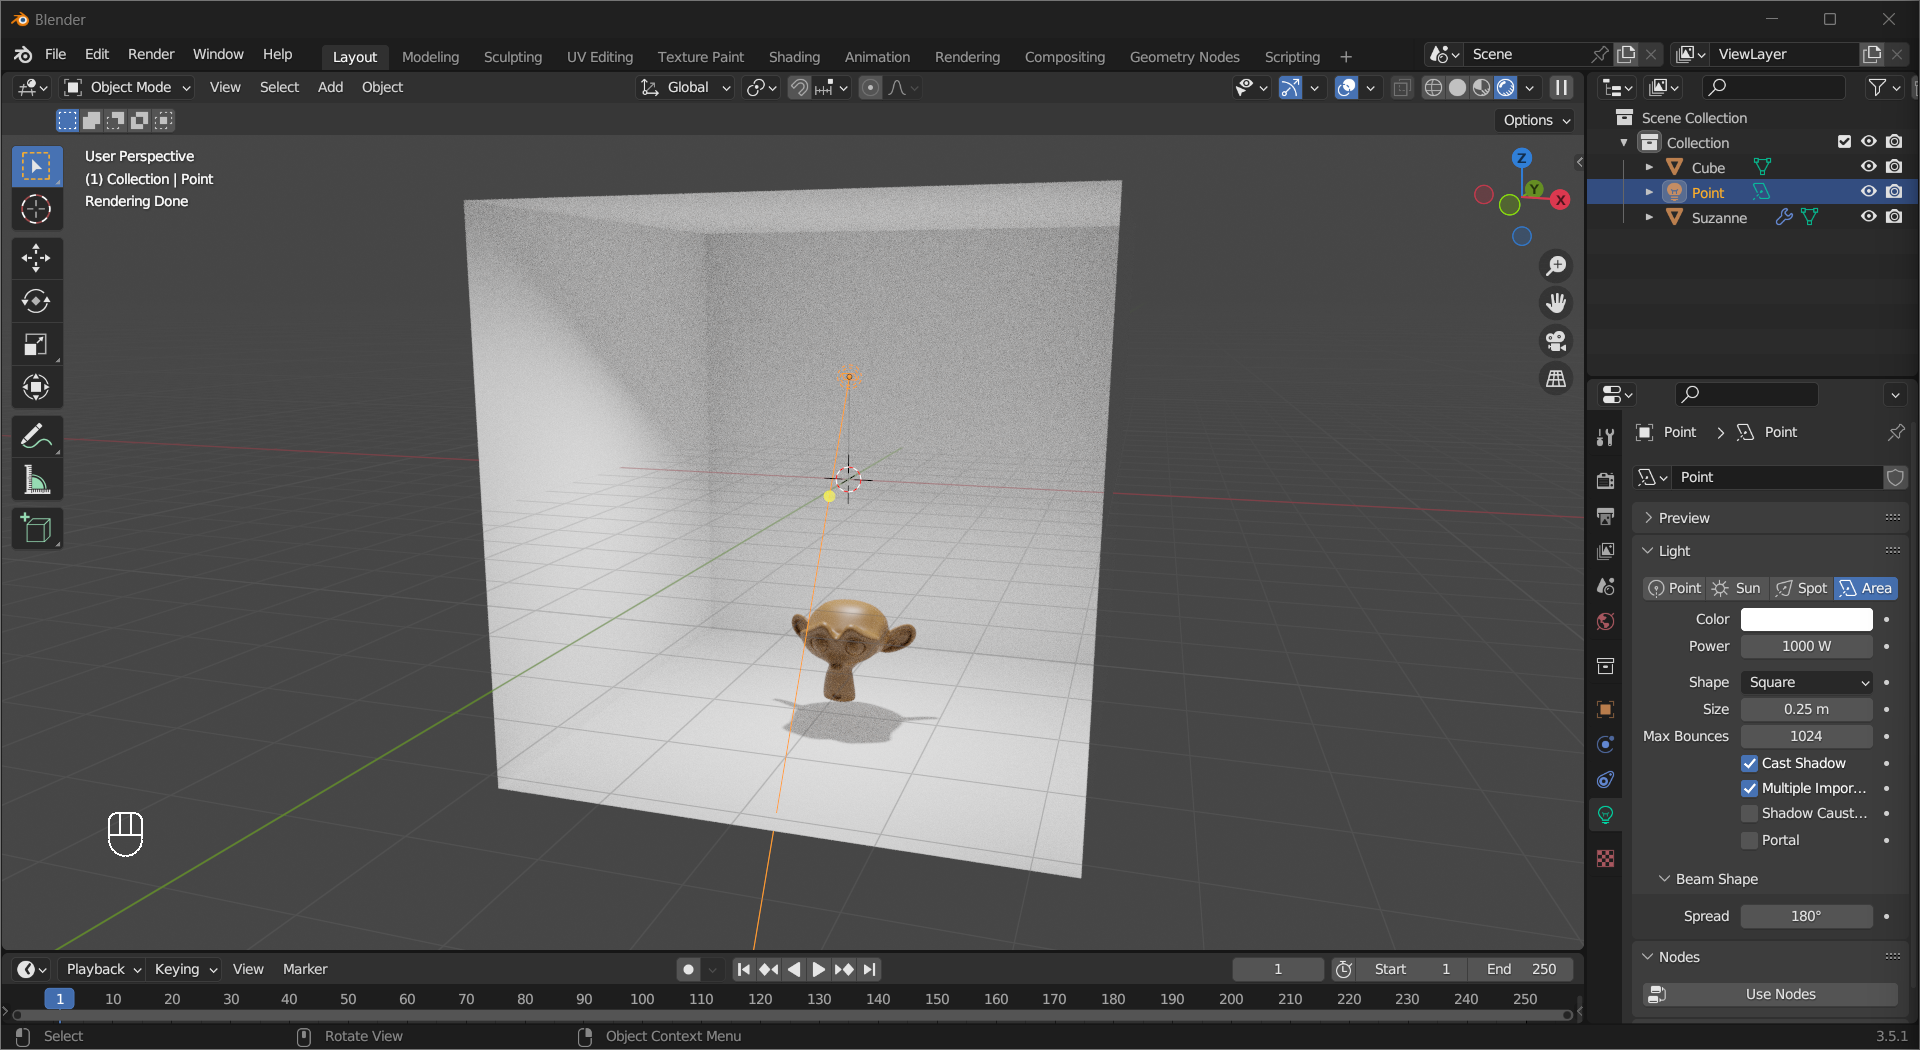
A Point Light is a light source that emits light in all directions like a light bulb. You can adjust its brightness by changing Light > Power and its size in Light > Radius.
Tip
The radius of the light will effect how shadows look, smaller values will produce more defined edge, larger ones will give you soft shadows.
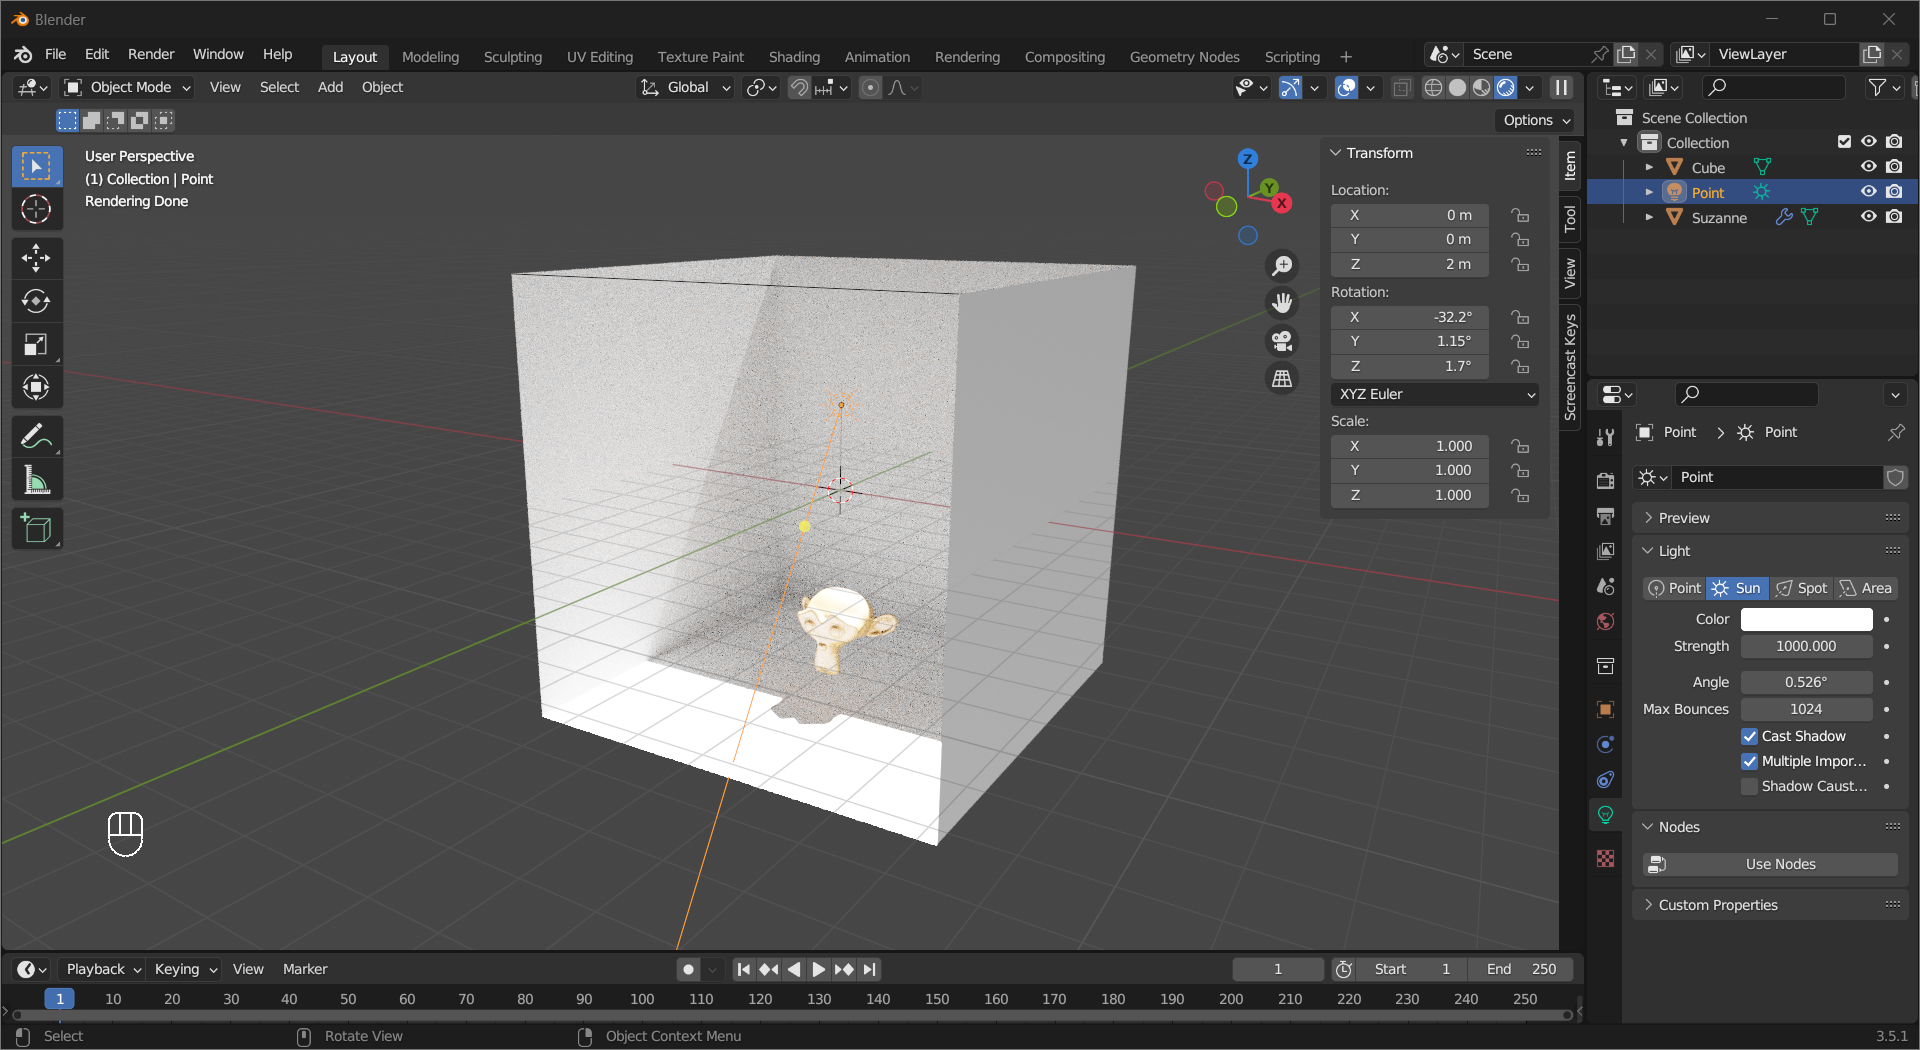
The Sun Light provides directional light with constant brightness from far away. The location of the light object has no effect, but the direction can be adjusted by rotating the object or dragging the yellow circle. Keep in mind that the brightness of Sun Light is measured differently compared to other light types.
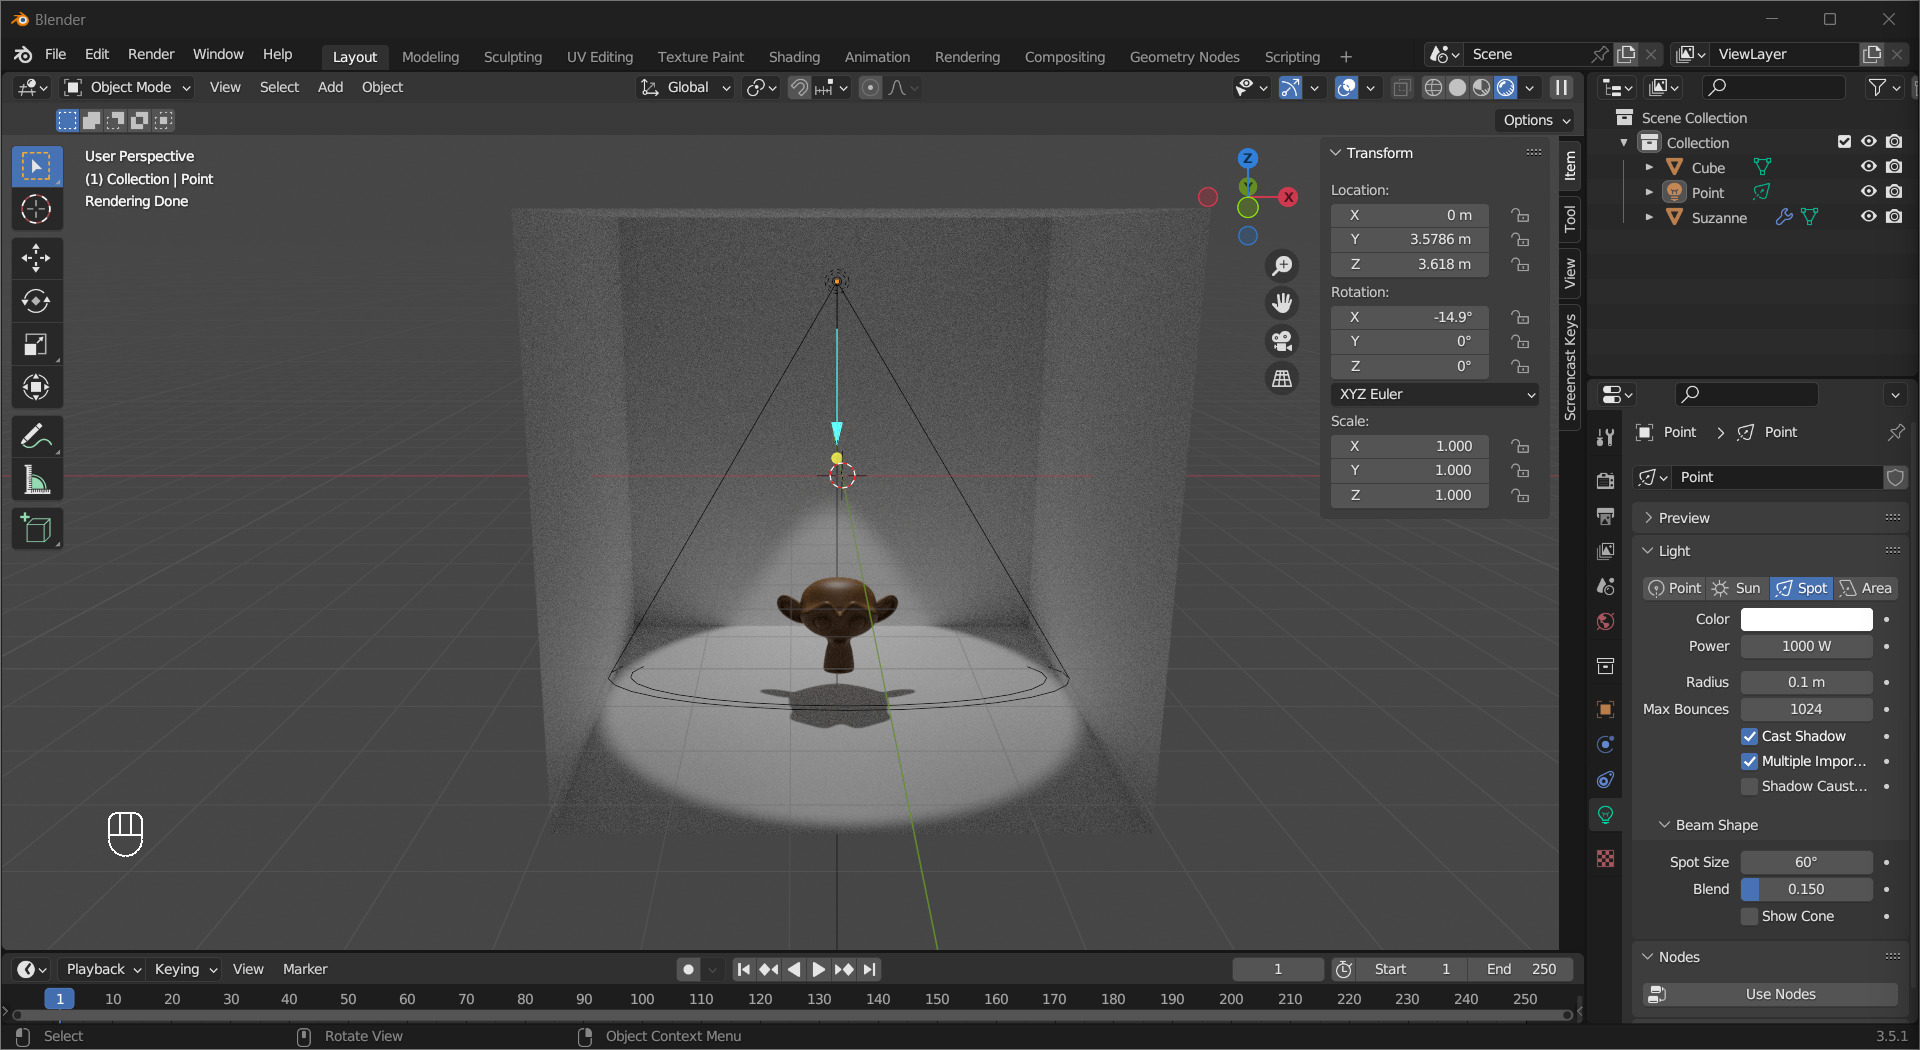
A Spot Light emits a cone-shaped light, like the ones on stages. Dragging the blue arrow adjusts the angle of the cone.
An Area Light simulates light emitted from a surface, like the lights used in studios. You can change its facing by dragging the yellow circle, and its shape in Light > Shape.
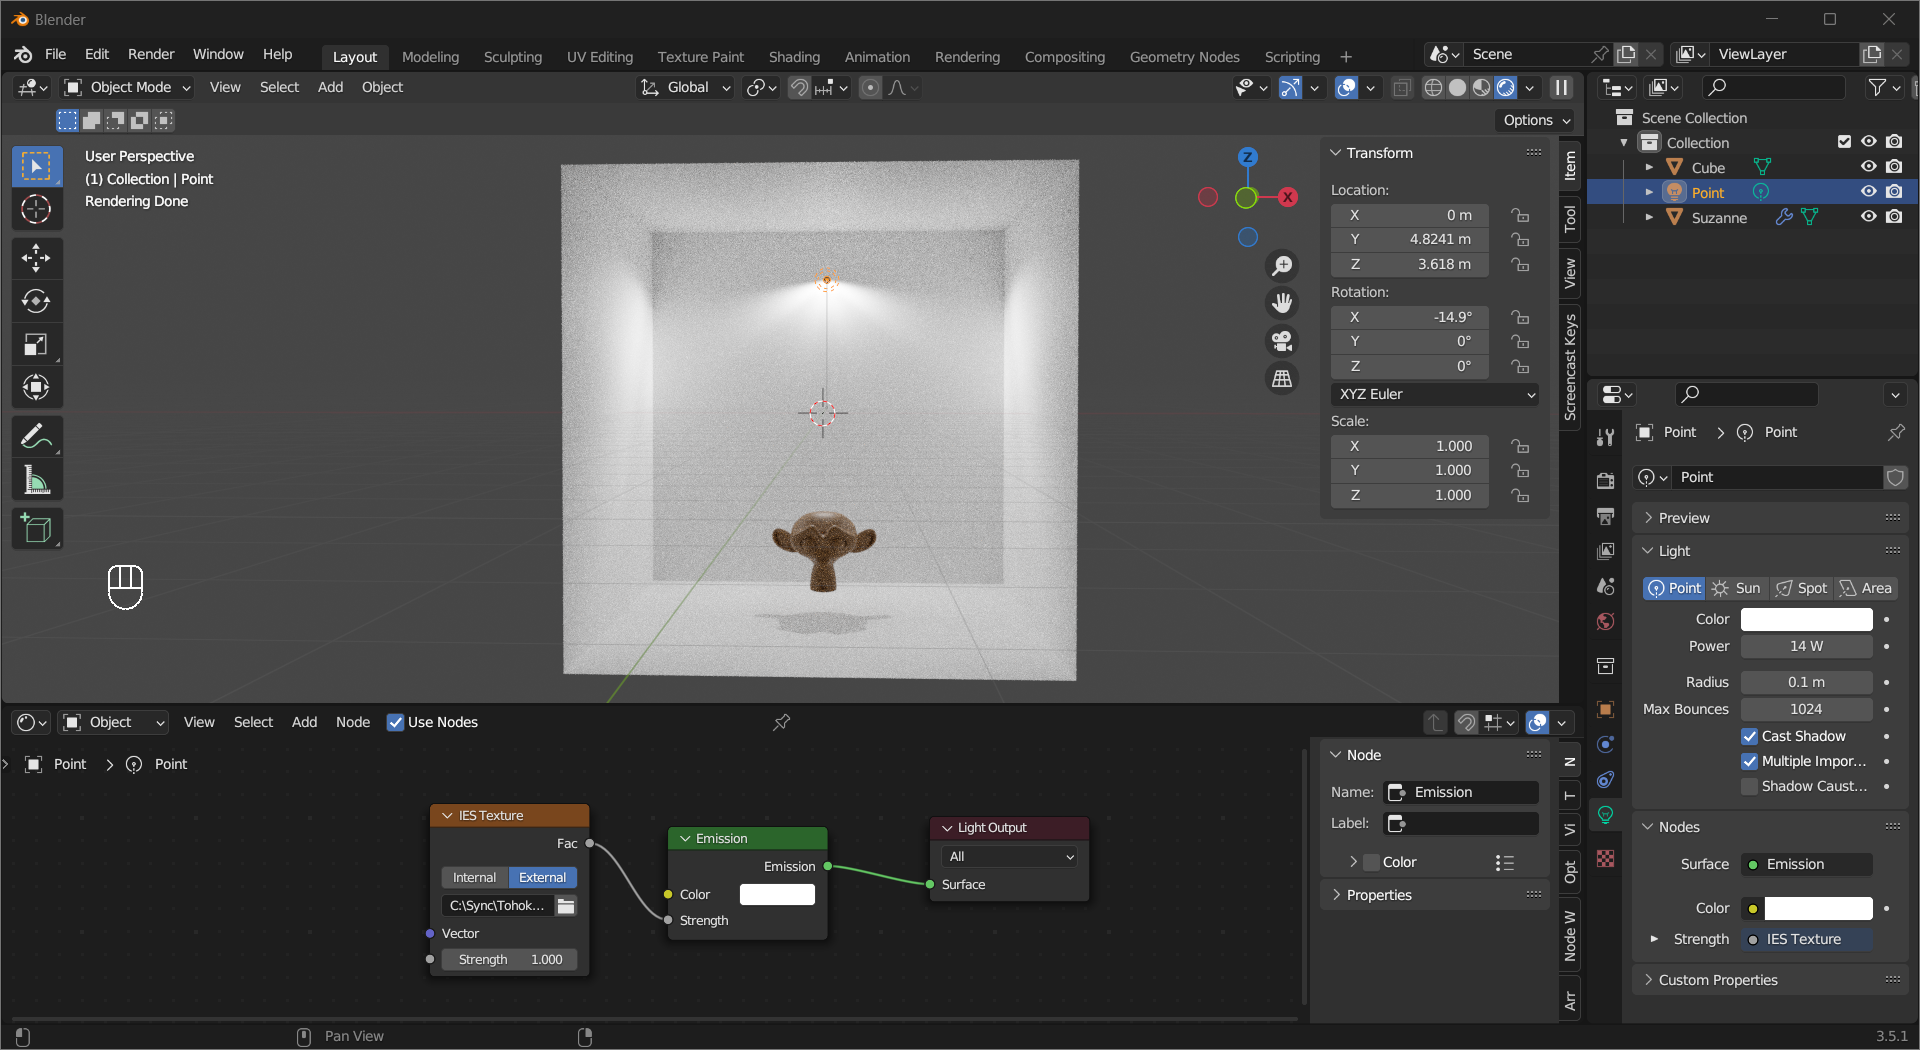
IES(Illuminating Engineering Society) files contain directional light intensity distribution data, and it can be used to recreate real-world lights. To use it, Add a Point Light, and Left Mouse Click Nodes > Use Nodes. Then in the shader editor, add an IES Texture node, open the IES file and connect the Fac output to the Strength socket of the Emission node.
Tip
The IES file in this example is obtained from ies library.
Three-point Lighting#
A standard way of setting up lighting is called Three-point Lighting, and it consists of three different lights as its name suggests. The first one is called Key Light, it is the main light source that defines the overall setup.

The second light is the Fill Light, it is weaker than the key light and positioned on the opposite side to soften the contrast.

The last one is the Backlight, which separates the object from the background.

The Tri-lighting add-on can automatically set this up for you. Enable it in Edit > Preferences... > Add-ons, then select an object and choose Light > 3 Point Lights in the Add menu. This creates 3 area lights and a camera pointing at the object, you can tweak them to your liking.
HDRI#
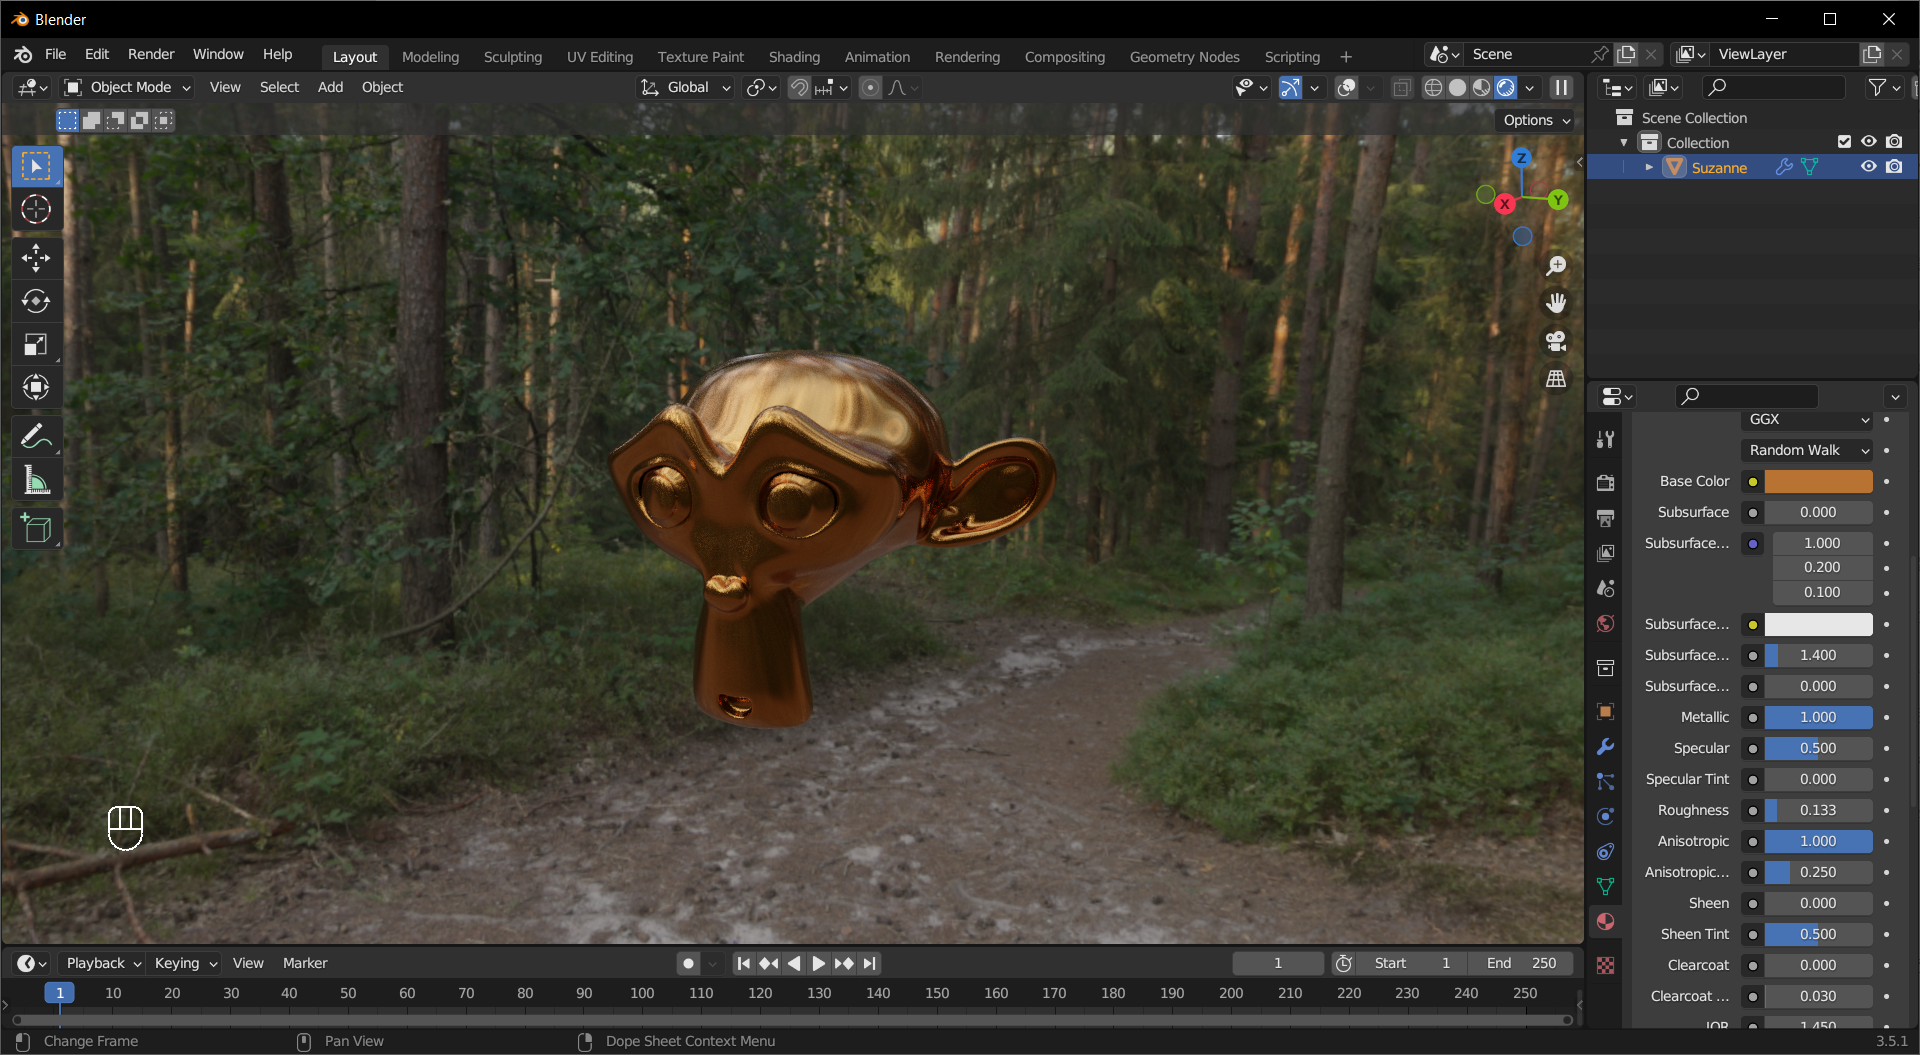
If you want to know how your 3D object would look in a real-life place, HDRI(High Dynamic Range Image) can help you. HDRIs are 360° images that include lighting information. To add an HDRI to your scene, switch the tab in the properties area to World, then Left Mouse Click on the yellow dot on the right of Surface > Color and choose Environment Texture. Left Mouse Click Open to load the HDRI.
Tip
The yellow dot is an input socket of the Background node, you actually added a
Environment Texturenode and connected to the input by choosing the option. In the shader editor, you can check the node tree for theWorldby switchShader Typeon the top left.The HDRI file in this example is obtained from Poly Haven.
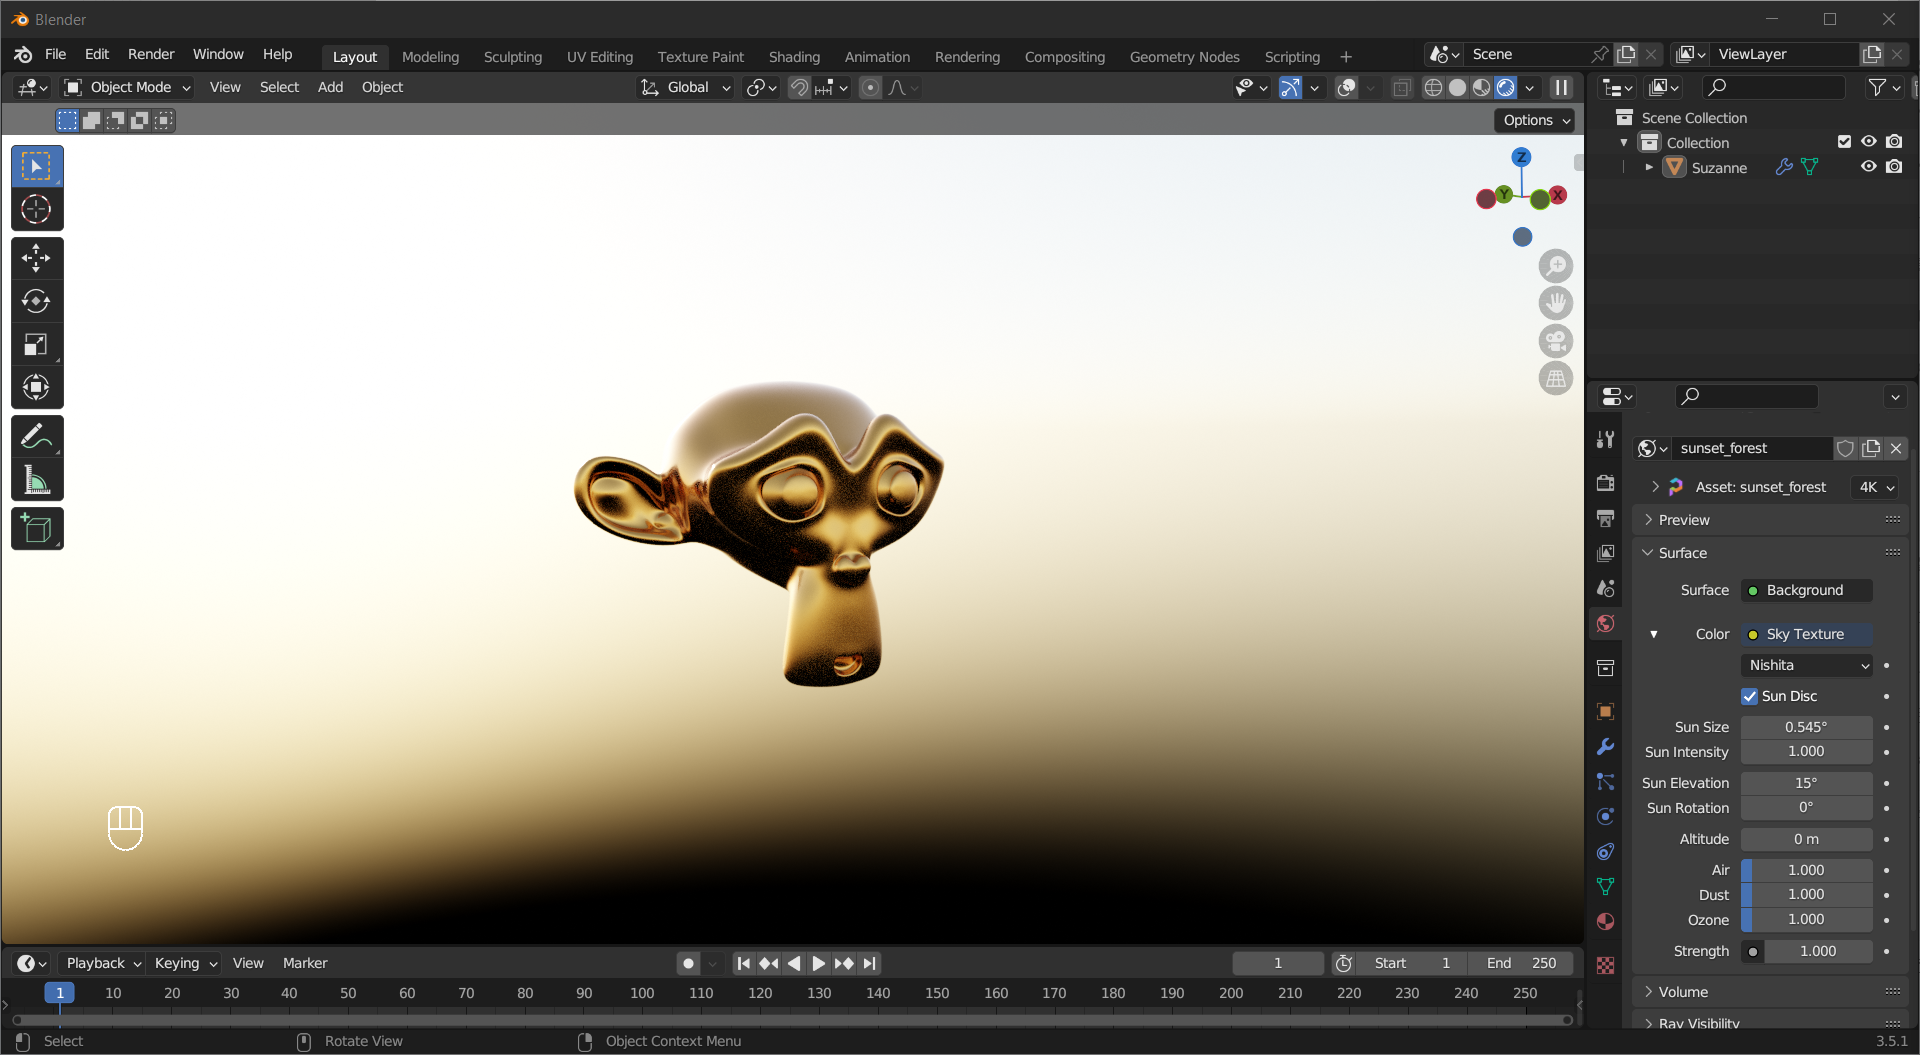
An alternative is to use the Sky Texture. It simulates sunlight and you can tweak the position of the sun and atmospheric conditions.