Material Basics#
In Blender, Materials determine how a 3D object interacts with light, and they are made of one or more Shaders, which are little programs that do all the calculations under the hood. Now, let’s go through some basics.
Material Preview#
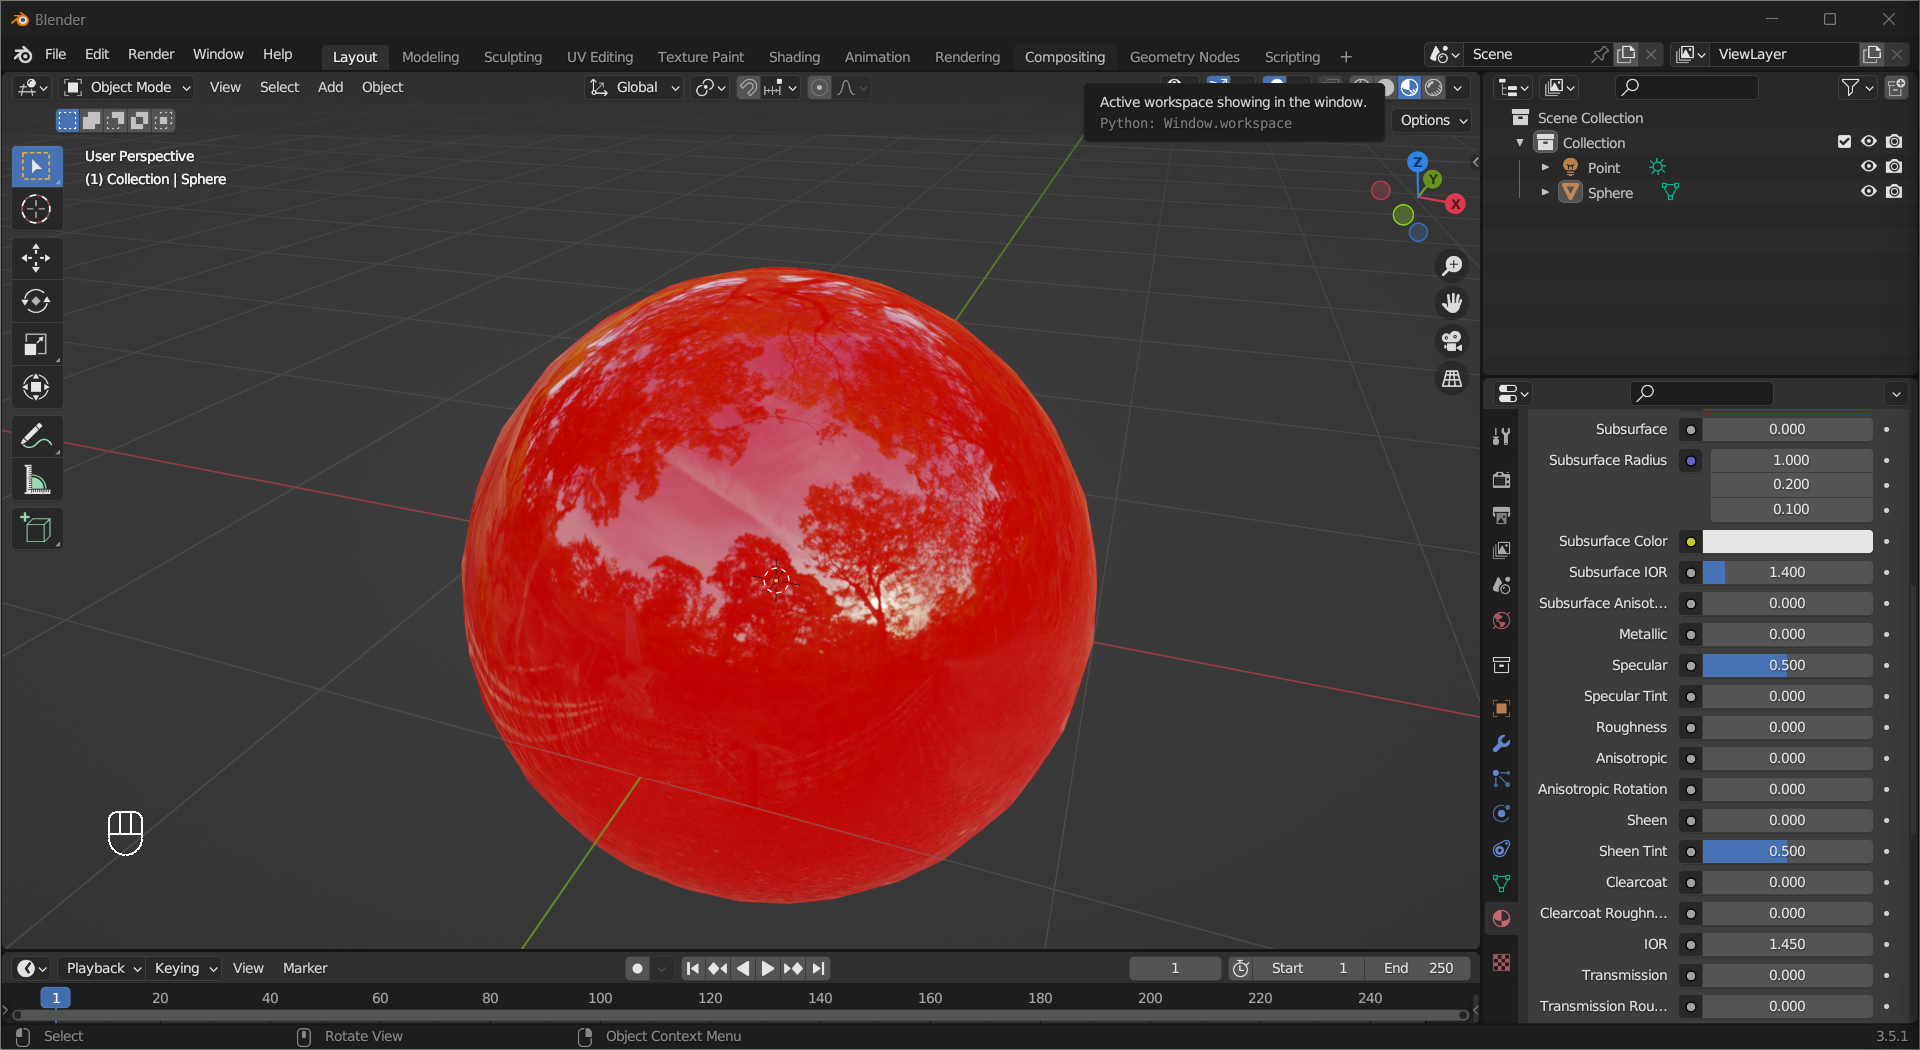
In Solid or Wireframe view, you will not be able to see the effect of any material, since these two views are intended for modeling only. So before you add material, switch Viewport Shading to Material Preview by Left Mouse Click the third icon on the right side of the header or press Z and choose it in the radial menu.
This mode is called “preview” because it put the scene in a pre-configured Studio Light Setup and the appearance of materials can change vastly under different lighting conditions. To see how the environment looks, use the dropdown menu on the top right and adjust World Opacity. you can also change the Studio Light Setup to see how the object looks in a different setting.
Tip
Material preview always use EEVEE render engine.
Alternatively, you can switch to Rendered shading and turn off Scene Lights and Scene World in Viewport Shading > Lighting. This allows you to change render engine.
Adding Materials#
To add materials to an object, first select the object and switch the tab in the properties area to Material. Then Left Mouse Click New to create a new material and link to the object, or use the dropdown menu on the left to link an existing one. One object can have multiple materials linked to it, Left Mouse Click the + symbol on the upper right part to add a new Material Slot, and link a material to it. When a mesh object has more than 1 material linked to it, you can assign a certain material to selected faces. To do that, enter edit mode and select the faces, then select the material and Left Mouse Click Assign.
Principled BSDF#
Tip
The material may look different between EEVEE and Cycles render engine, and some options only work for Cycles.
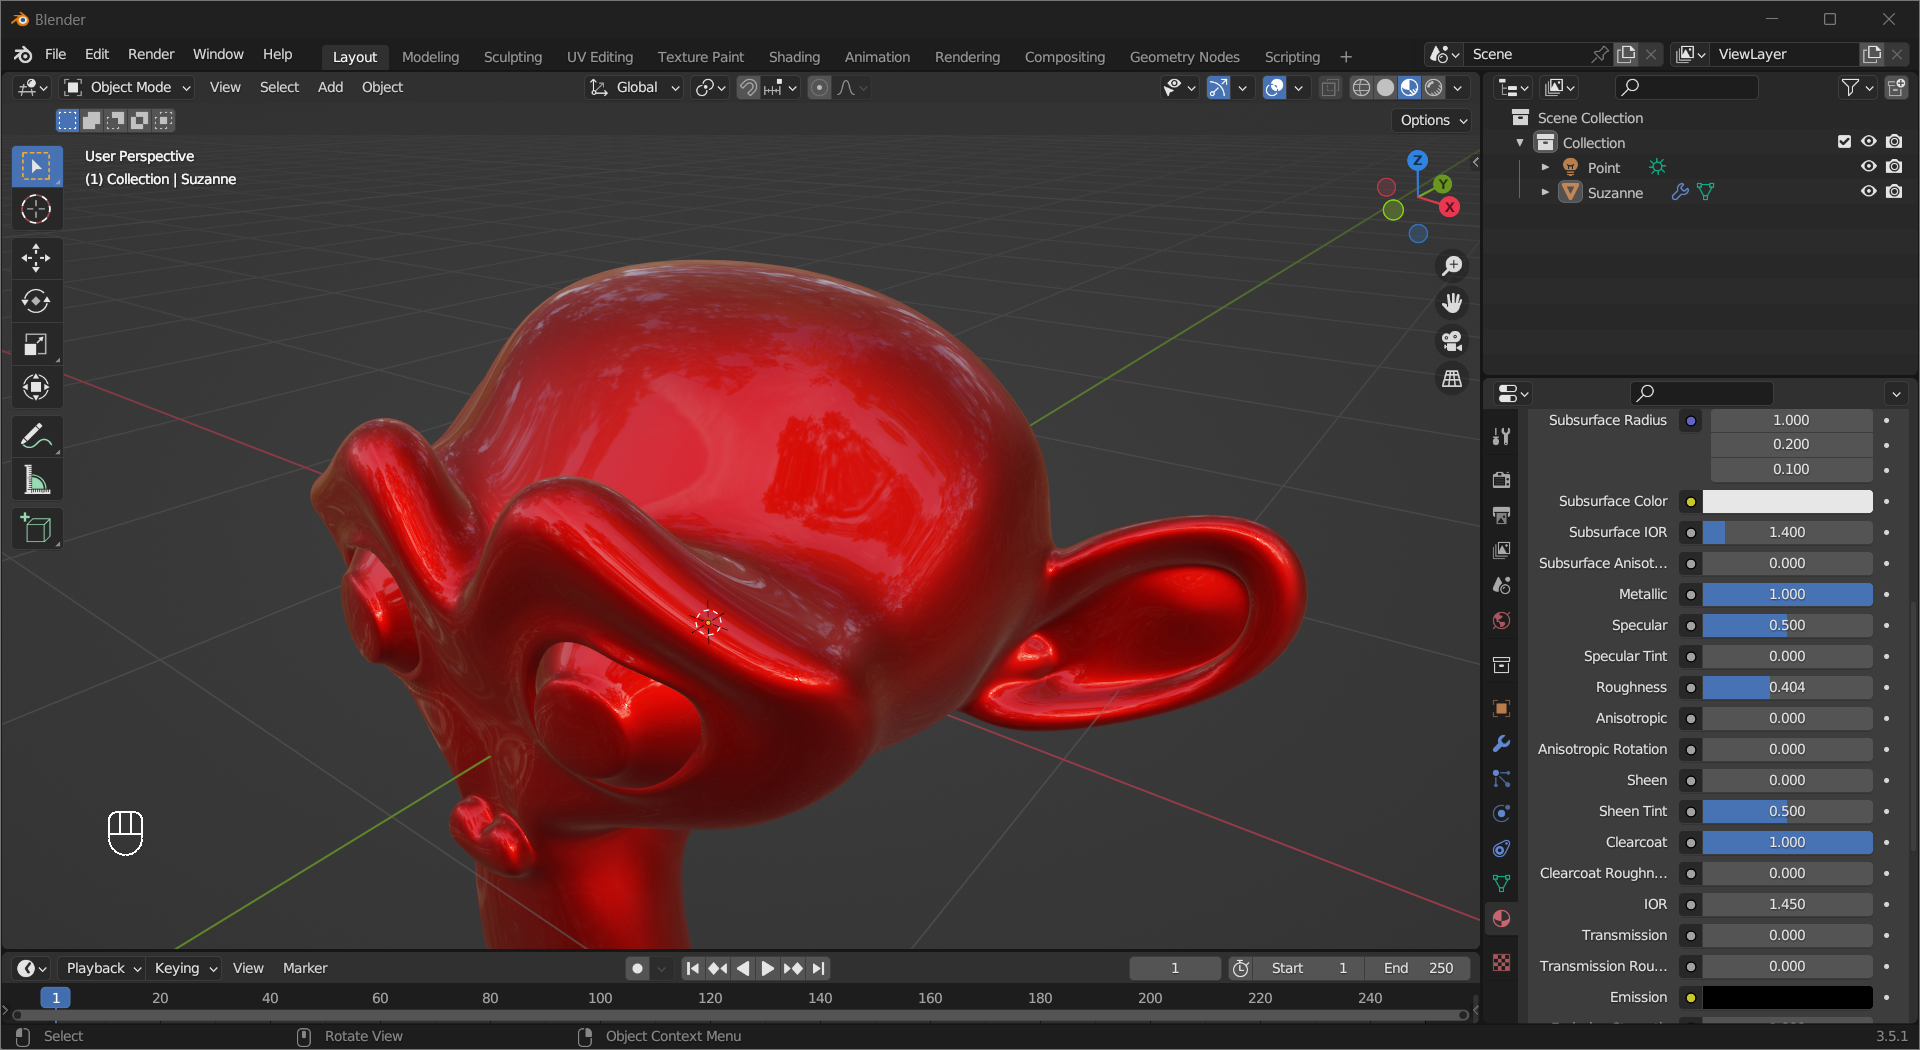
When you clicked on New, a material with one Principled Bidirectional Scattering Distribution Function (BSDF) shader is created. This shader has multiple layers and is very versatile, let’s see some of its capabilities.
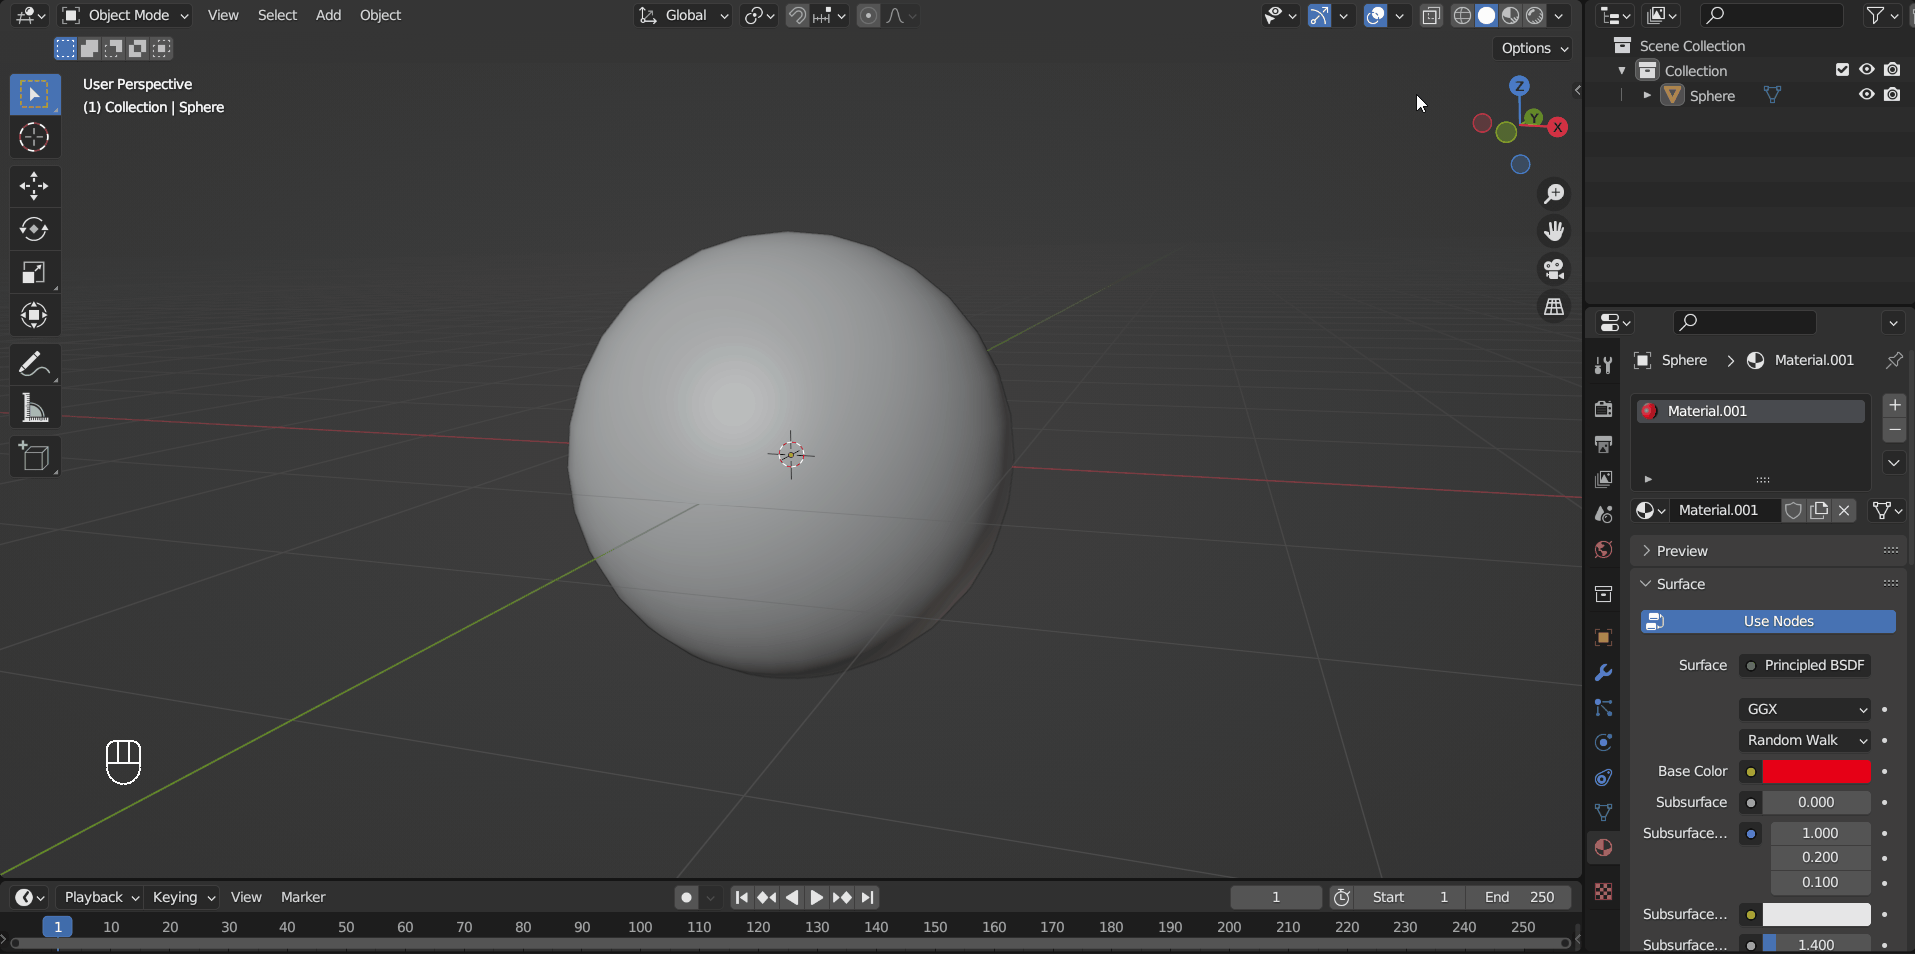
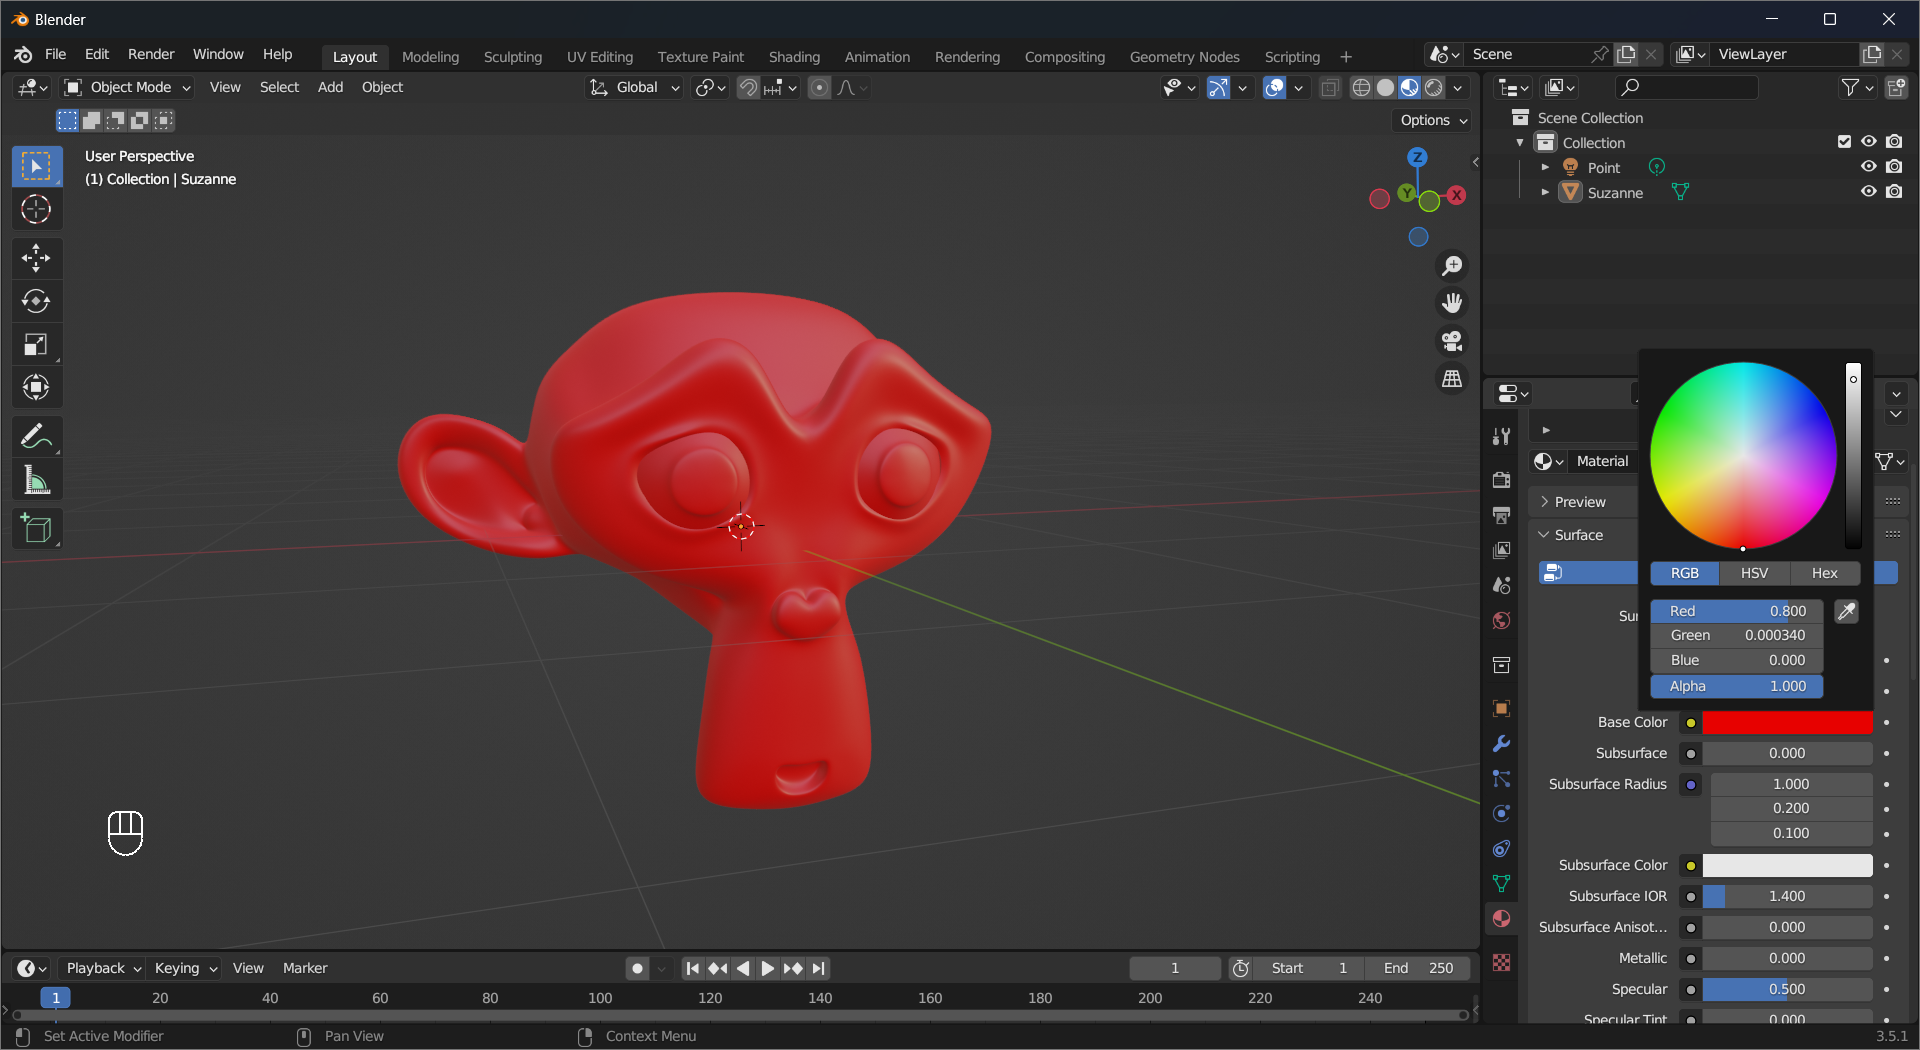
The Base Color is the surface color of a material. Left Mouse Click the color to change it.
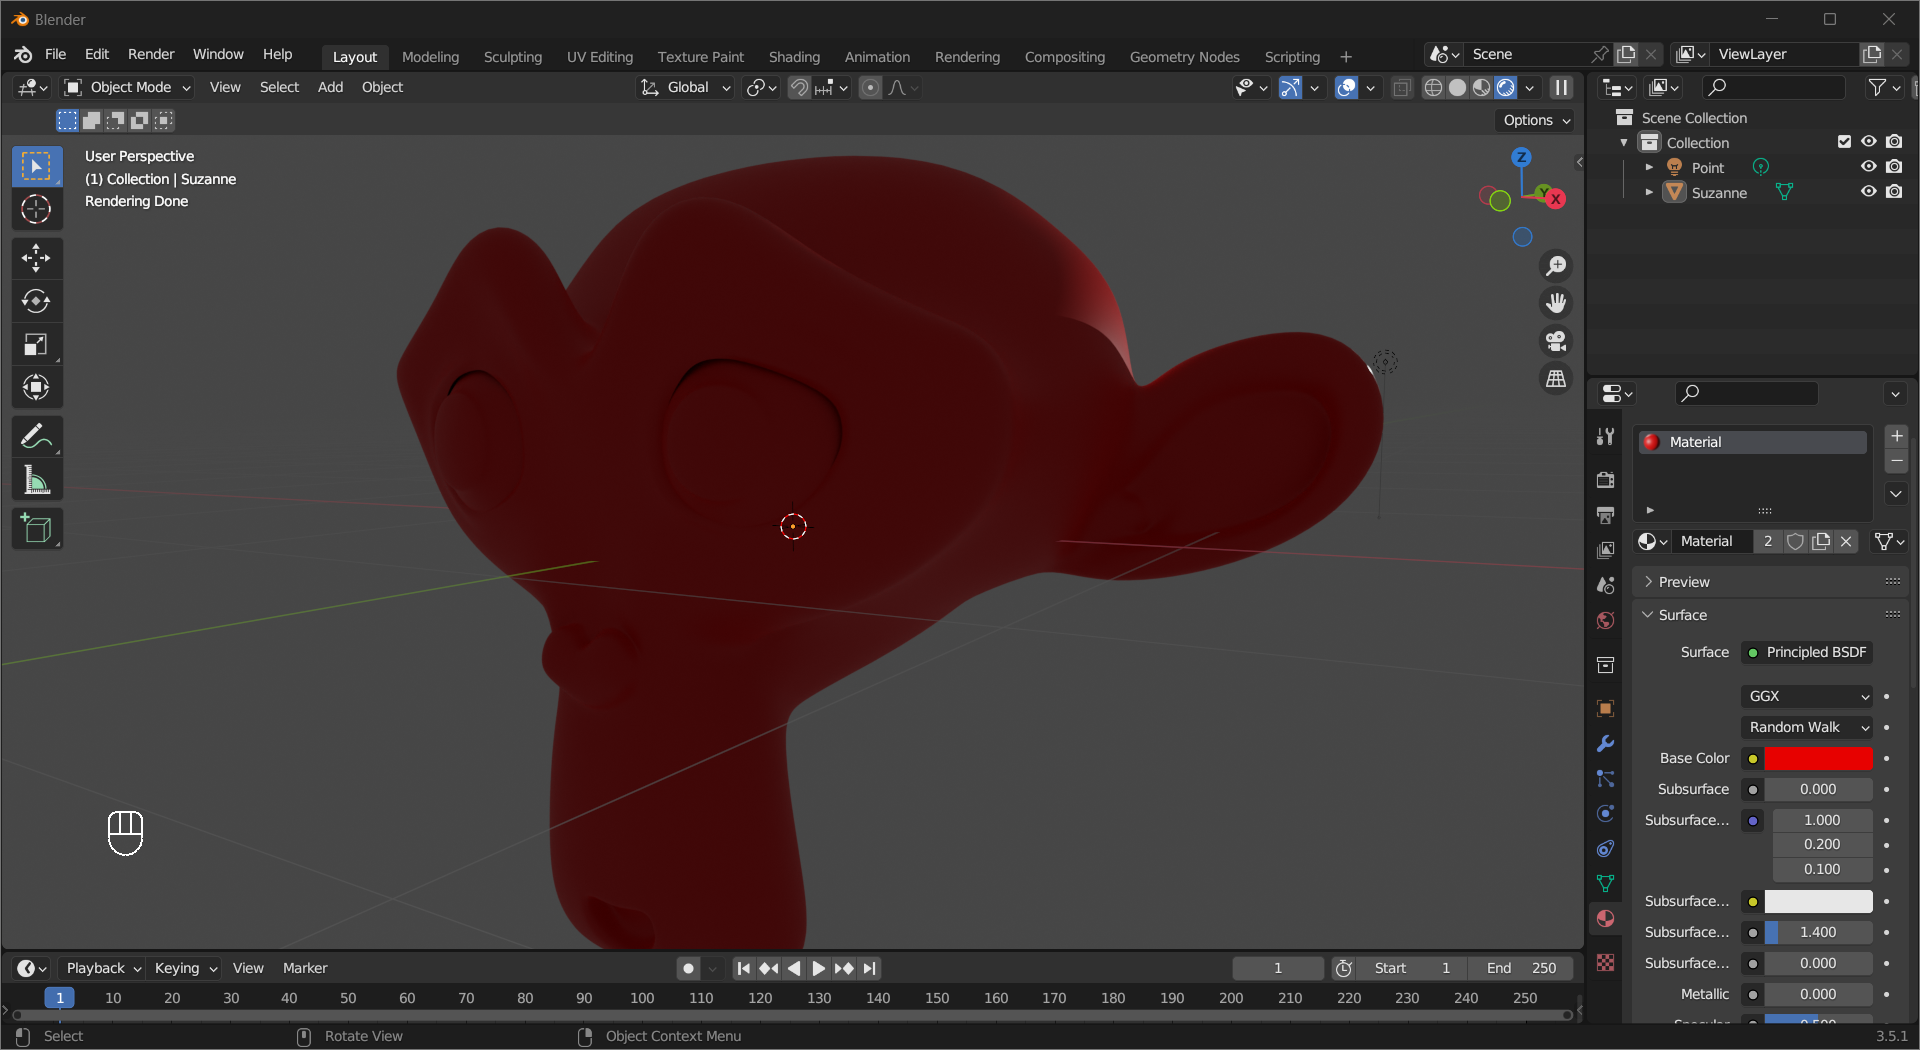
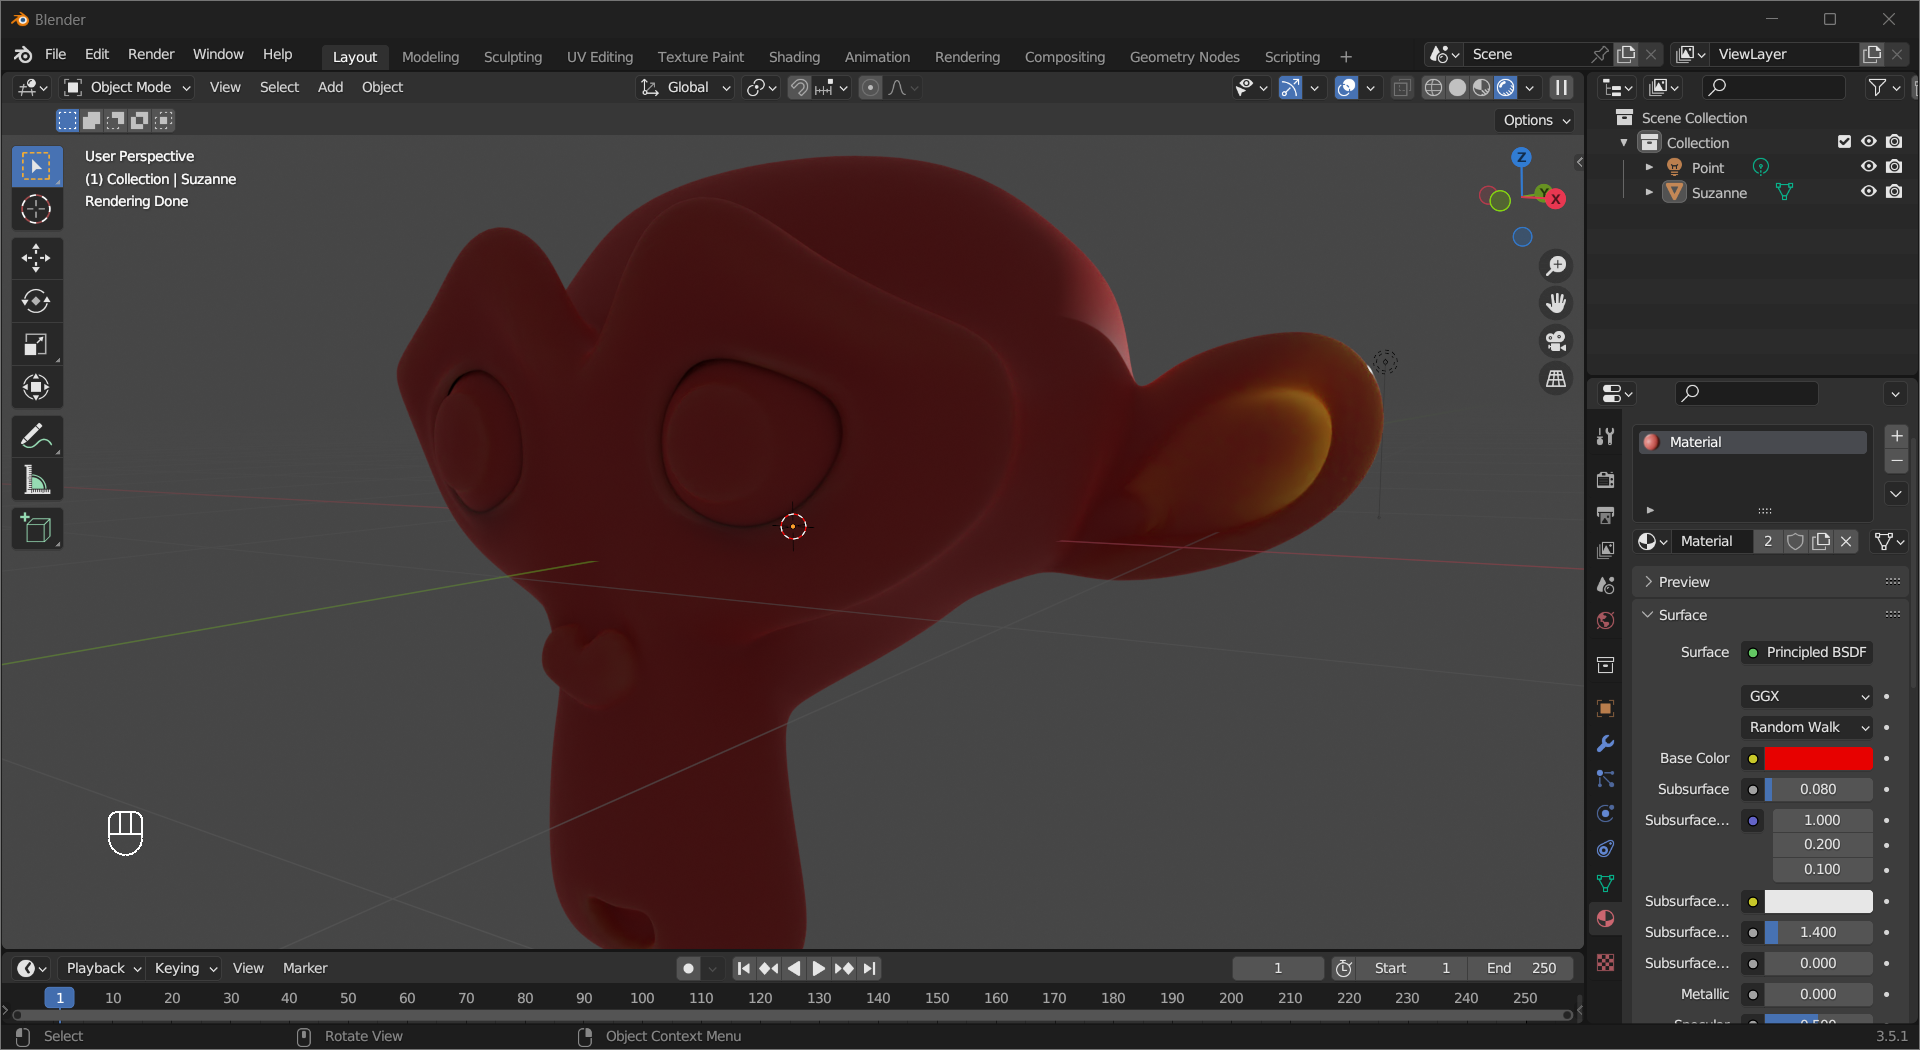
A lot of real-life materials are not completely opaque. Subsurface Scattering(SSS) is the phenomenon that light diffuses inside a semi-translucent object after penetrating the surface, then exits at a different location. The Subsurface options allow Principled BSDF to recreate it in the material. Subsurface controls how much SSS needs to be blended in, Subsurface Color is the base color for SSS, and Subsurface Radius determines the average distance of R(ed)/G(reen)/B(lue) light scatters under the surface. It is very useful when creating materials for skin, plastic, milk, etc.
Tip
The default
Subsurface Radiusvalues are set for human skin.You may need to switch the render engine to
Cyclesto better see the effect.
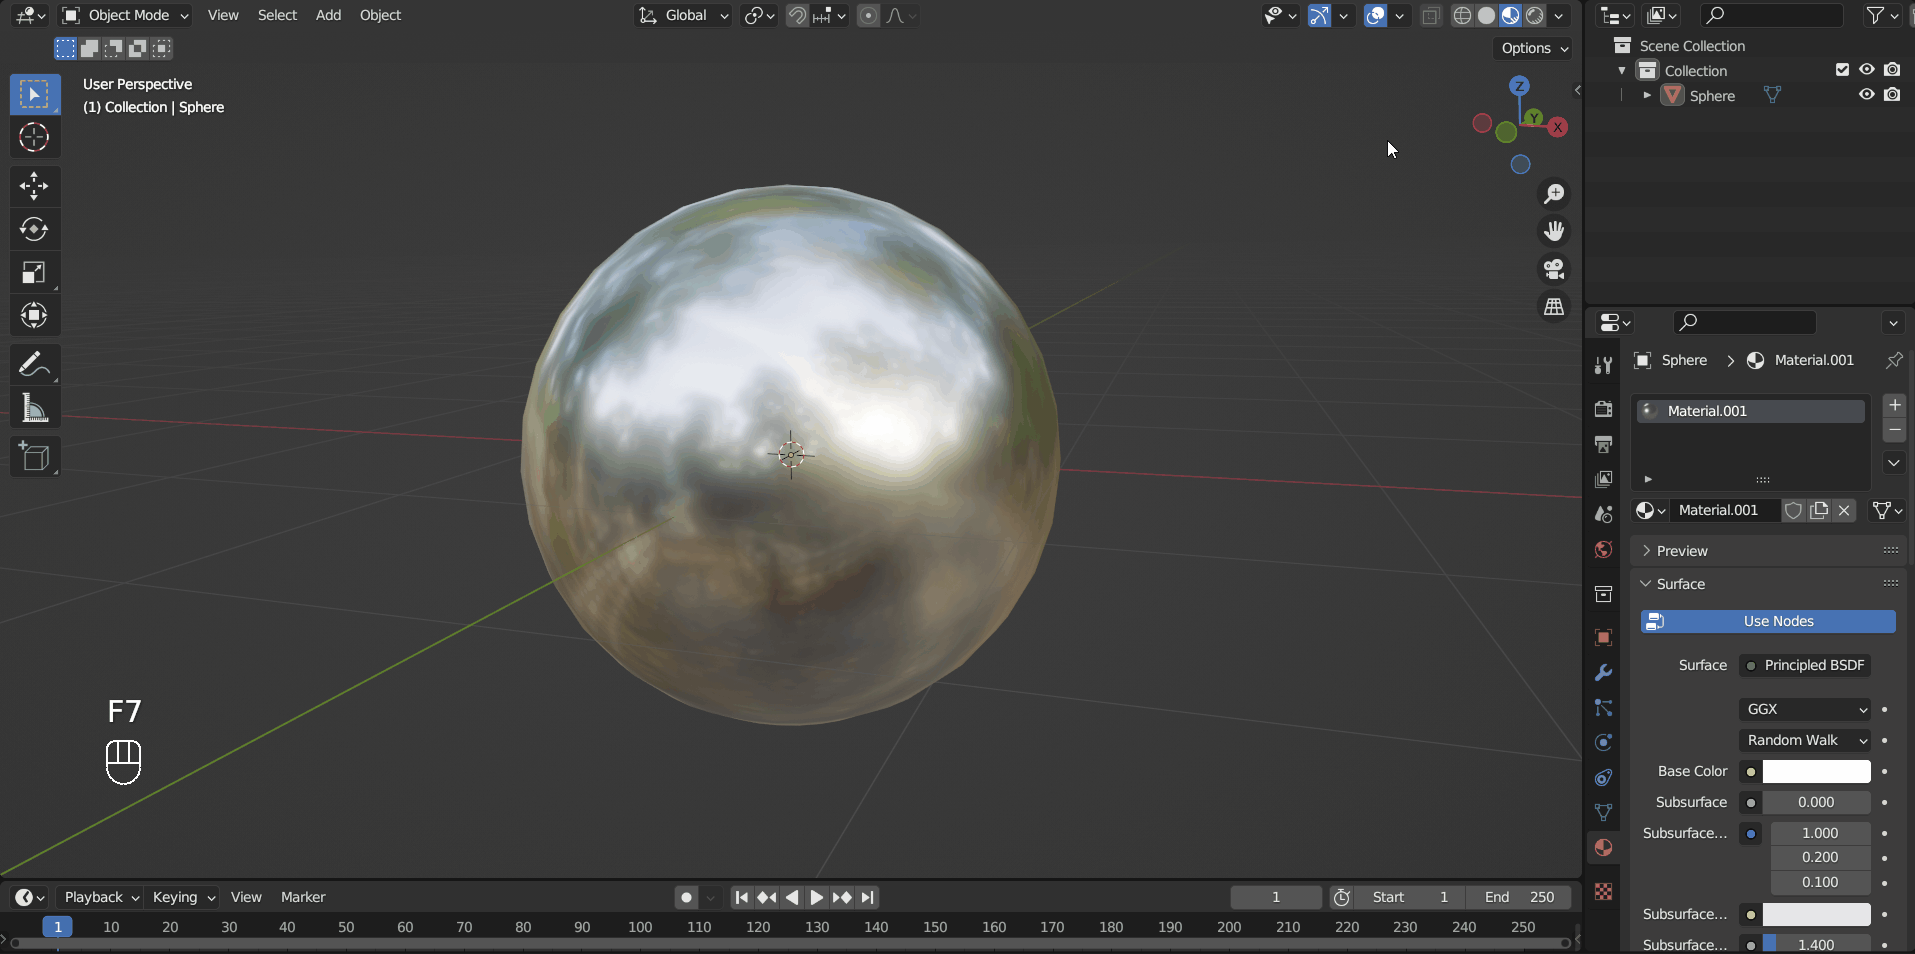
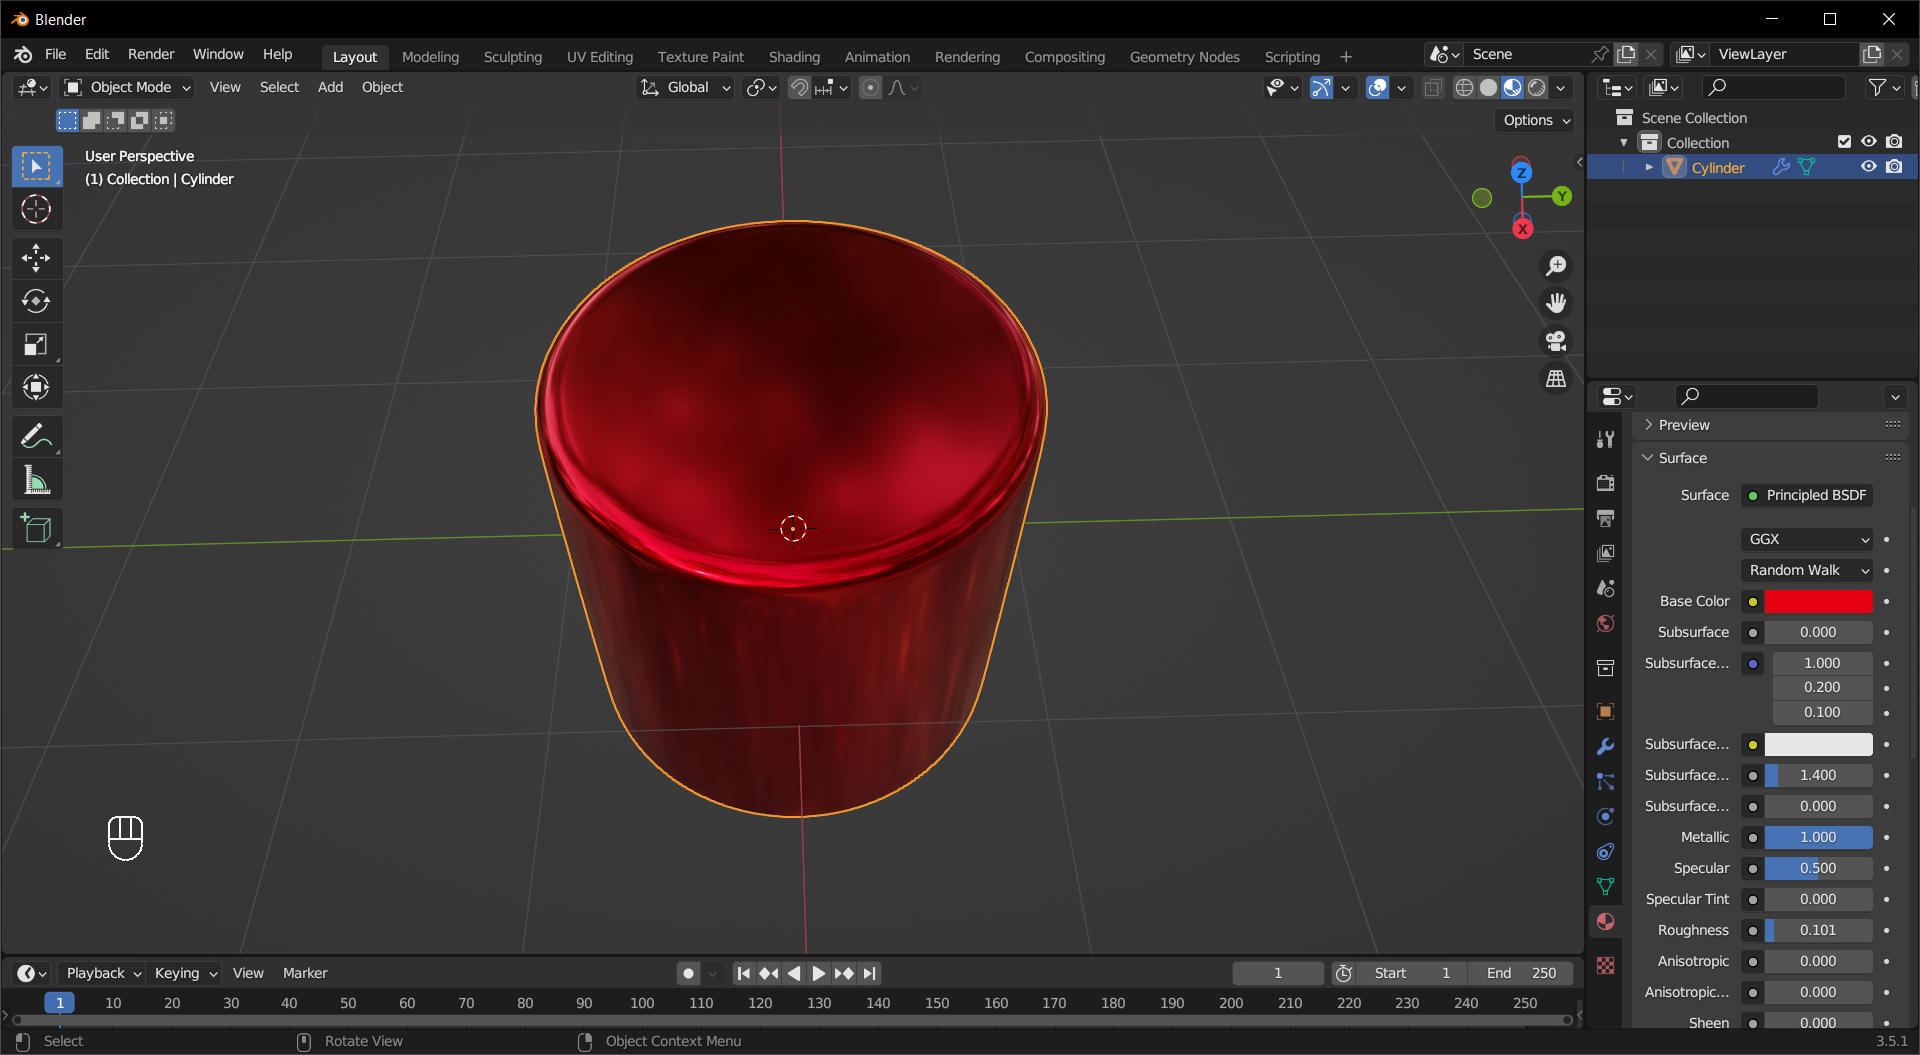
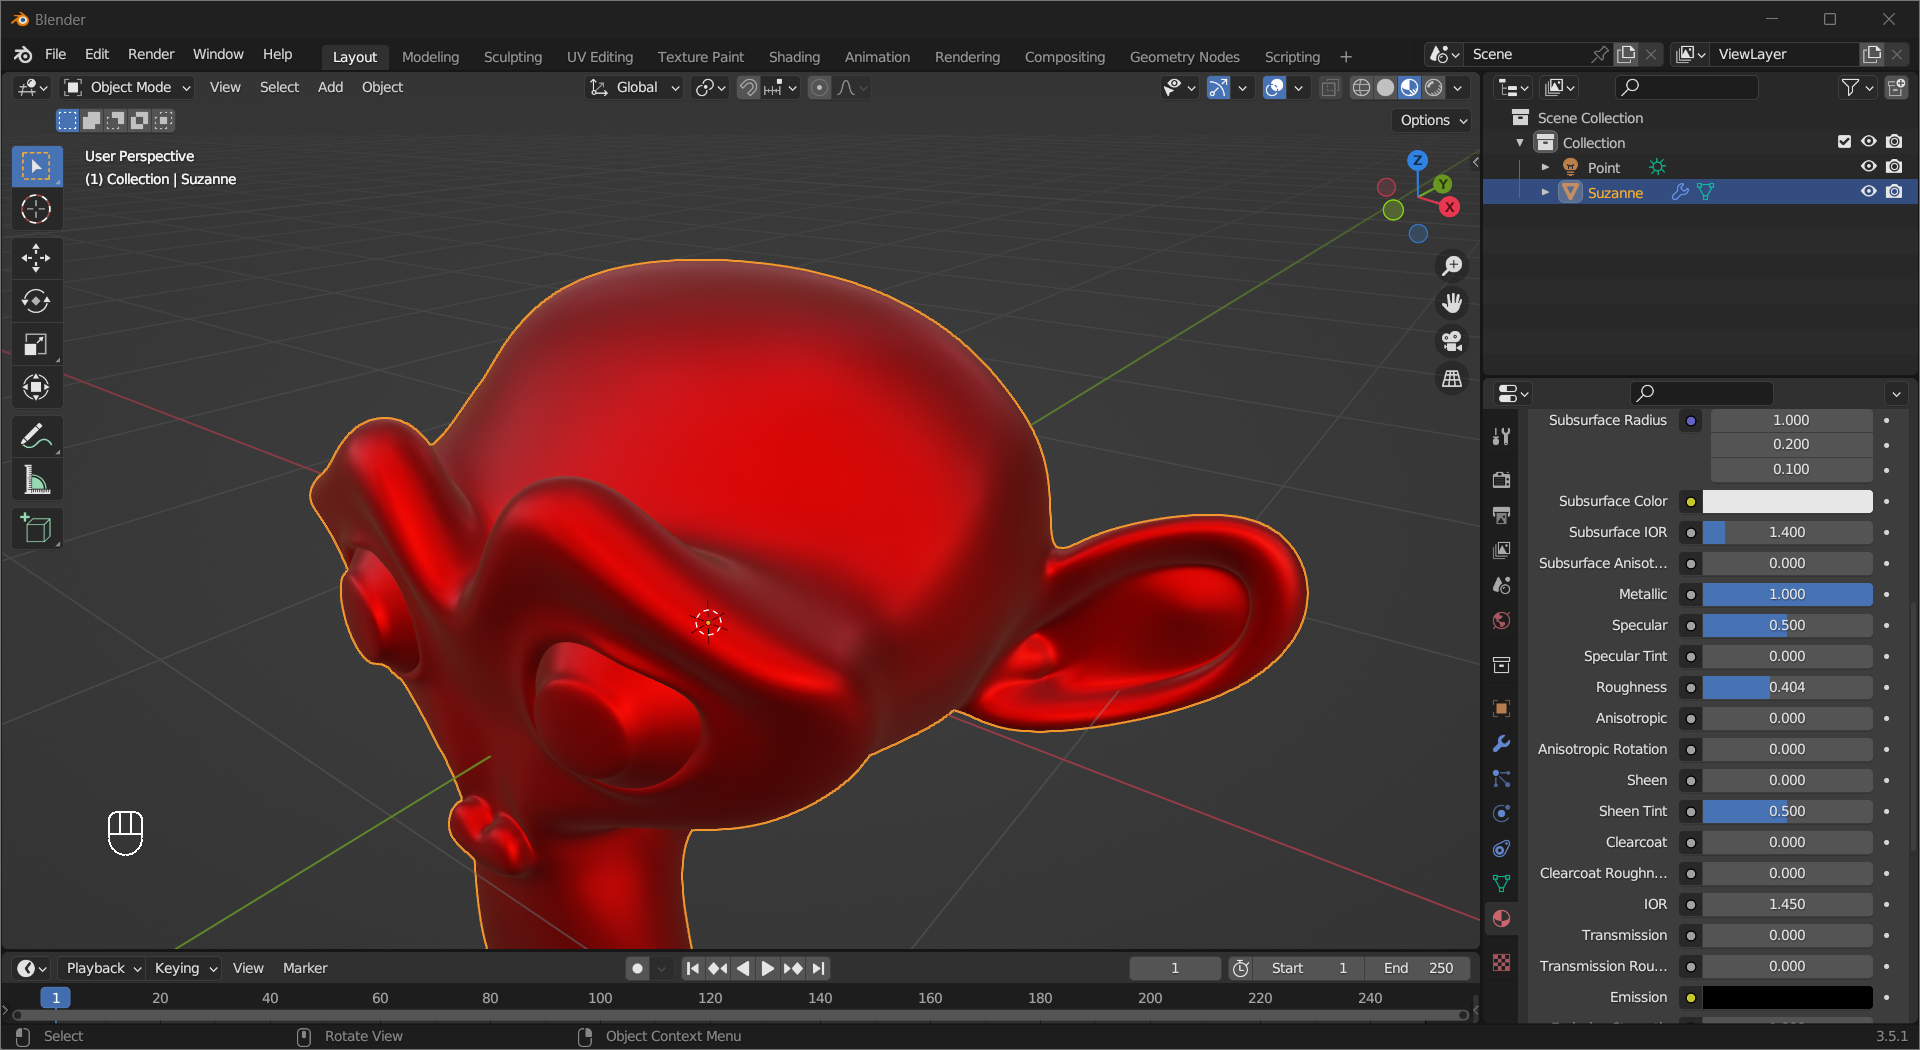
The Metallic value allows you to make metal-like materials. Usually, you can set it to 1 for metals and 0 for the others and ignore any value in between.
Cycles only feature
If the Roughness is not 0, you can adjust Anisotropic and Anisotropic Rotation to create an anisotropic specular reflection.
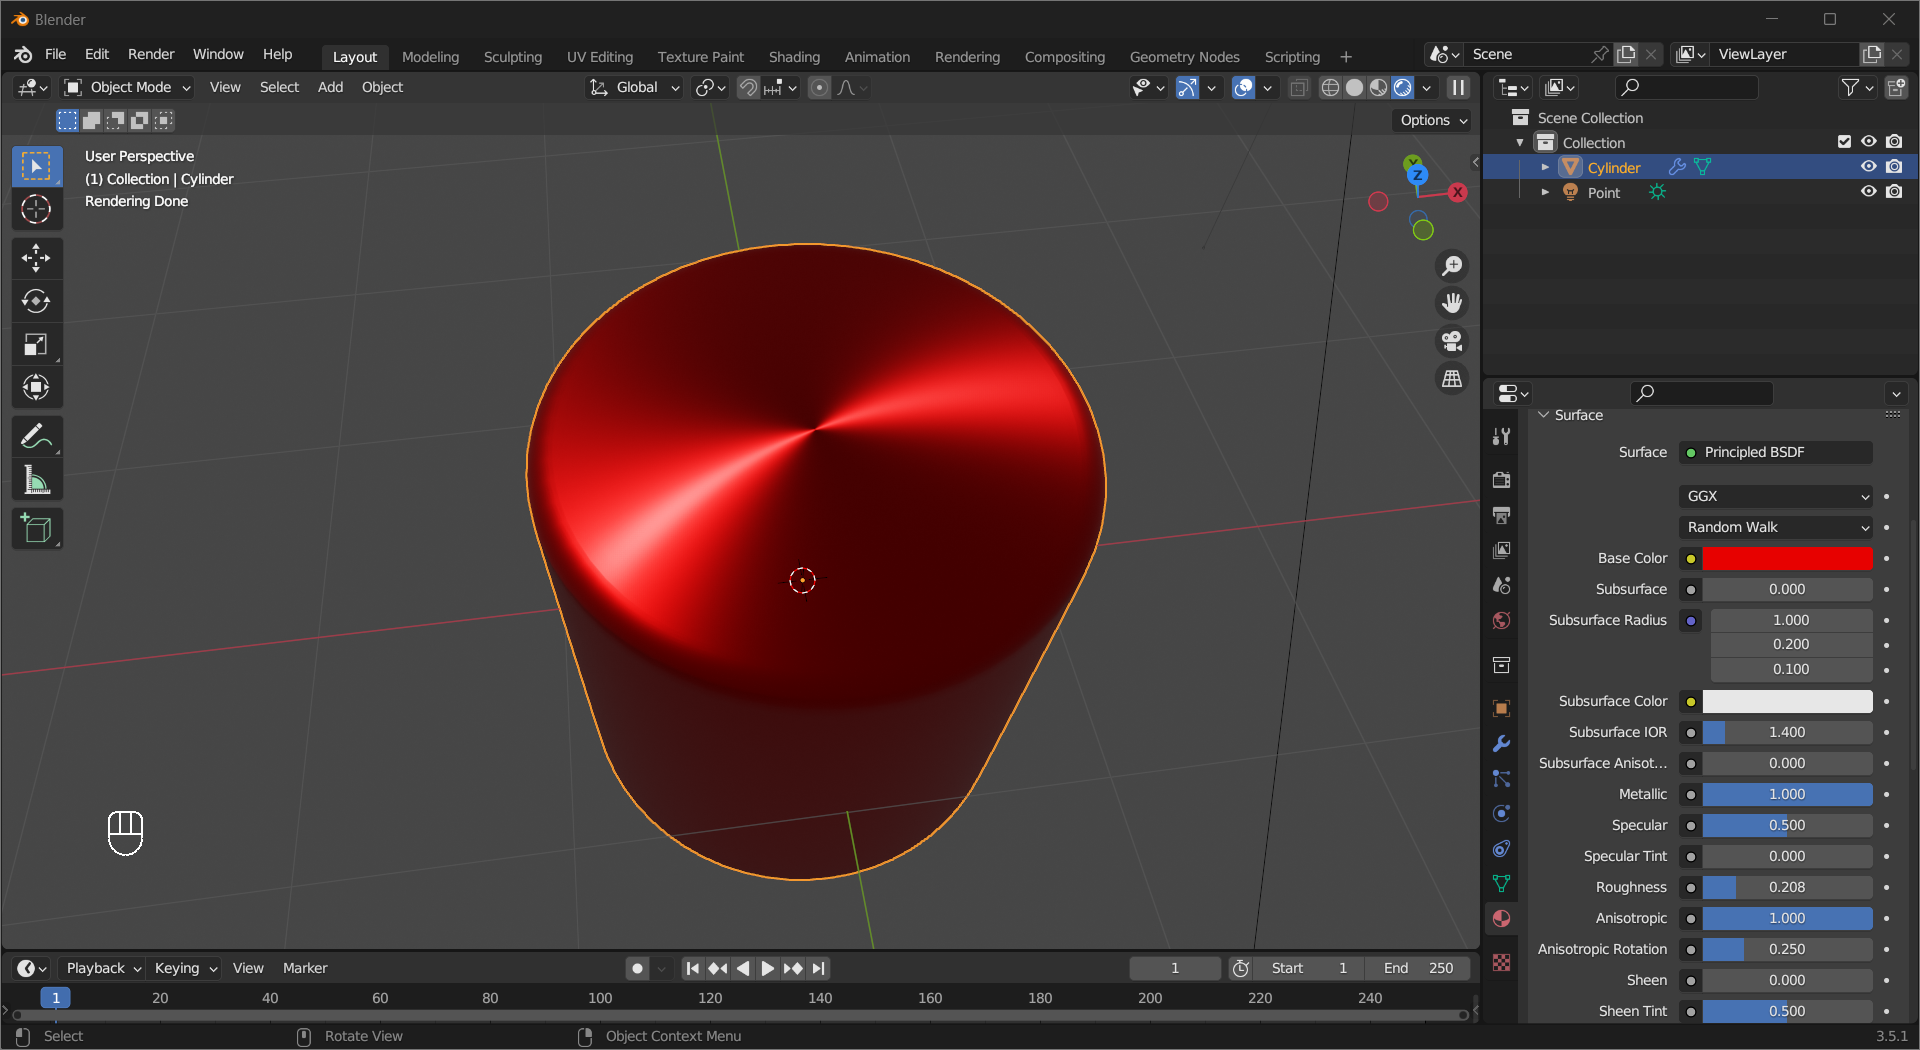
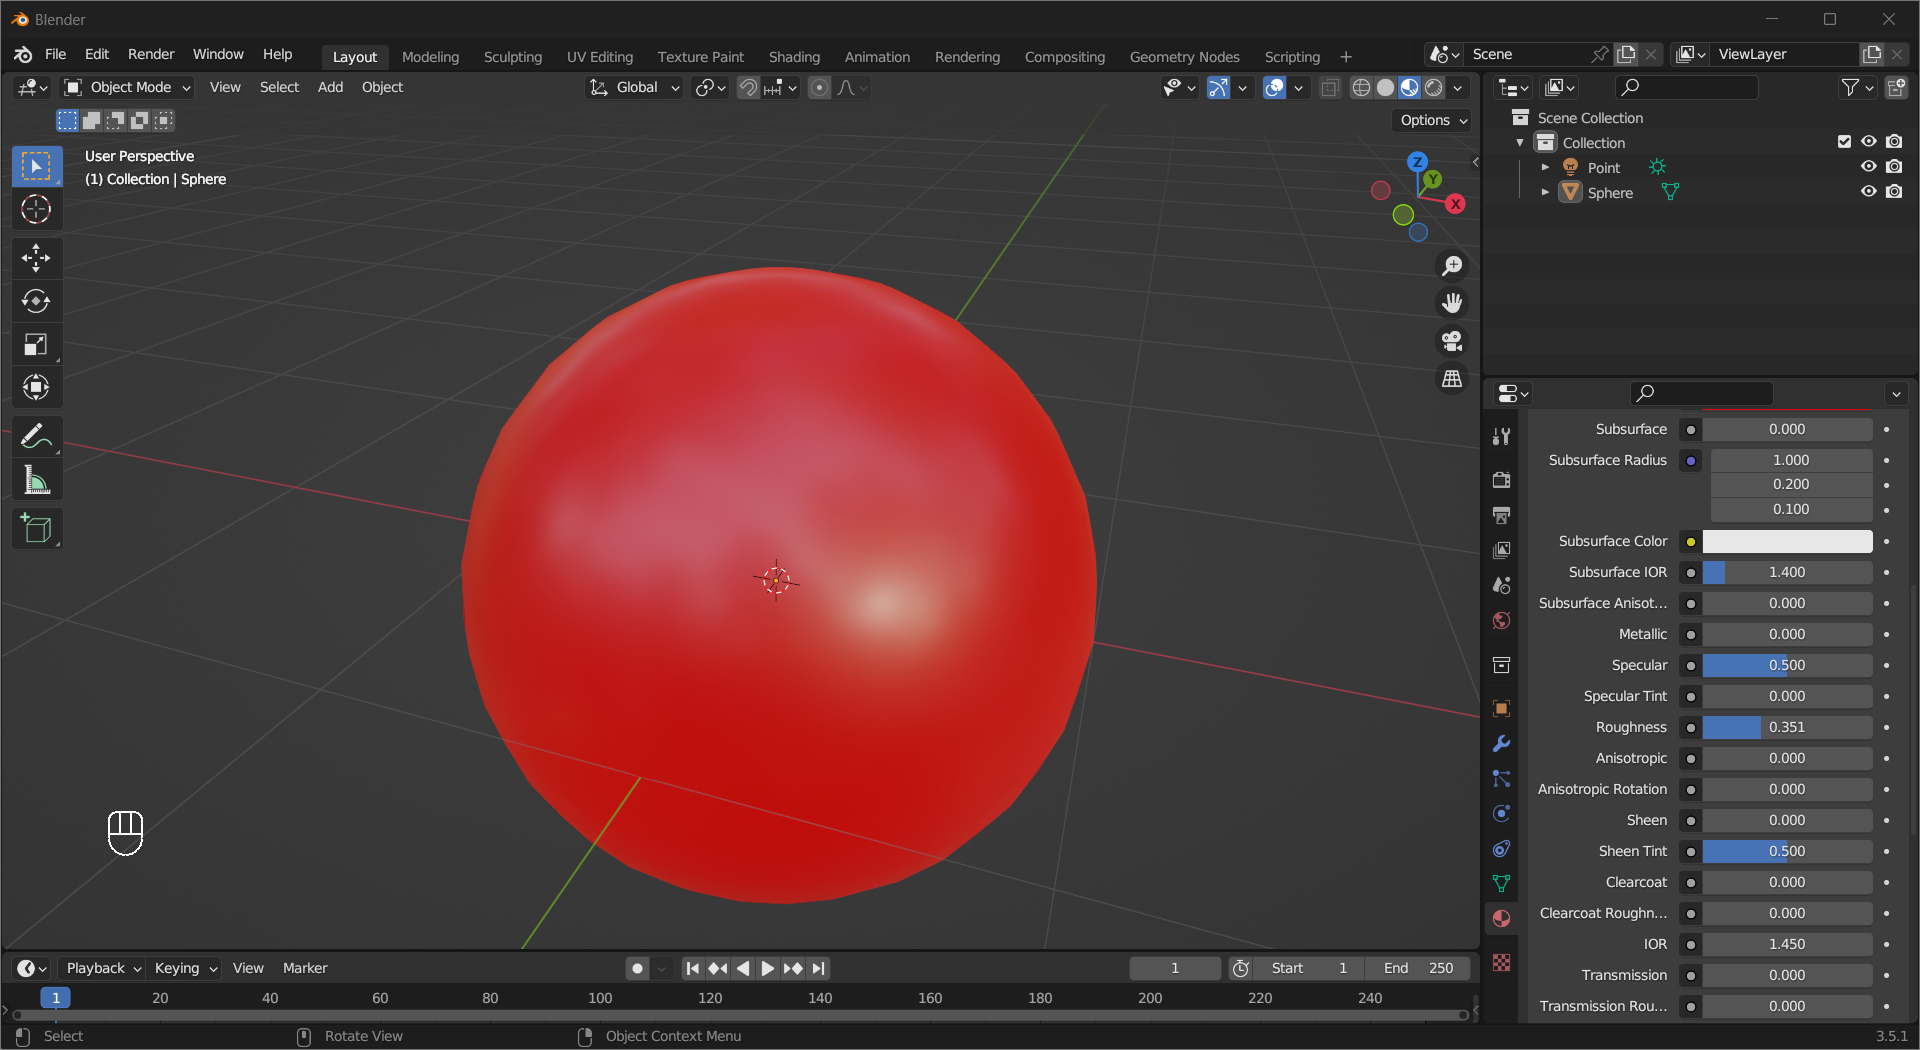
Roughness controls how reflective a material is.
If you love cars, this one is for you. Clearcoat adds a specular layer on top of the material to mimic the protective top coat, and Clearcoat Roughness controls the roughness of the coating surface.
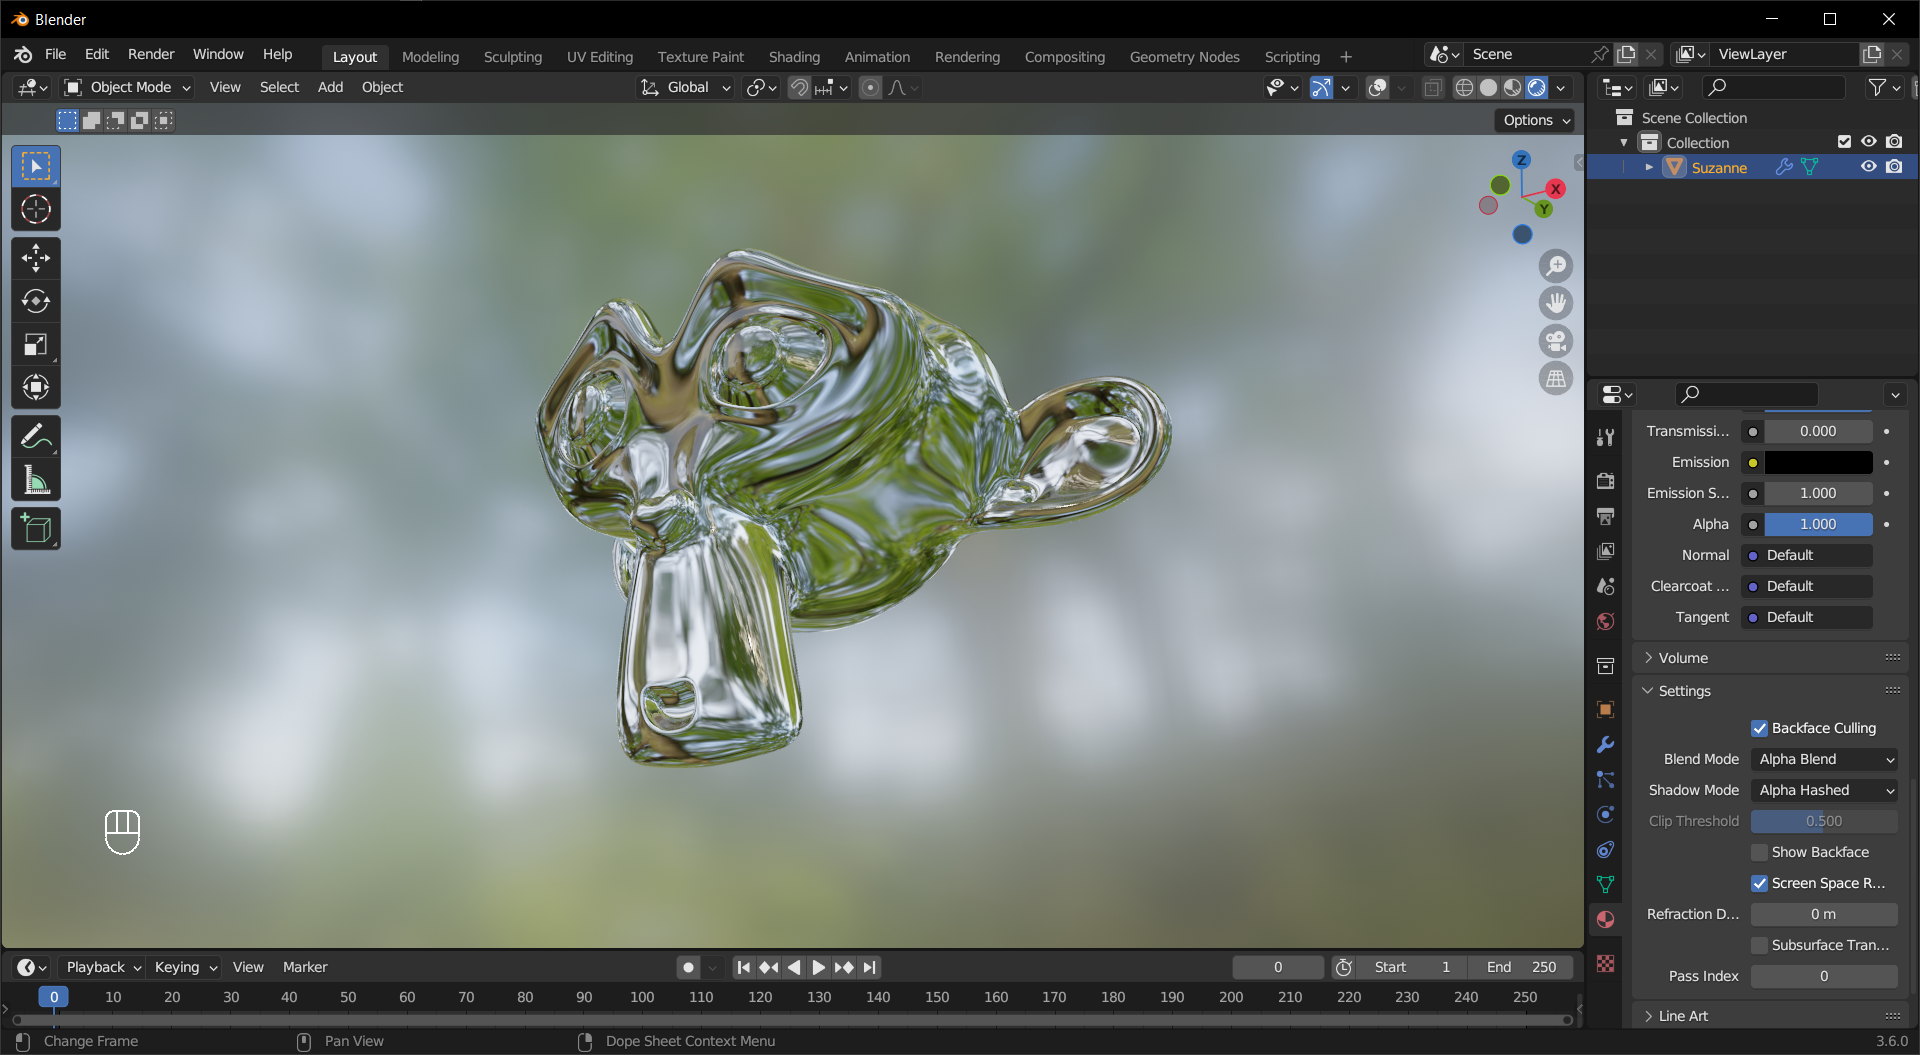
To make transparent/translucent material, you will need to adjust the Transmission value, 0 for completely opaque and 1 for transparent. In Material Preview, you need to change Setting > Blend Mode to Alpha Blend and tick Screen Space Refraction for the material, also check Screen Space Reflections, Screen Space Reflections > Refraction in Render properties to see the correct effect. To make the material looks more convincing, you can adjust IOR, which stands for Index of Refraction, and you can find the IORs for real-life materials online.
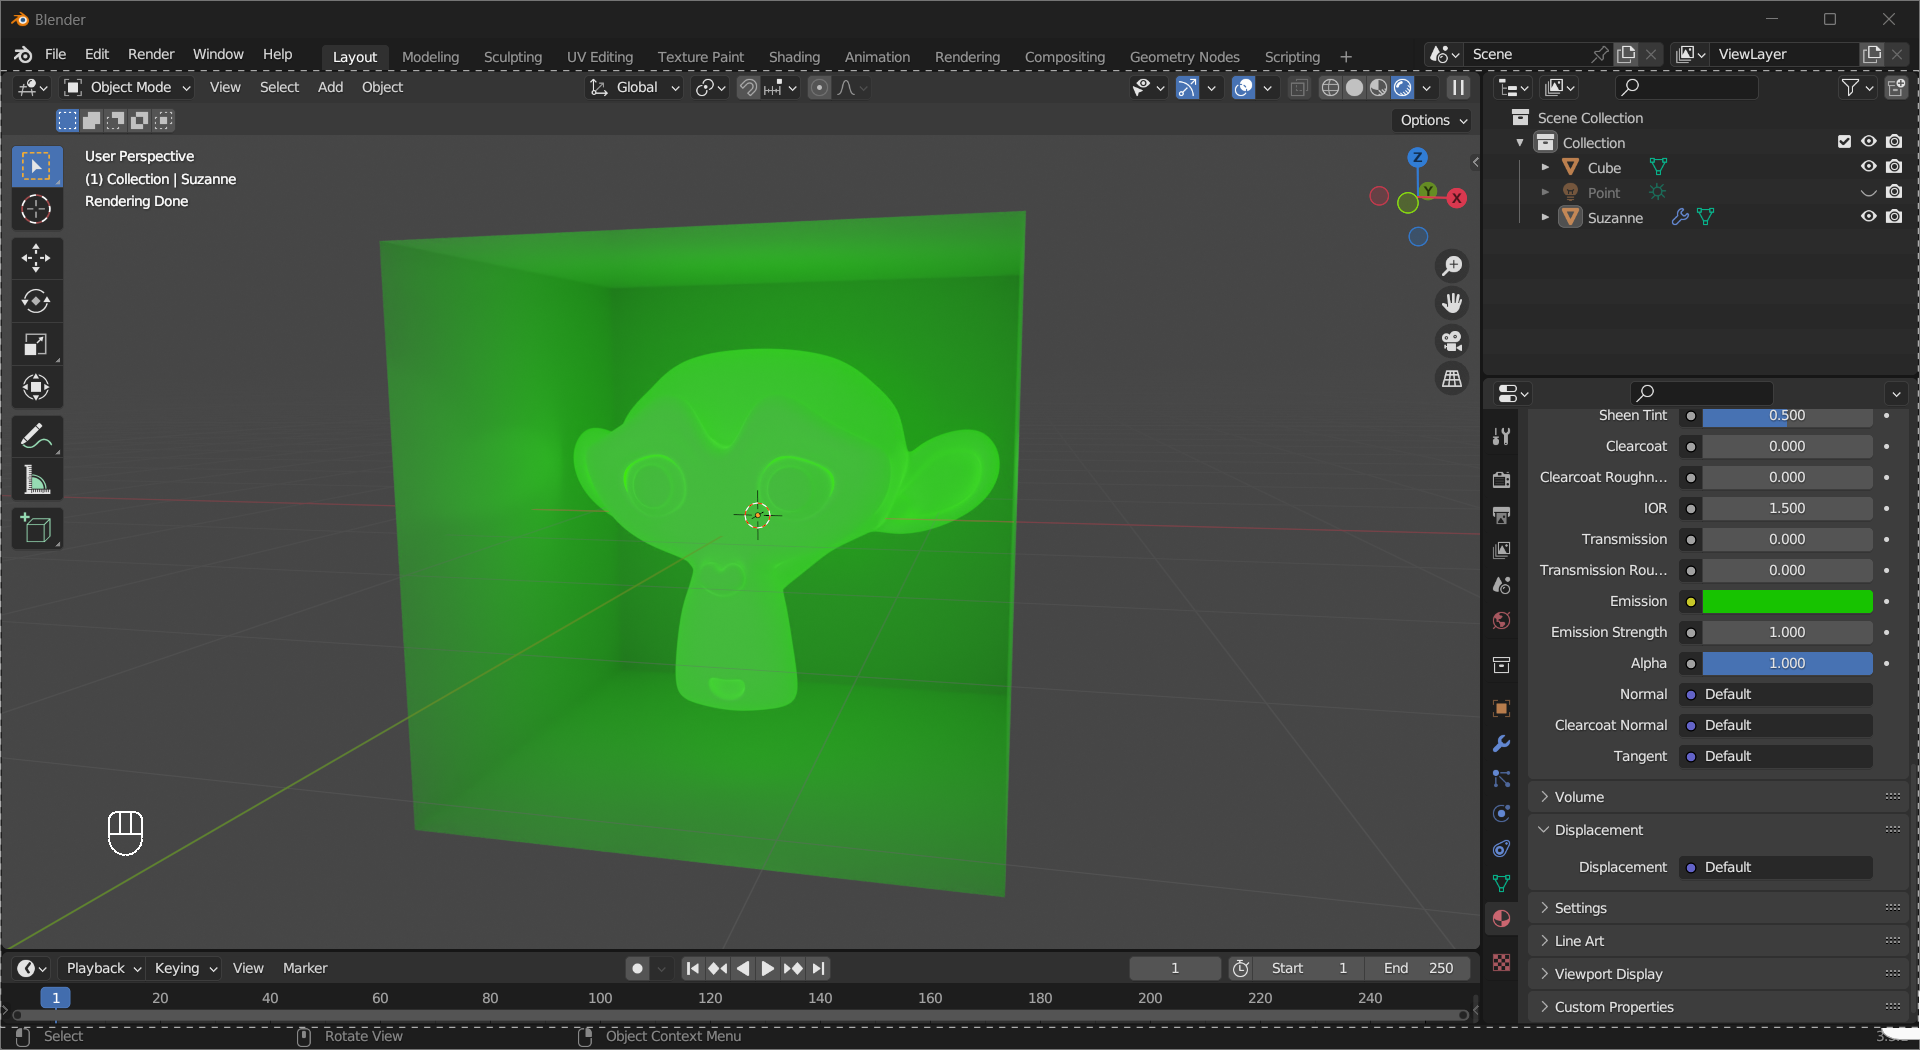
Emission makes a material glow.
Tip
You need to switch the render engine to
Cyclesto see the effect in real-time.An emissive material acts as a light source when the scene is rendered.