Constraint#
As its name suggests, Constraints are used to limit the value of a property or influence it with another one. It is often used to create sophisticated animation.
Adding a Constraint#
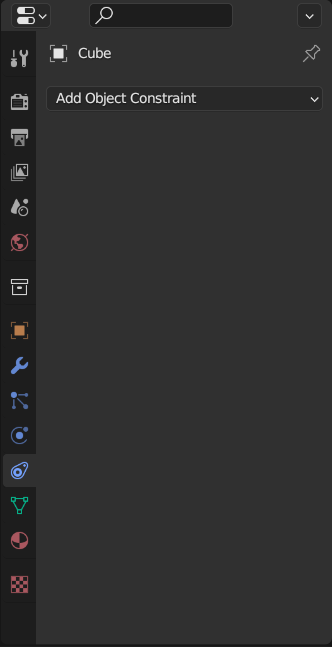
Adding a constraint is very similar to adding a modifier. Select an object, and switch to Constraints tab in the properties area. Left Mouse Click on Add Object Constraint brings up the dropdown menu and you can choose the constraint you want to add. The order of constraints matters and they are applied from top to bottom, just like modifiers.
Basic Constraints#
Copy Location/Rotation/Scale/Transforms links an object’s movement/deformation to a target object. Set the Target by typing its name, choosing it in the dropdown menu, or using the eyedropper tool. You can also change on which axes the constraint takes effect using Axis X/Y/Z, and the options are not mutually exclusive.
Limit Location/Rotation/Scale/Distance put restrictions on an object’s movement/deformation. Limit Location/Rotation/Scale are quite self-explanatory, and Limit Distance limits the object’s distance to the target like a leash.
The Track To constraint makes an object always facing the target by rotating it. Adjust Track Axis and Up for the desired effect. If you find the object rotates too fast at certain positions, try the Damped Track constraint instead.
The Follow Path constraint makes an object move along a curve. Adjust Forward Axis and Up Axis to align the object, and turn on Curve Radius and Follow Curve if you want the curve’s normal, tilt, and radius to affect the object. Animate Path gives the target curve a basic animation if it doesn’t have one already.