Modifier#
Modifiers are functions that change an object’s geometry without affecting its underlying mesh data. They let you easily apply various effects and reverse them as you need.
Adding modifier#
Modifiers are properties of an object, to add one, make sure you are in object mode, then select an eligible object and choose Modifier Properties > Add Modifier in the properties area to bring up the dropdown menu. There are 4 categories of modifiers, Modify, Generate, Deform, and Physics, we will focus on the Generate type in this tutorial. Left Mouse Click on the modifier you want to add, then you can see the effect. One object can have multiple modifiers, and they will be applied from top to bottom. To change the order of the modifiers, hold Left Mouse Button on the top right corner of a modifier, then drag it up or down. If you want to delete a modifier, Left Mouse Click on the cross near the top right.
Tip
Modifiers apply before object transfomation, if the object has been trasformed (especially scaled), some modifiers may not behave as expected. To avoid that, ou can select an object and press Ctrl + A to bring up the Apply menu and apply object transformation to mesh data.
Visibility#
On the right of the name of the modifier, there are icons (depending on the type of the modifier) that let you change how the modifier will affect the view. Try them out in both object and edit mode.

Applying a modifier#
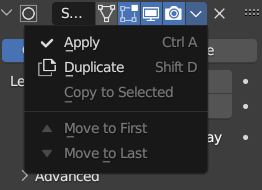
To make the effect of a modifier permanent(apply it to the mesh data), move the cursor on the modifier interface and press Ctrl + A, or Left Mouse Click on the downward arrow to the left of the cross and use the menu to Apply the effect.
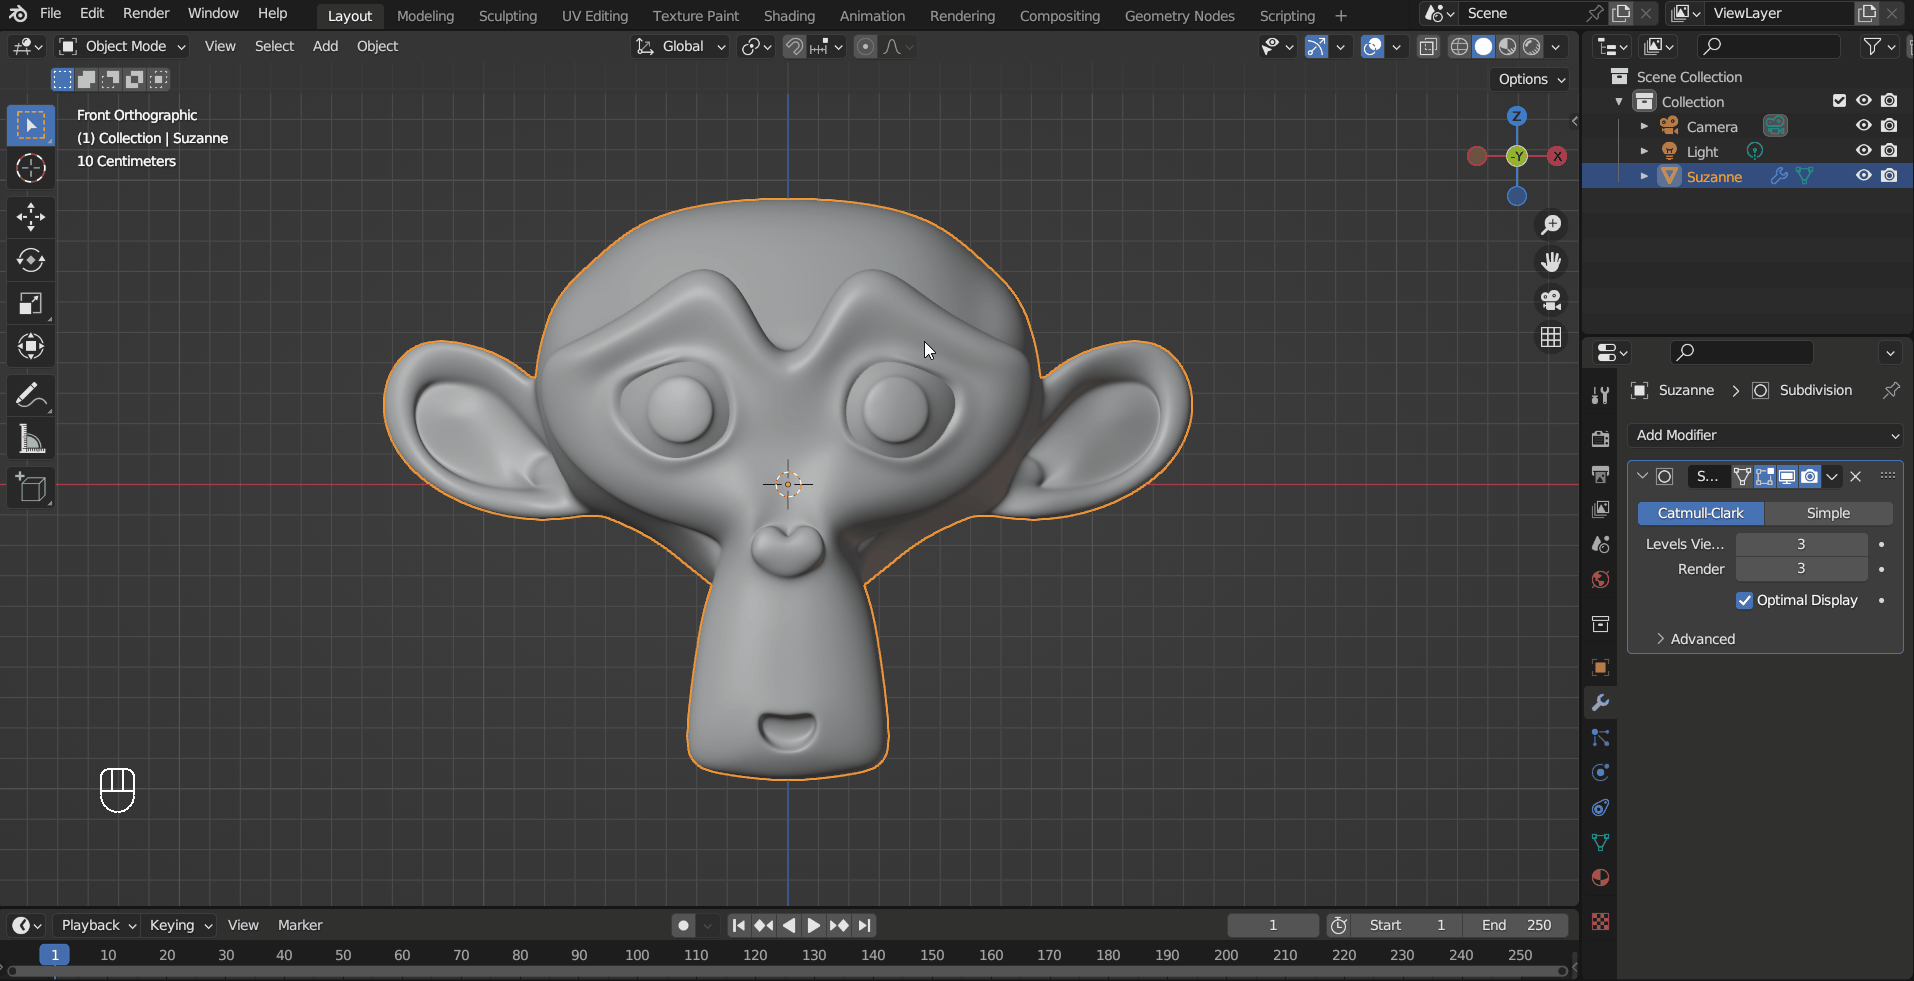
Commonly used modifiers#
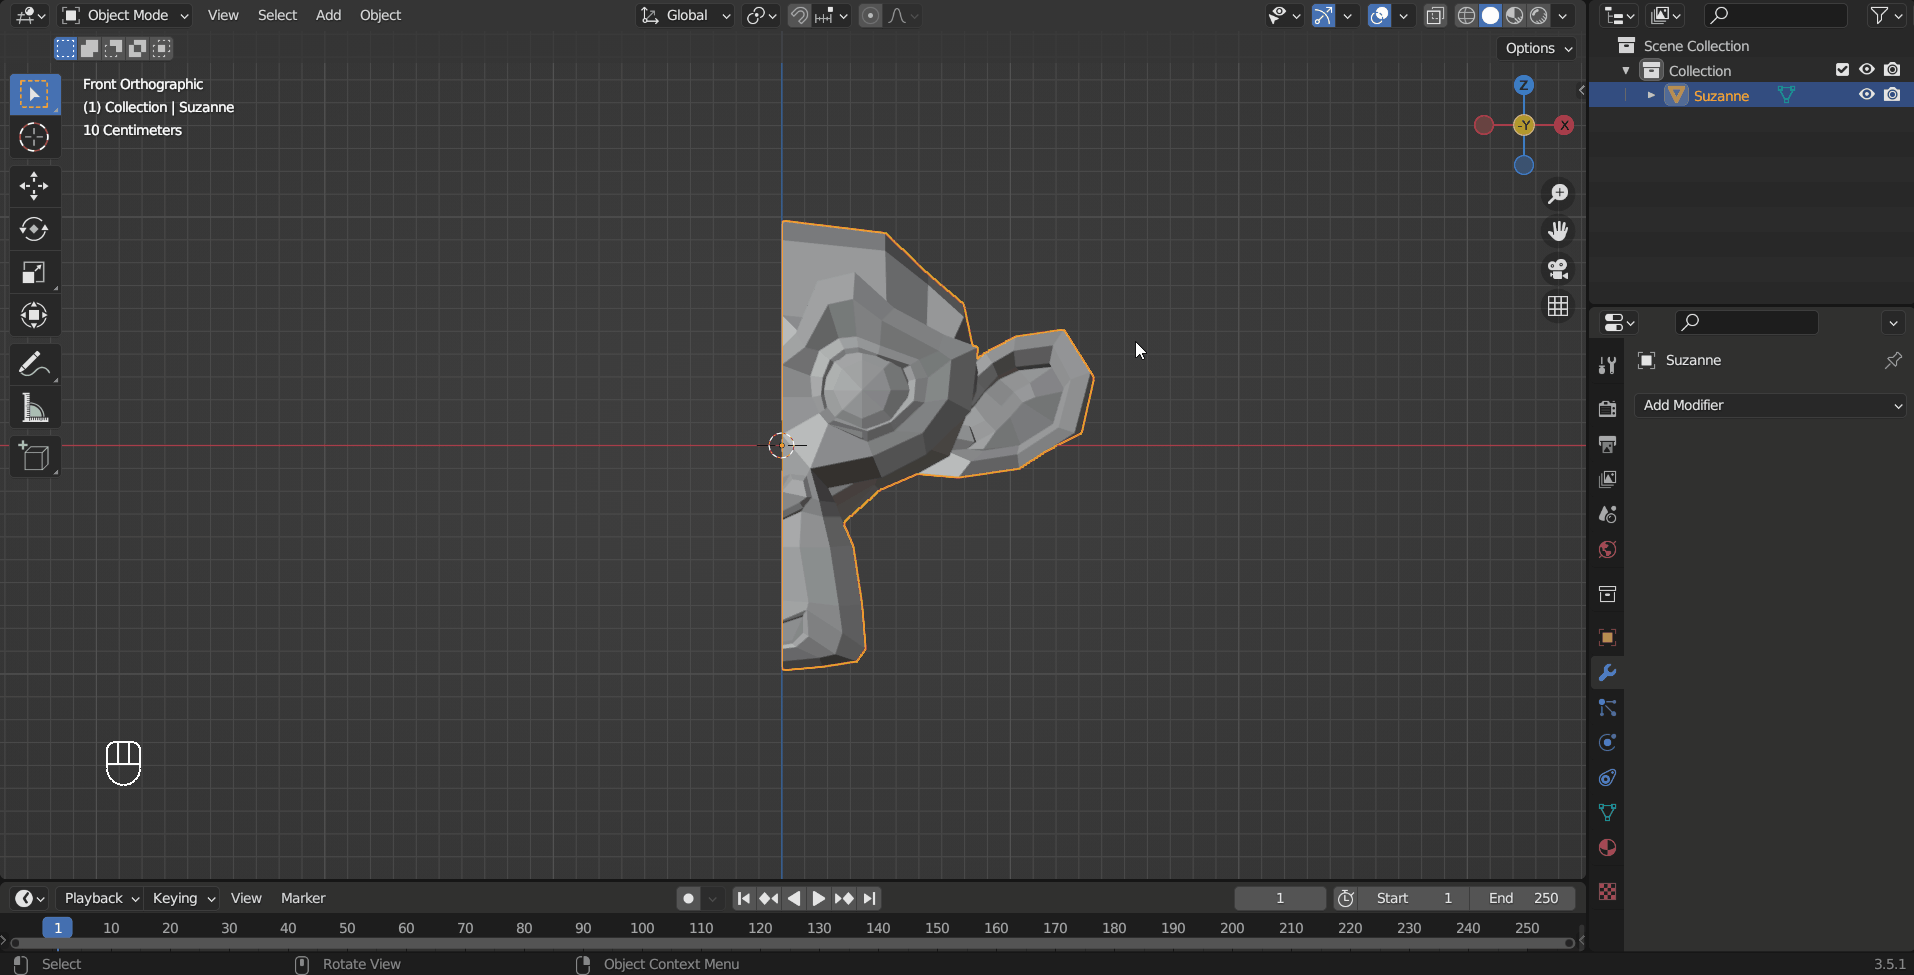
The Subdivision Surface modifier(commonly known as “Subsurf”) is probably the one you are going to use the most. The default option, Catmull-Clark smooths out the mesh and increases the polygon count, and Simple only divides the faces (like Subdivide in edit mode).
Tip
Since this modifier is used so often, Blender has shortcut for adding it by default: Ctrl + 1, Ctrl + 2… Ctrl + 5 to add it with 1 to 5 level.
Because a modifier does not change the mesh, you can easily adjust the shape.
To preserve sharp edges, you can bevel the edges, add support loops, or use Edge Crease. To bevel the edges, use the Bevel tool explained in the Mesh Modeling section or the Bevel modifier in the other tab (you need to move it on top of this modifier so it applies first). Support loops are edge loops close to the edge you want to keep sharp, use Loop Cut and Inset tools to add them. Last but not least, Edge Crease is a property of an edge, select the edge/edges you want to keep sharp and adjust Crease/Mean Crease in the sidebar.

The Bevel modifier allows you to bevel all the edges or vertices (corners) of a mesh at once. By default it affects all edges, and you can adjust Amount and Segements to fit your needs. To bevel the corners, Left Mouse Click the Vertices tab on the top. If you find shading on the faces looks weird, try turning on Shading > Harden Normals.
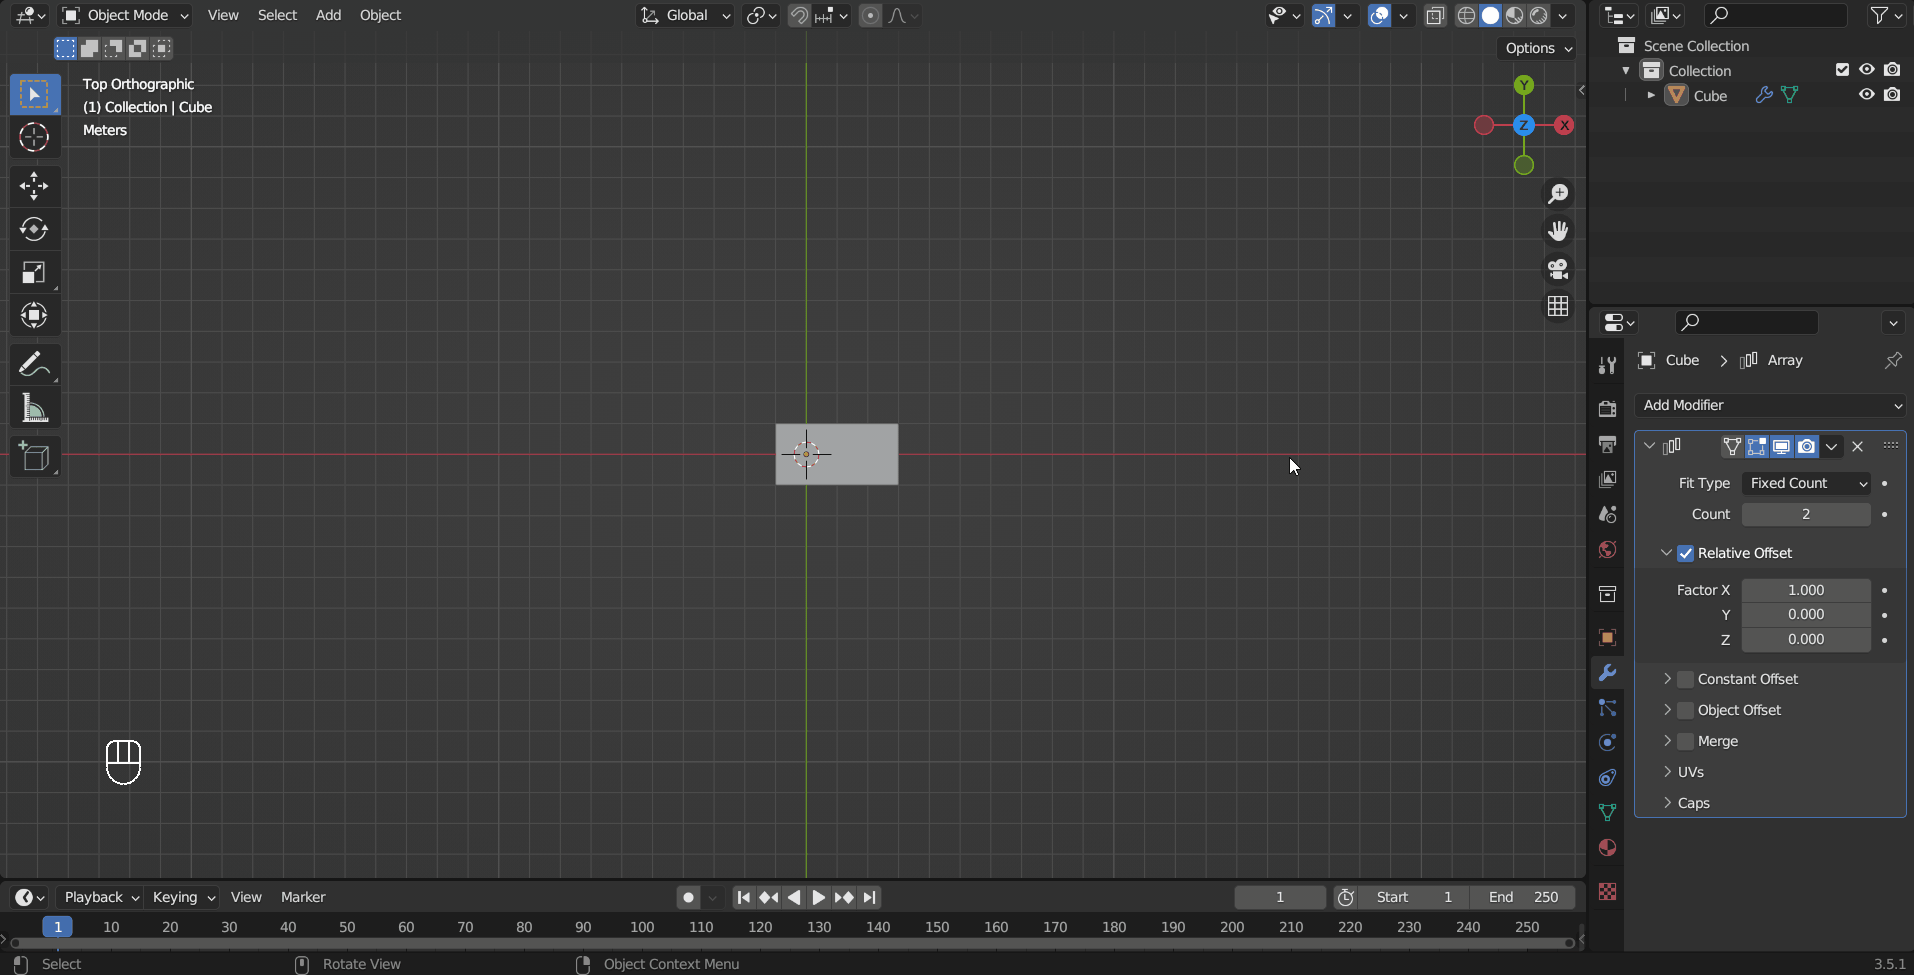
The Array modifier makes copies of an object and arranges them in different ways. Adjust Count to change the number of copies and Relative Offset > Factor X/Y/Z for the offsets on the three local axes.
To arrange the copies in more interesting ways, you can adjust Object offset. The location/rotation of the copies will be affected by the object specified in Object offset > object.
Tip
It is common to use an Empty, a type of object with no geometry, to control the effects. You can add one to your scene in the Add menu.
Tip
Beware that this modifier is prone to creating bad topology, especially when the meshes get more complex.
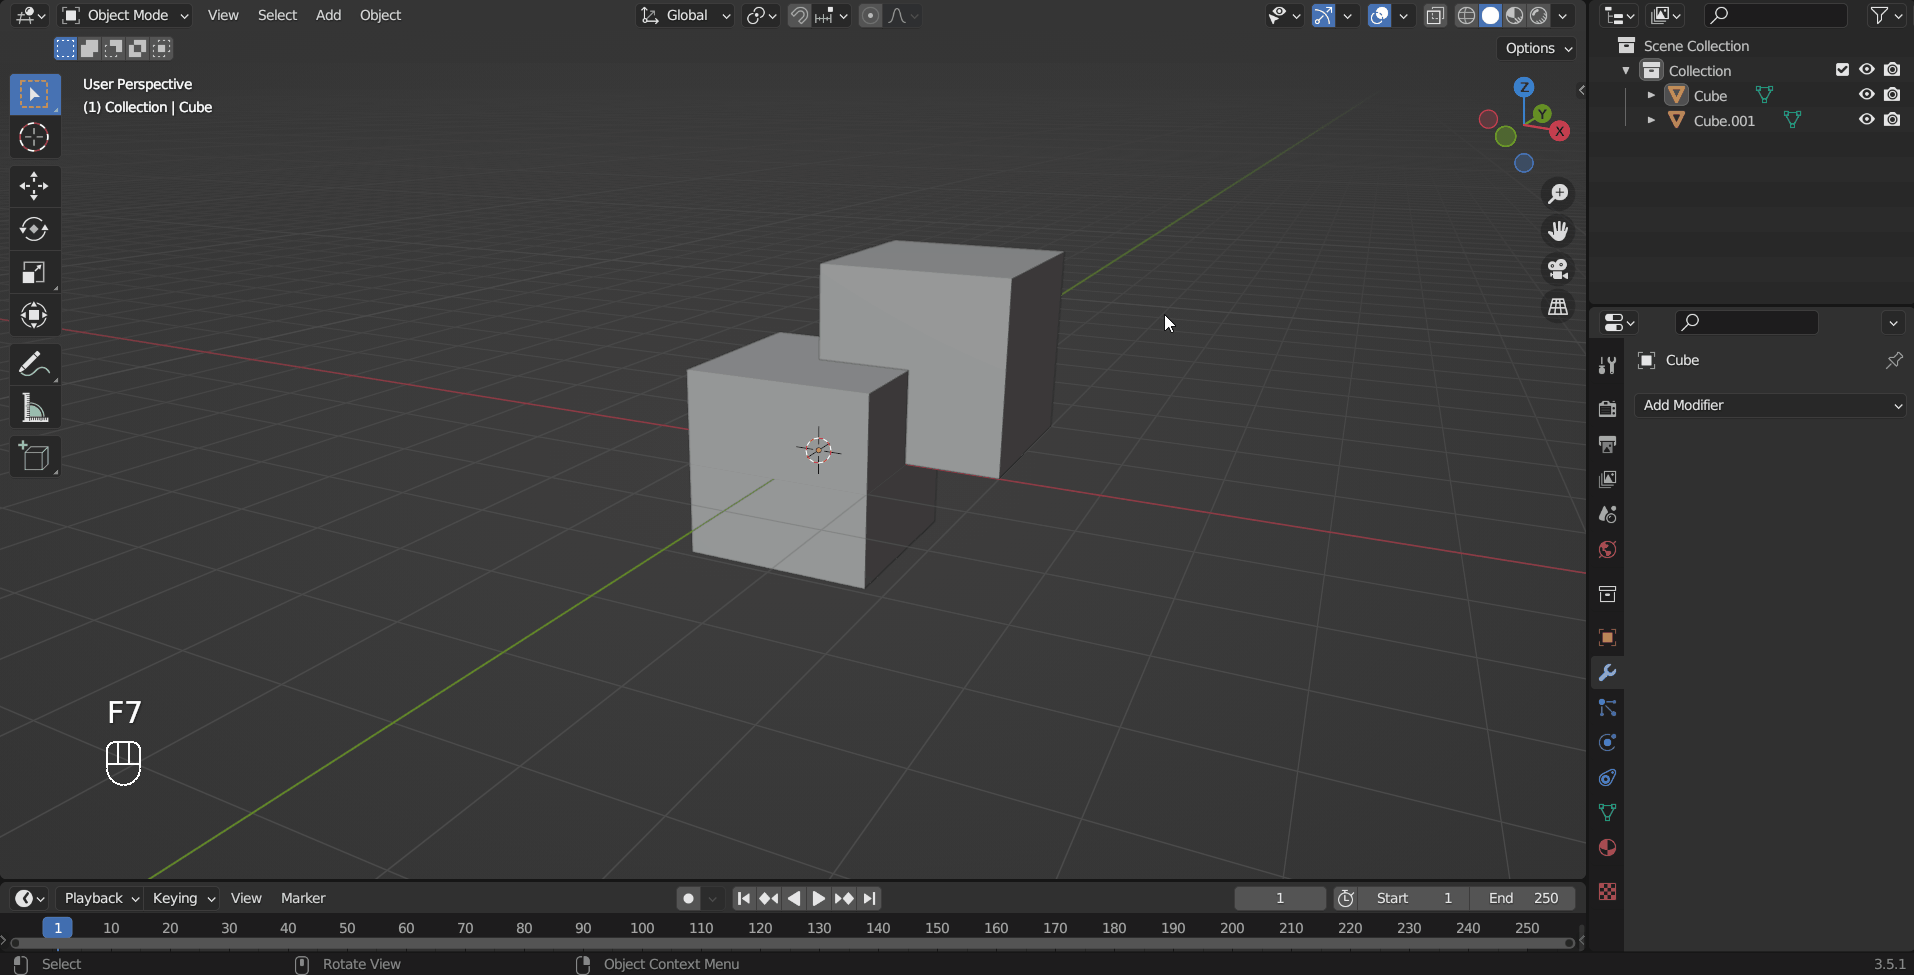
The Boolean modifier is like logical operators in programming but for 3D meshes. Set the other object for the operation in Object, and choose Intersect, Union, or Difference for AND, OR, and NOT effect.
If you are modeling something symmetrical, the Mirror modifier can save you a lot of work. You can control on which local axes this effect will be applied by Axis X/Y/Z, and they are not mutually exclusive.
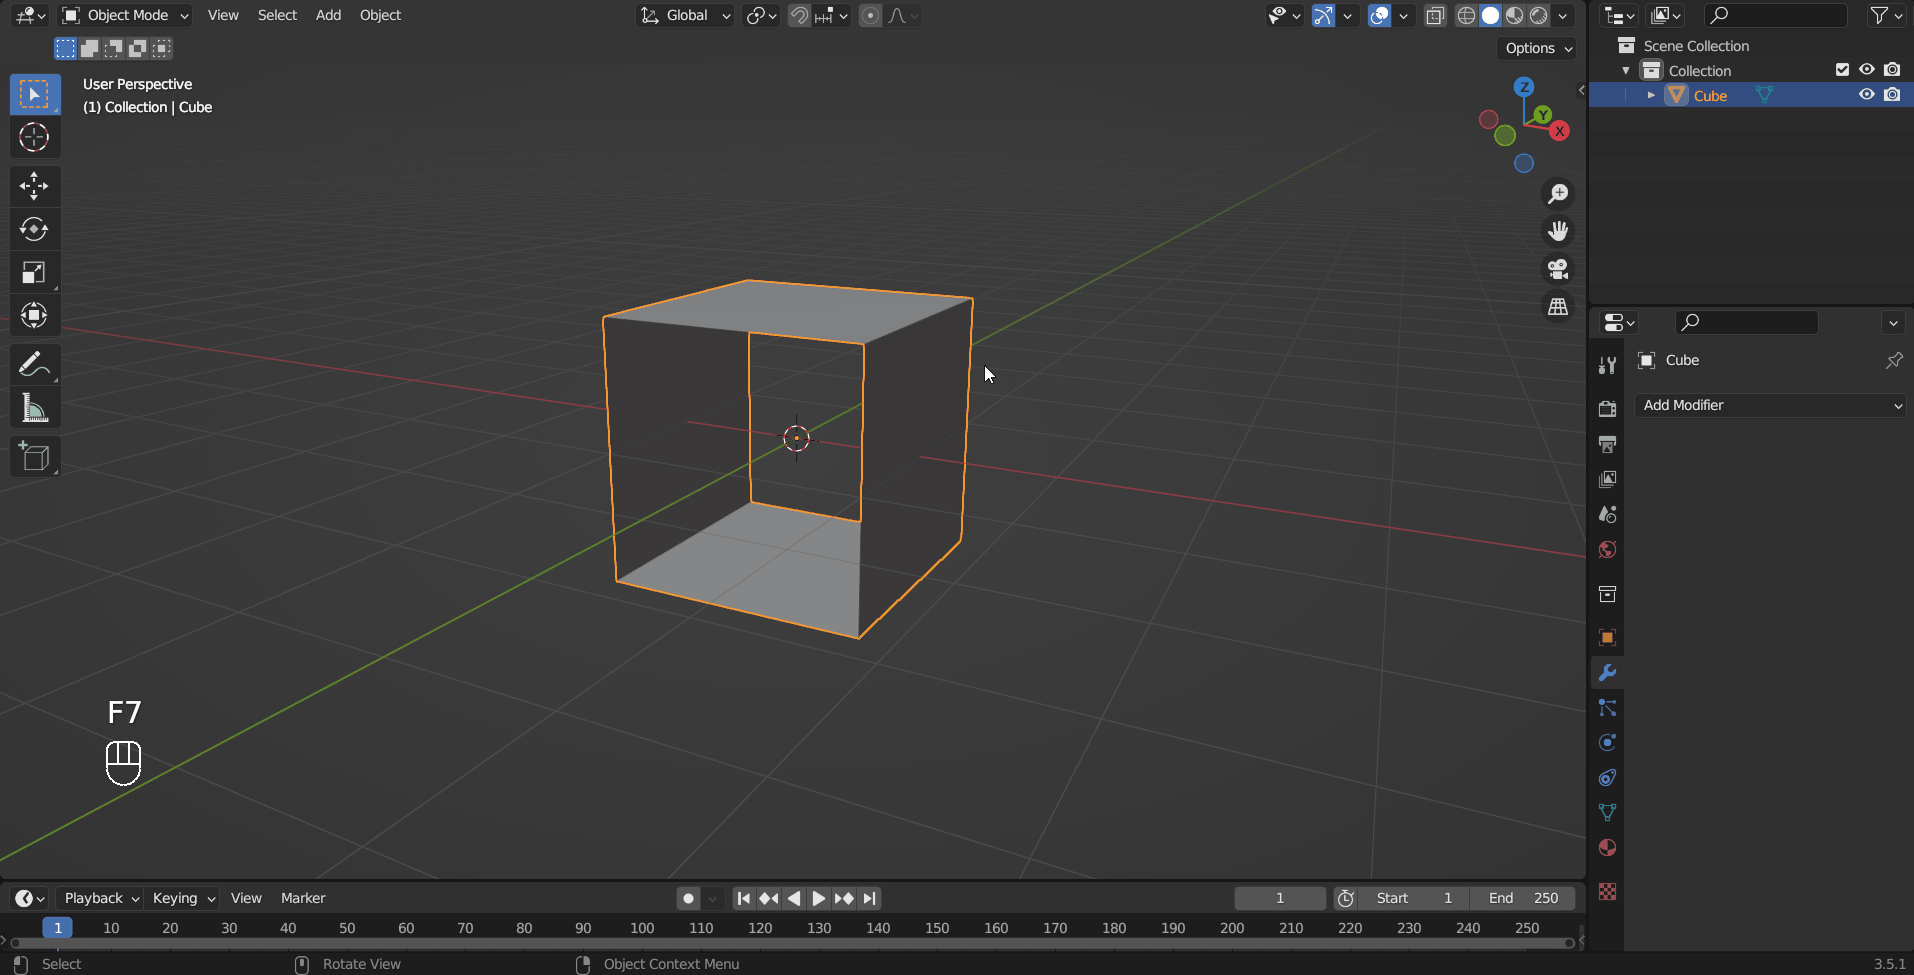
The Solidify modifier adds depth to all faces. Change Thickness to tweak the amount of depth added and Offset to influence on which side of the face this effect applies. Ticking Even Thickness may help to make the resulting mesh look better.
Tip
The Offset is relative to face normals.
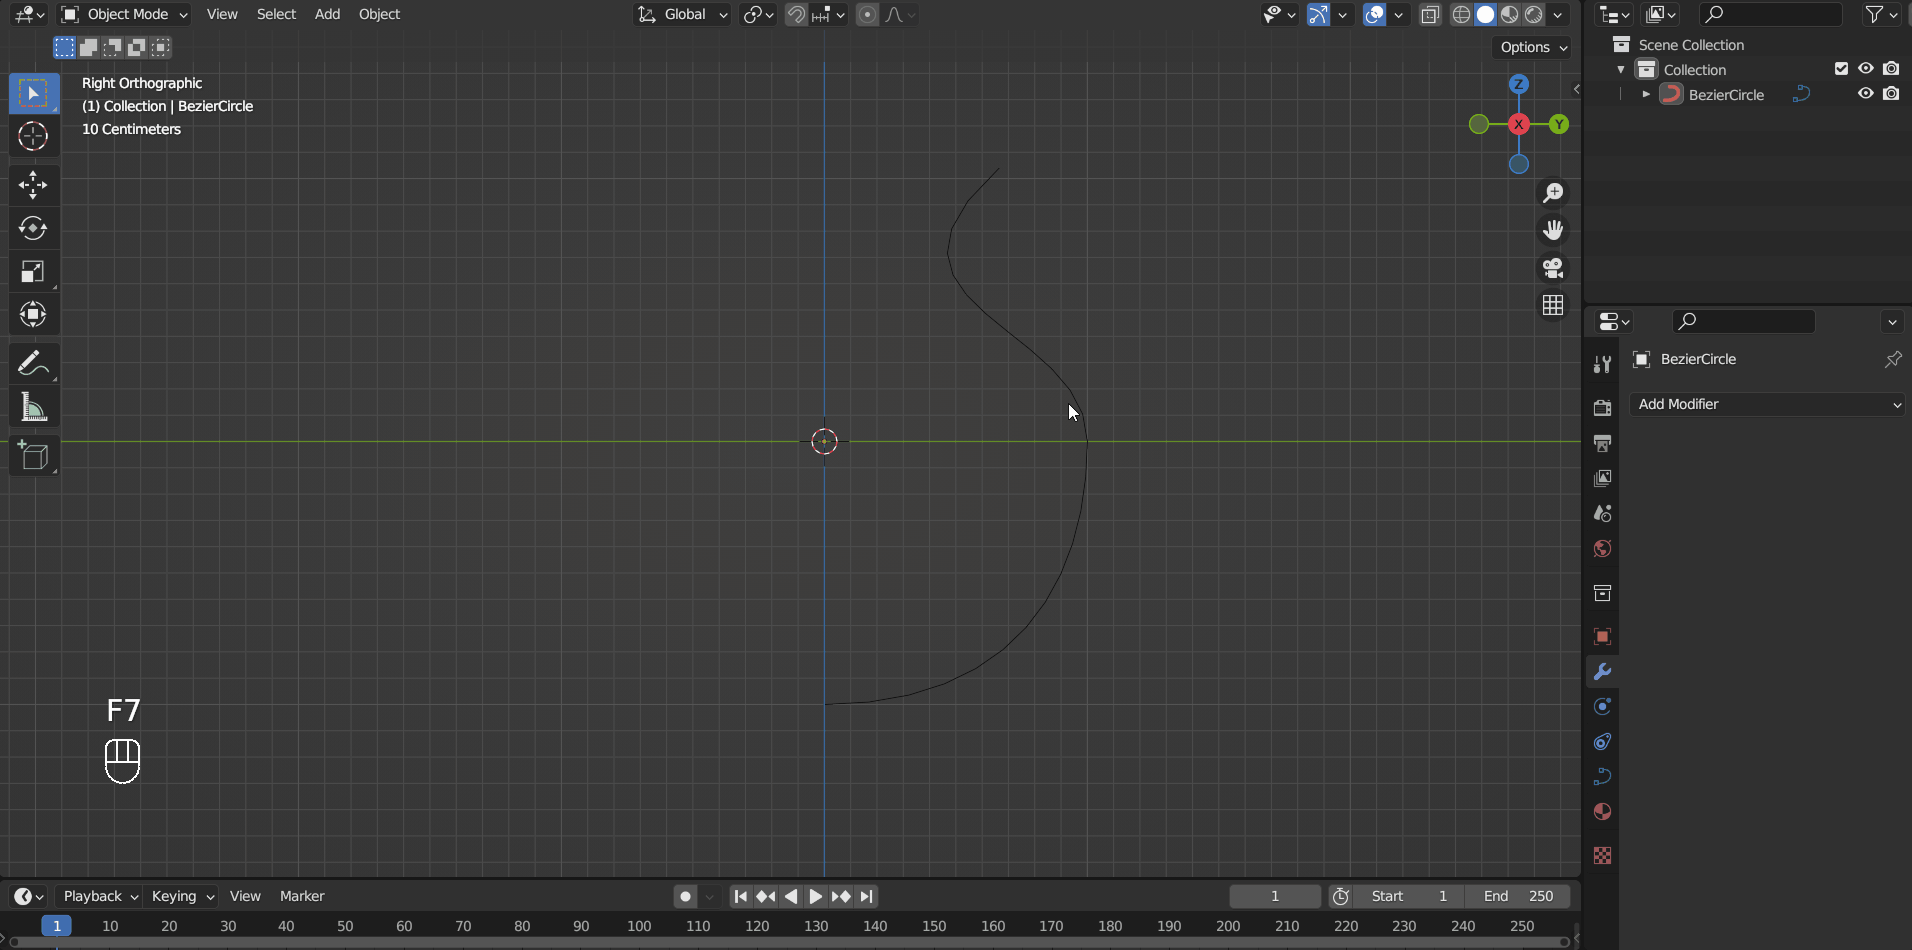
The Screw modifier takes an object as a profile and creates a helix or rotationally symmetric shape, depending on the offset.
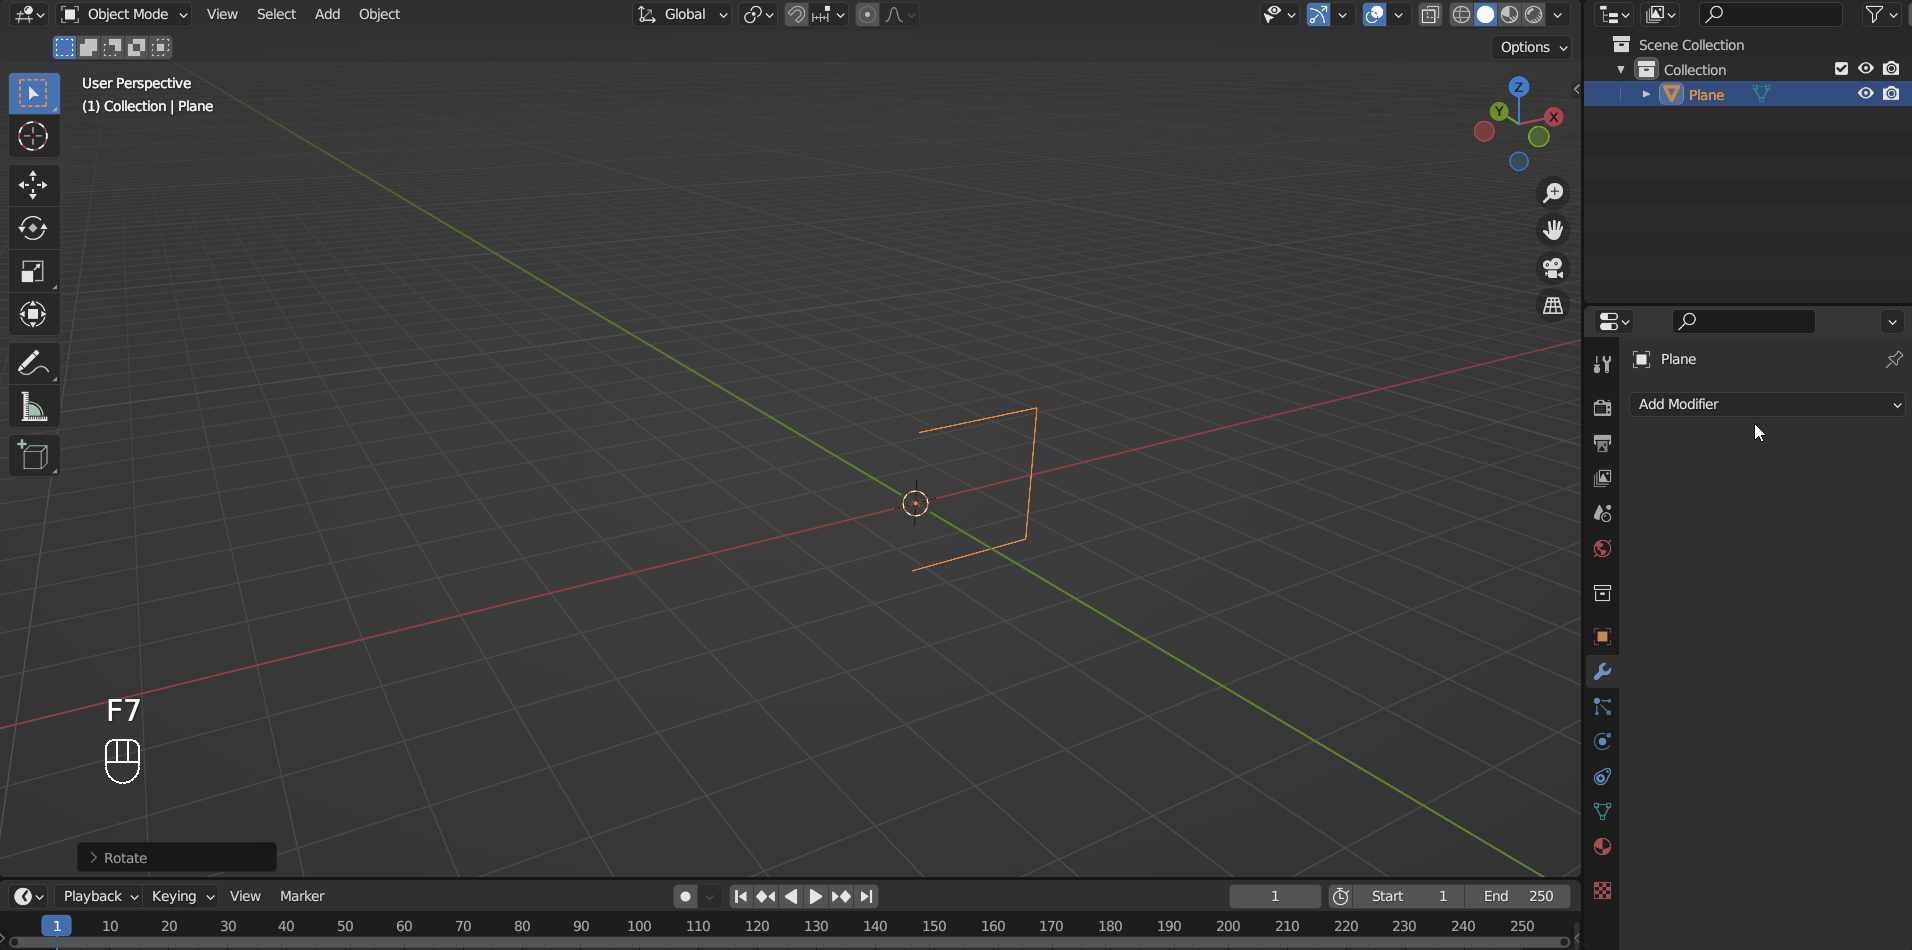
It also works on curve objects.